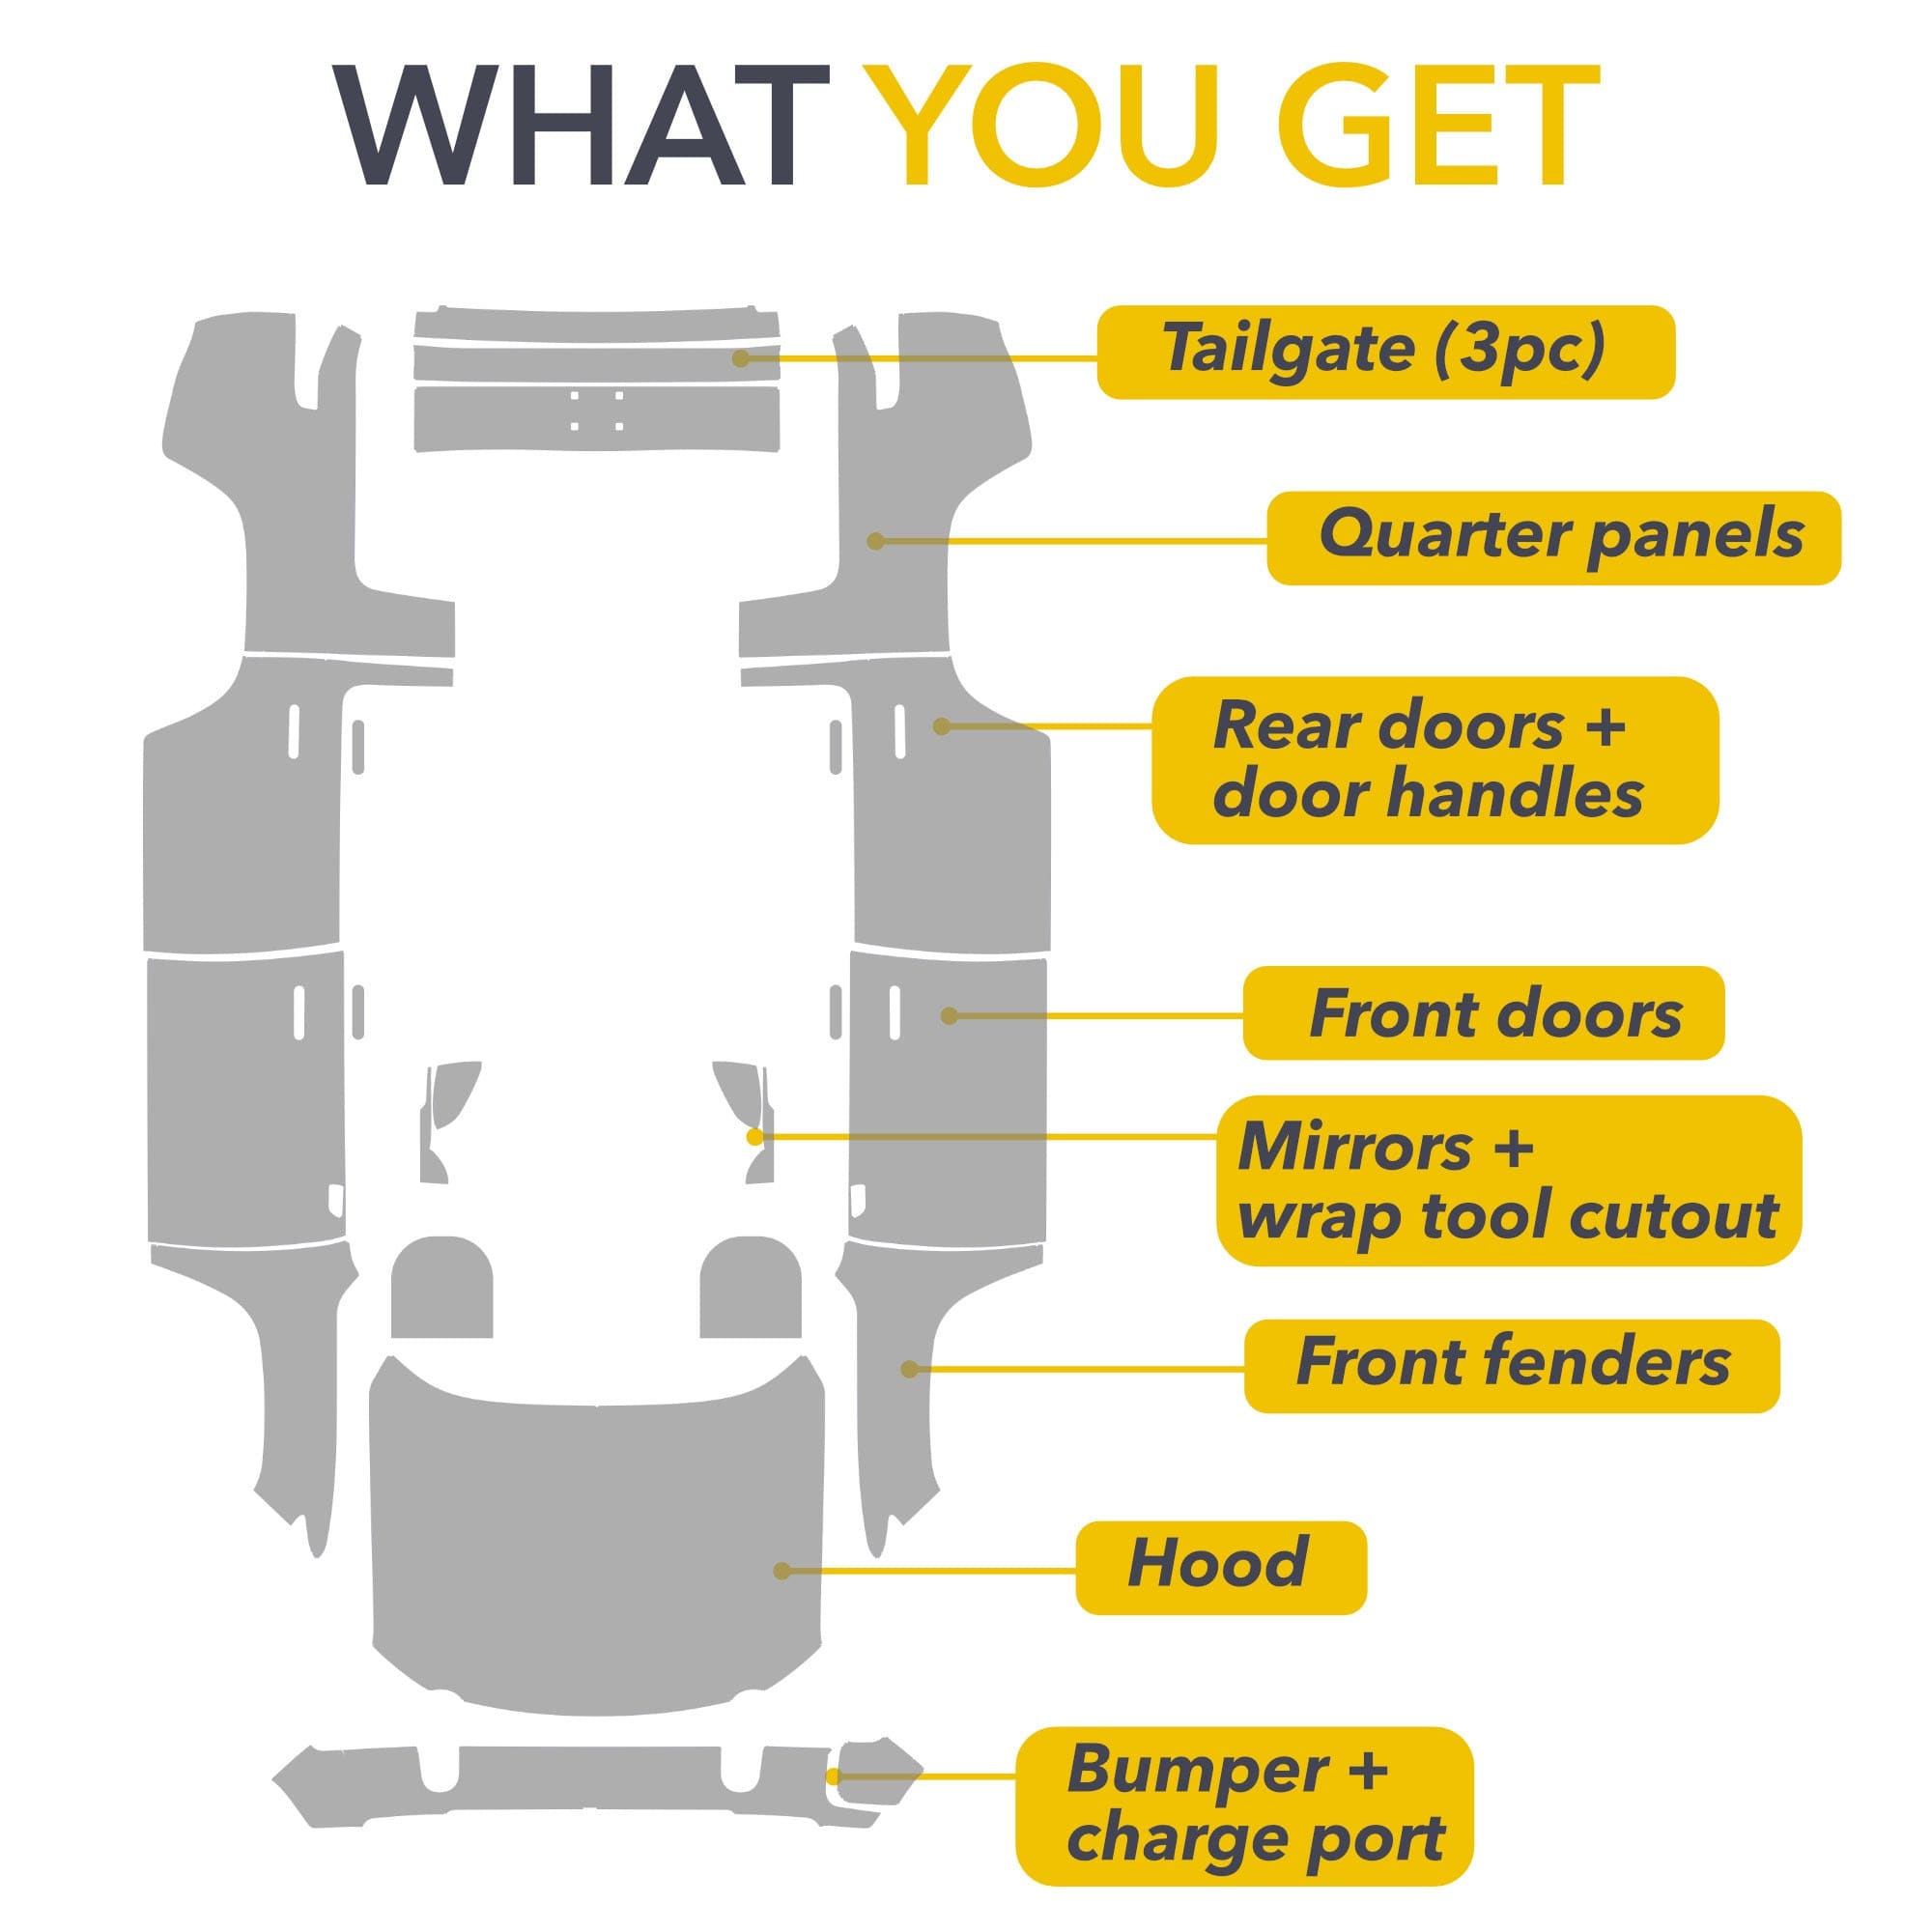
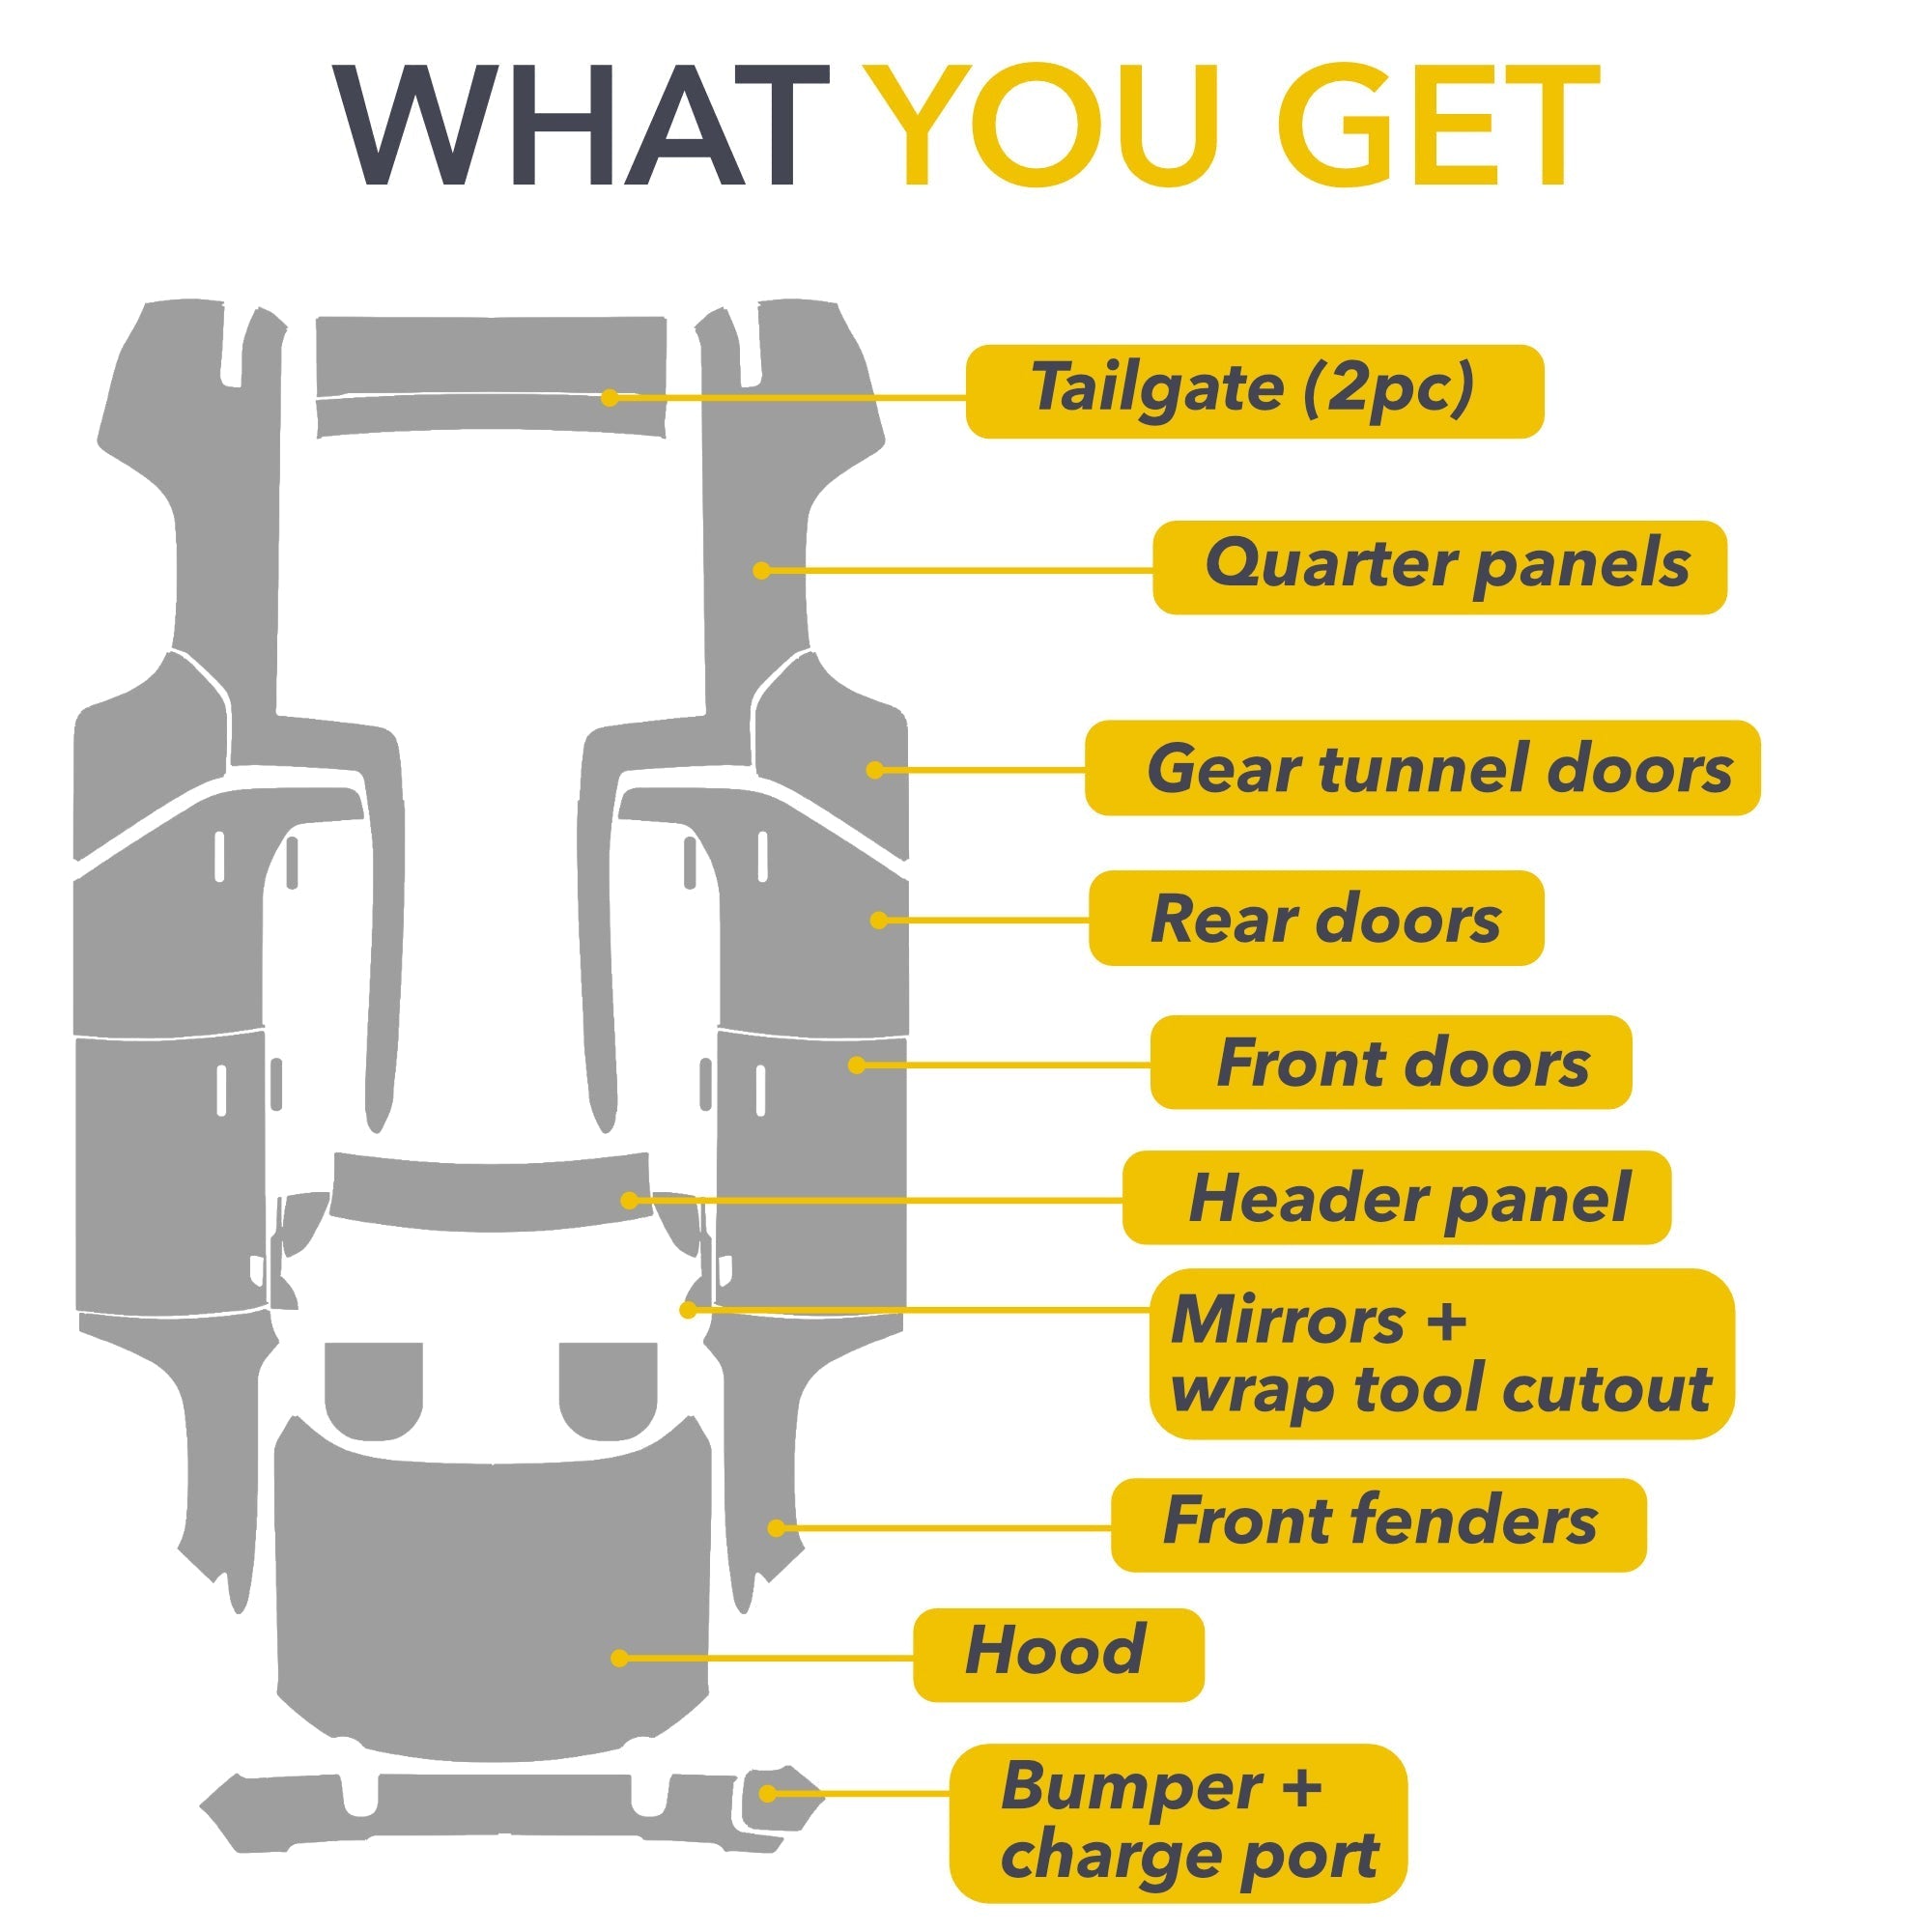
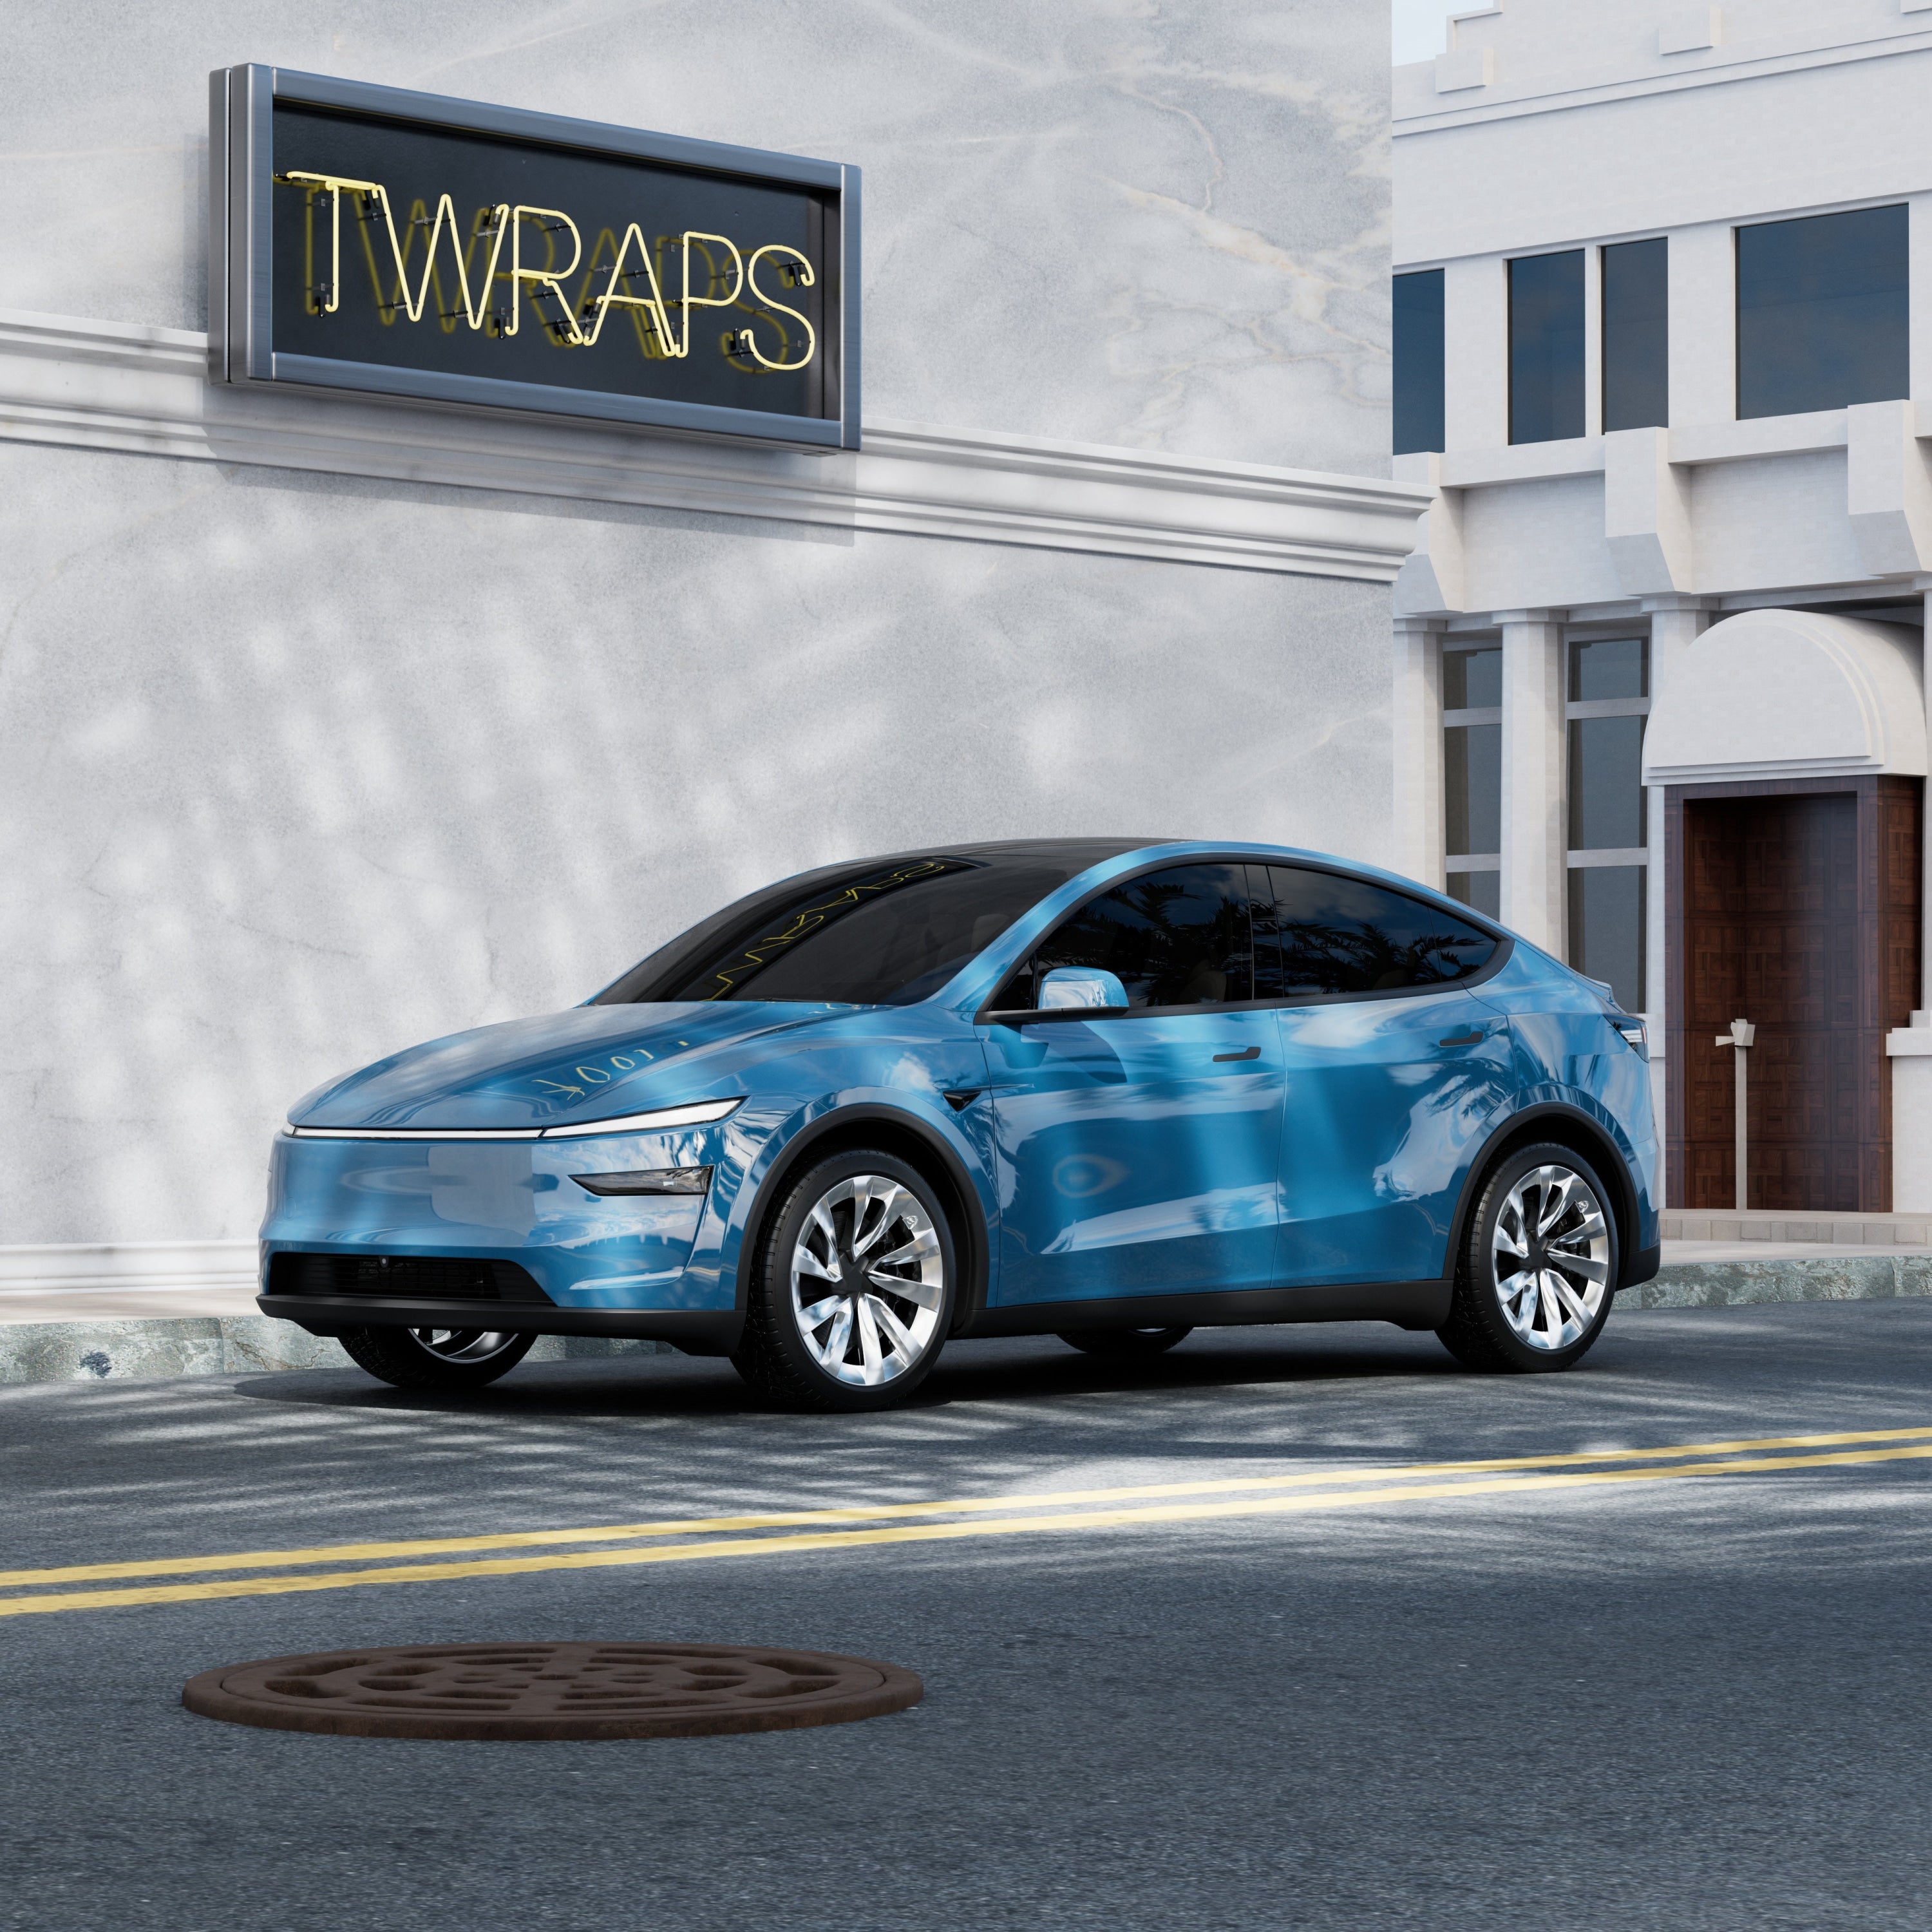
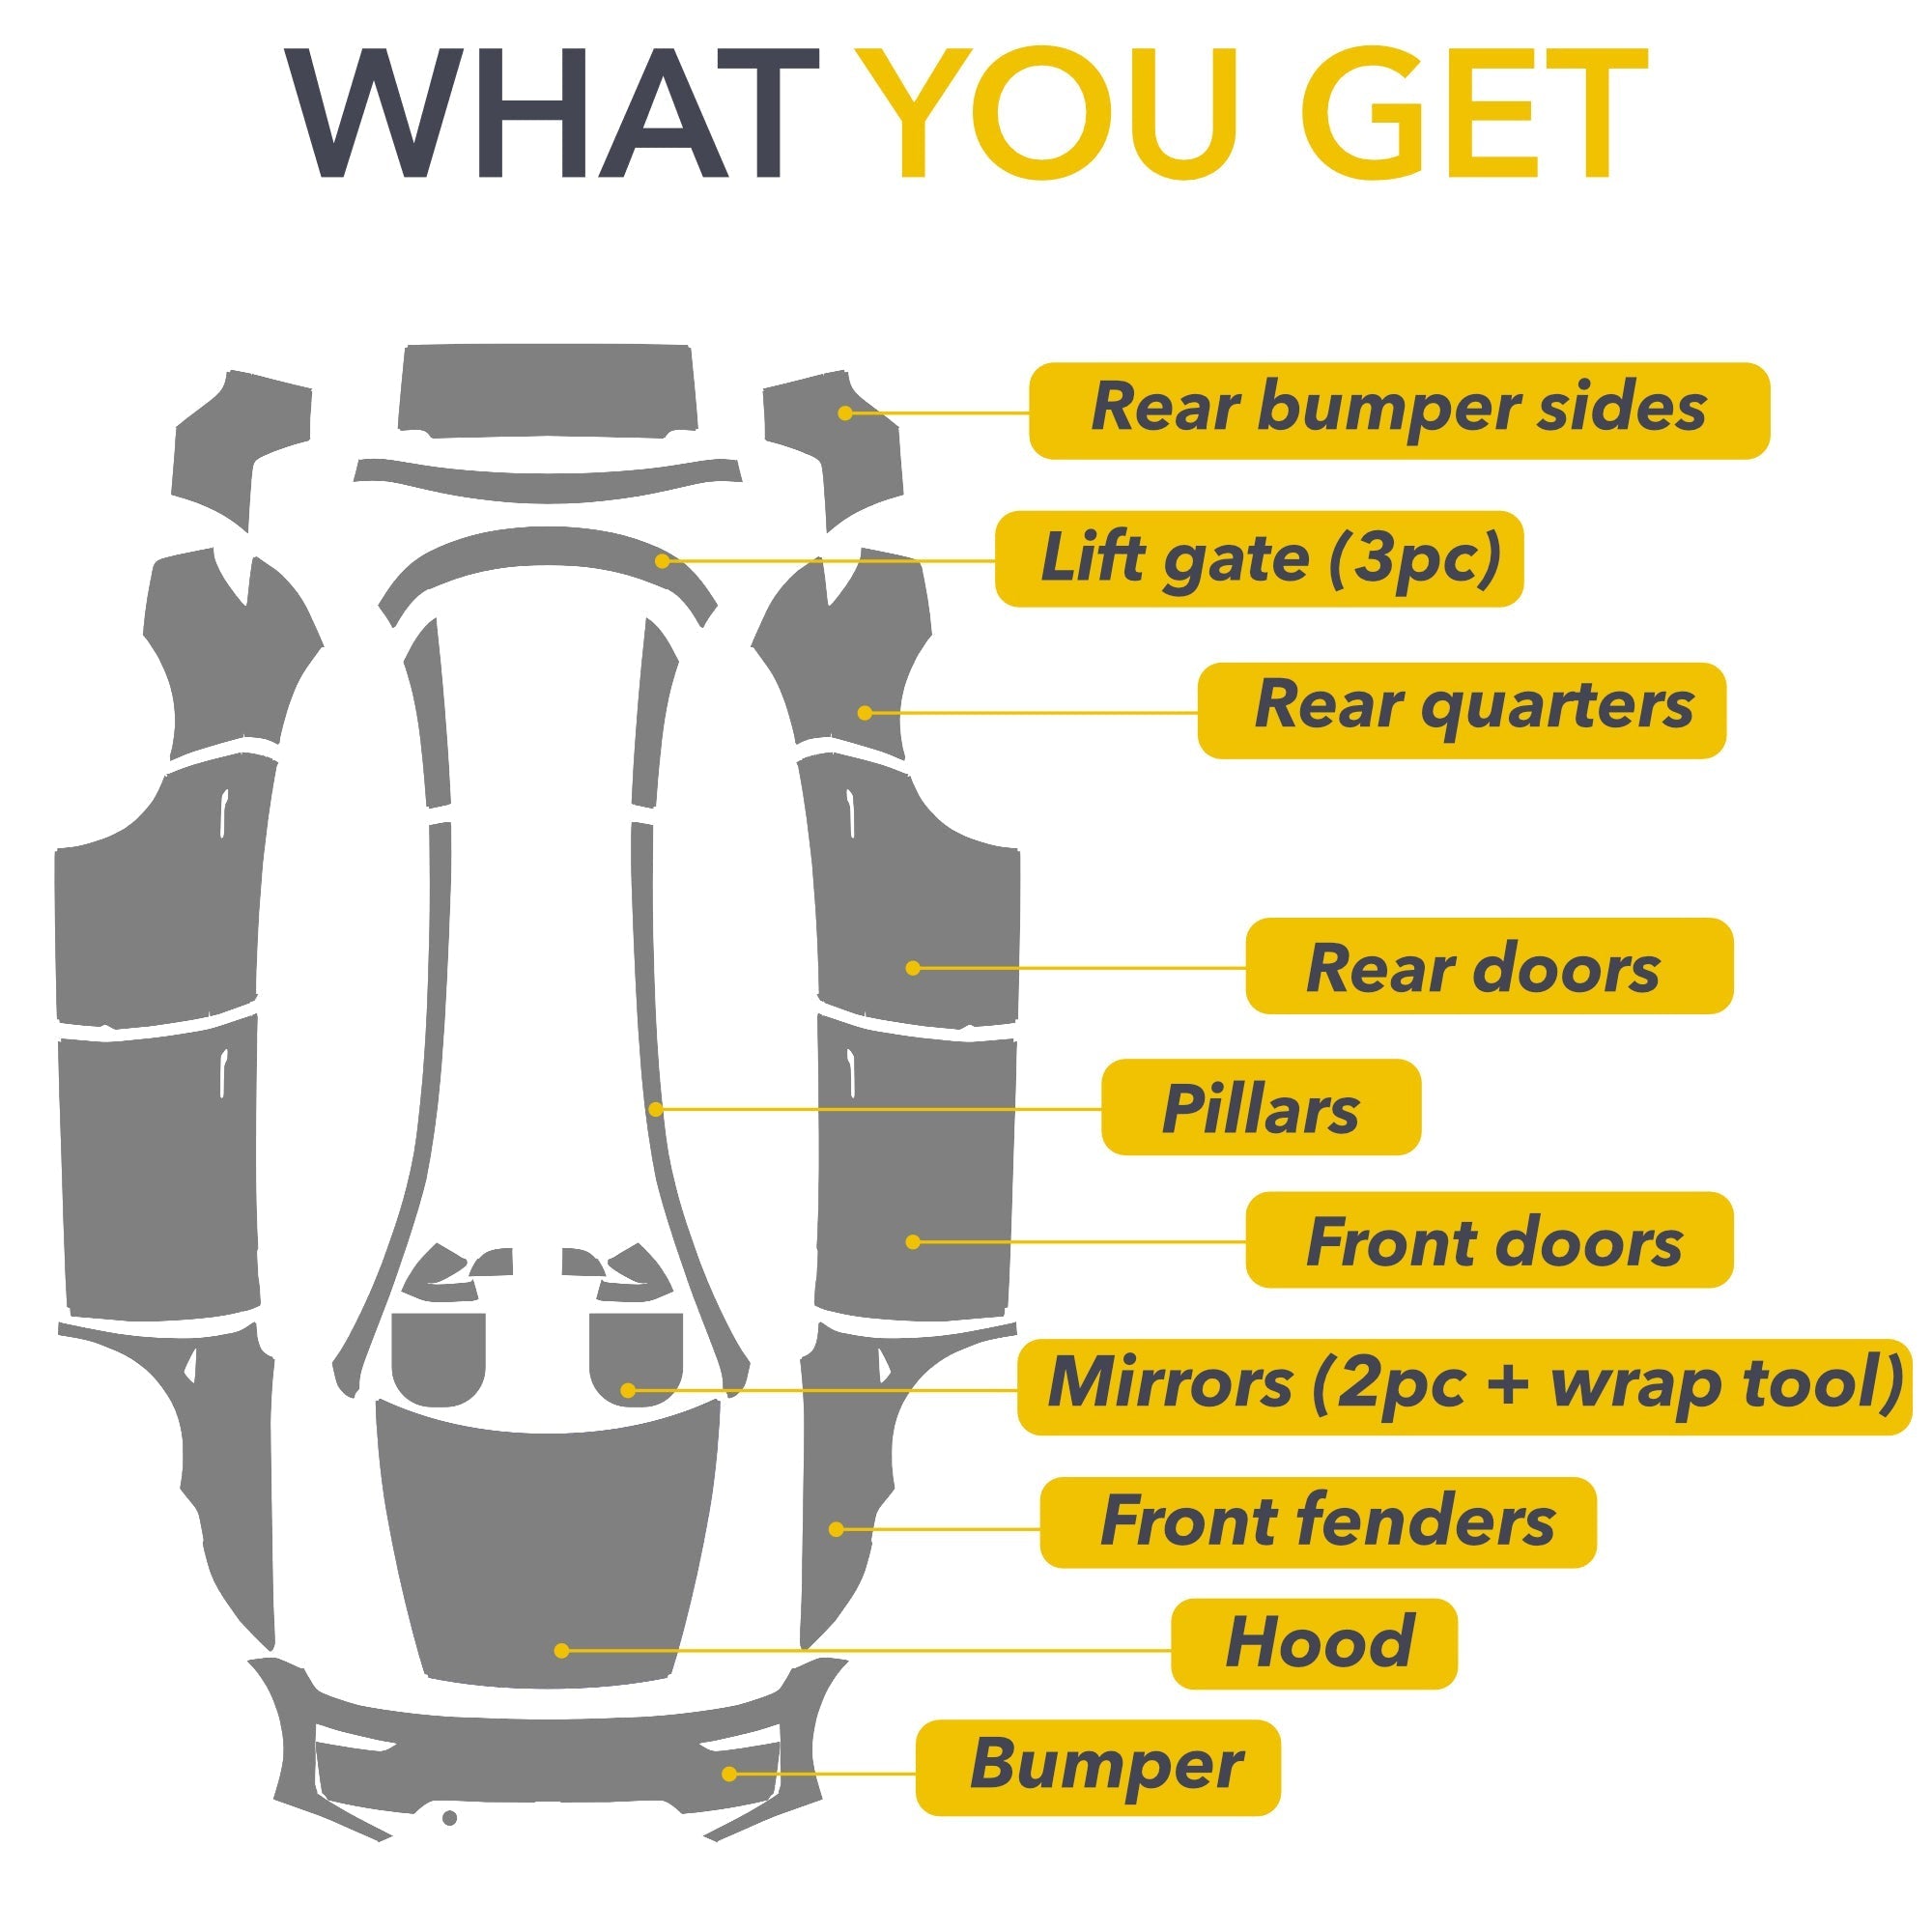
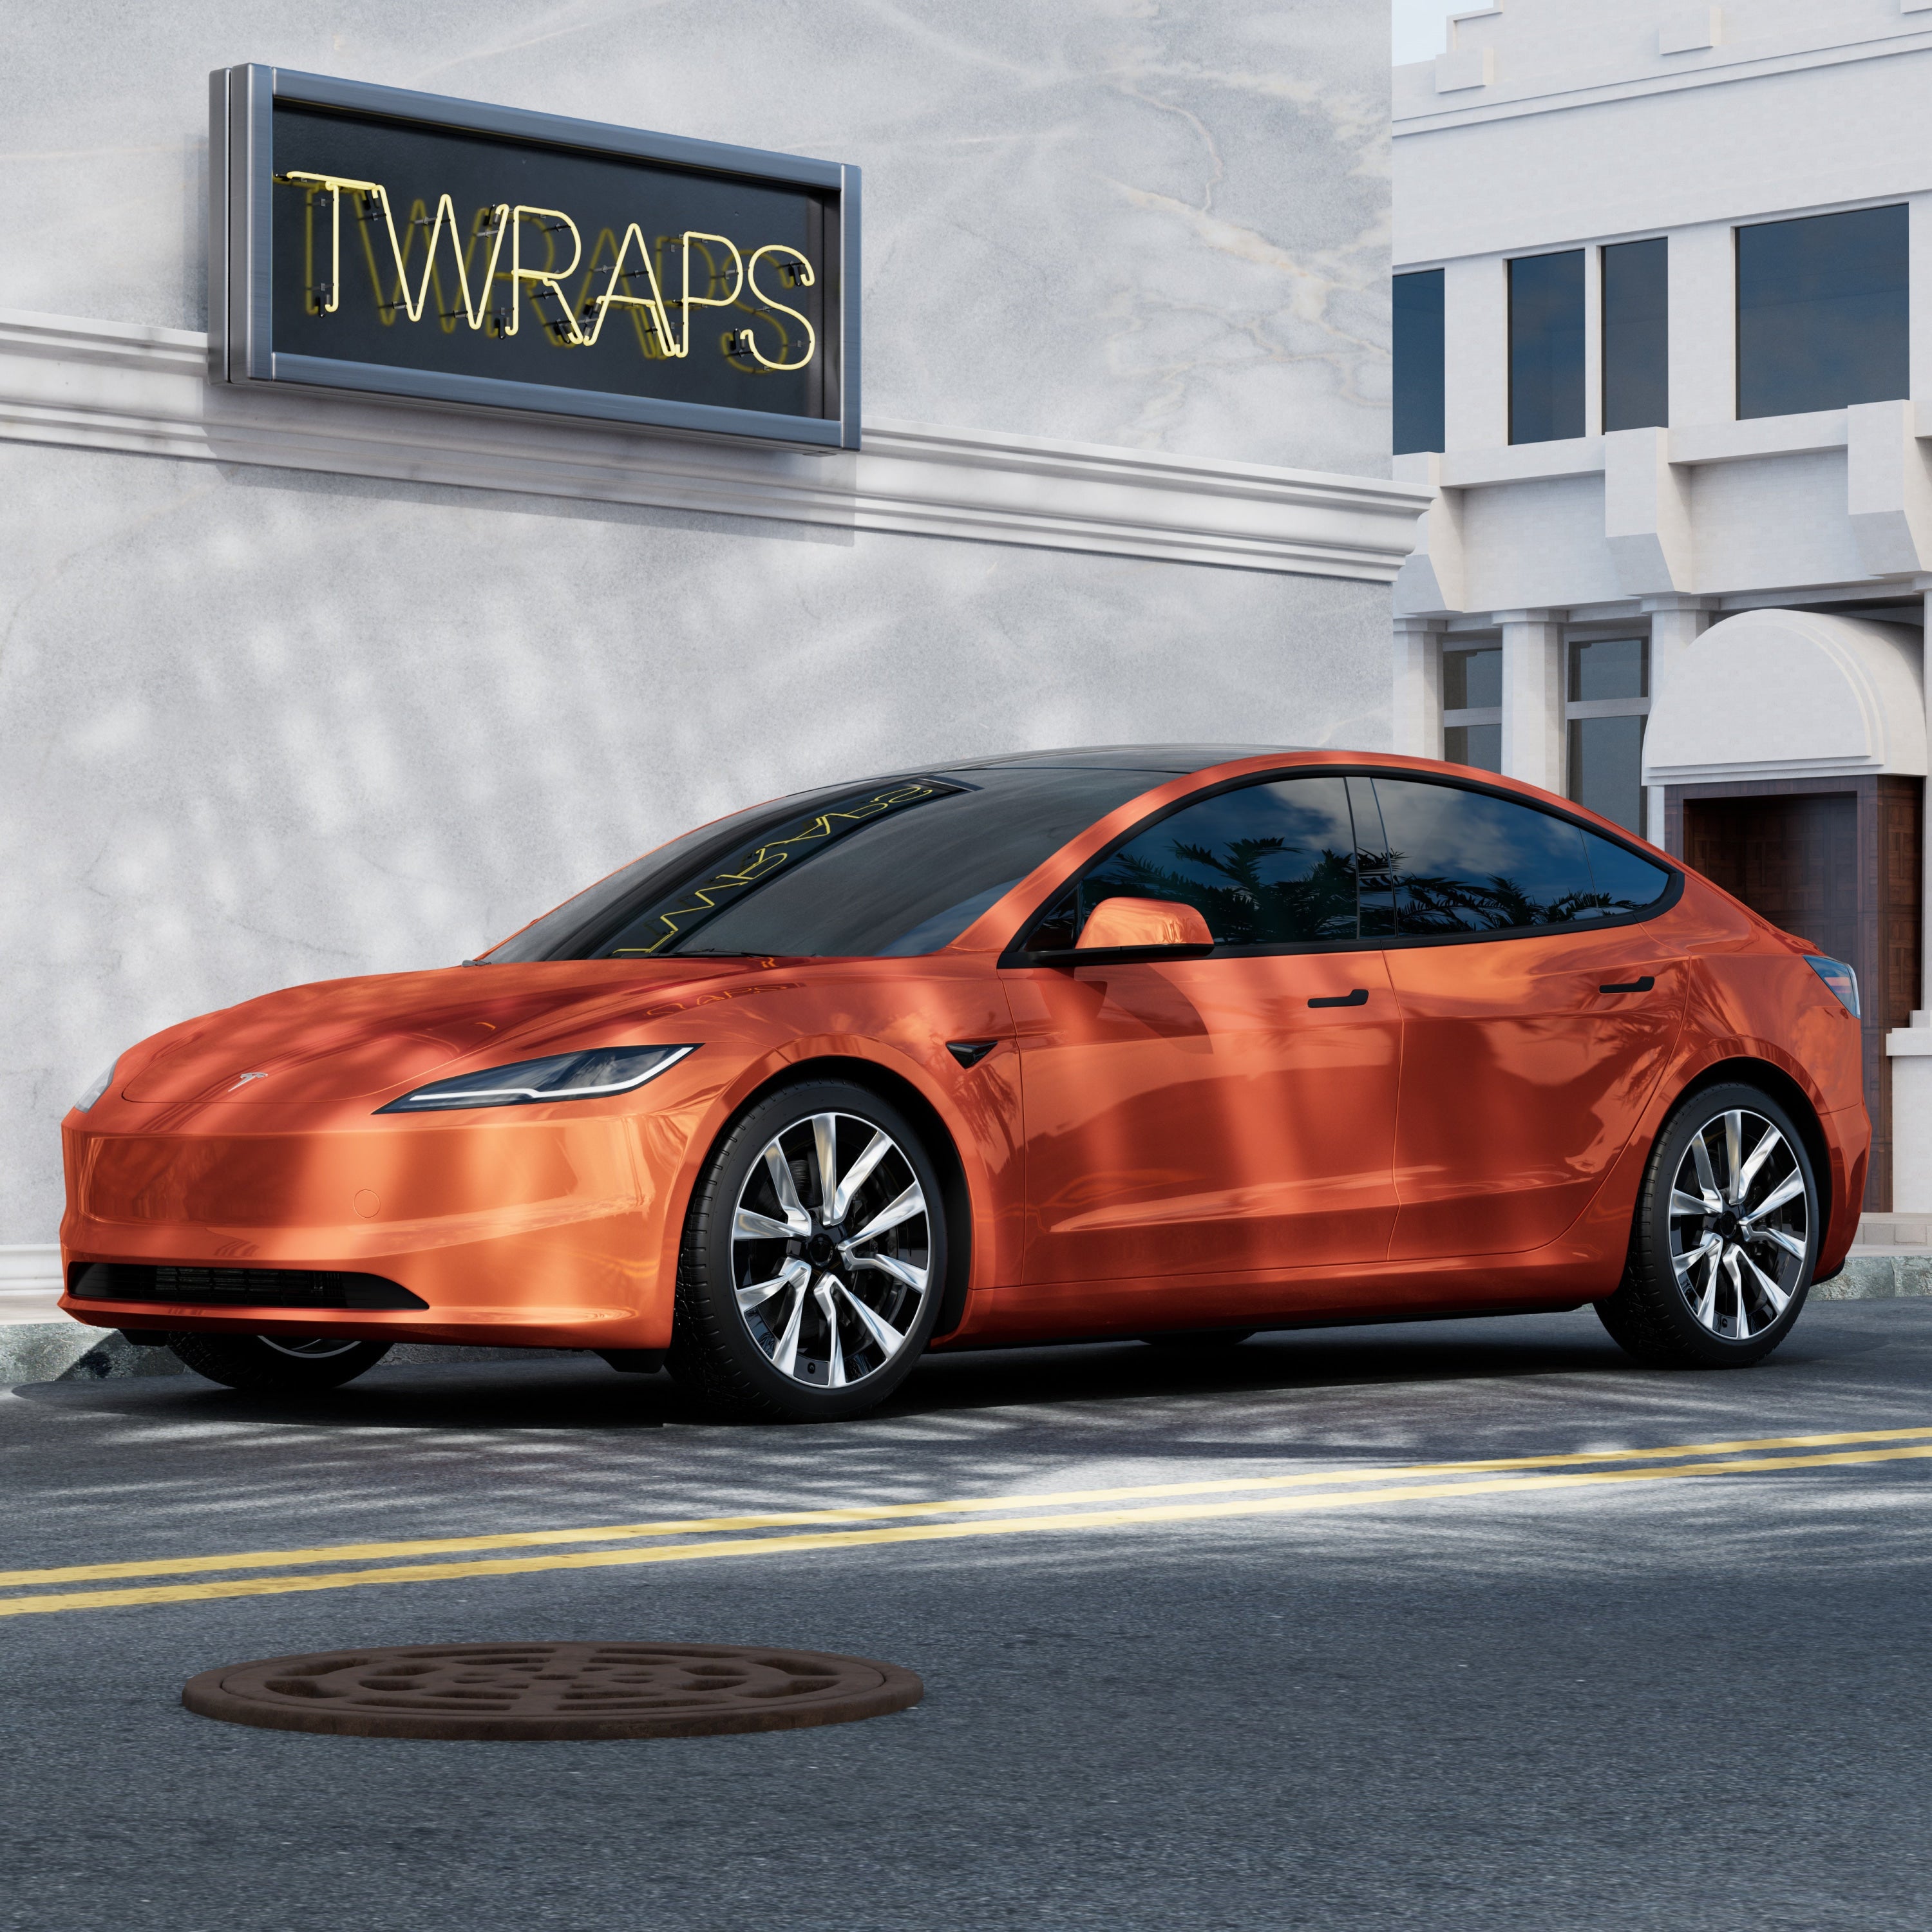
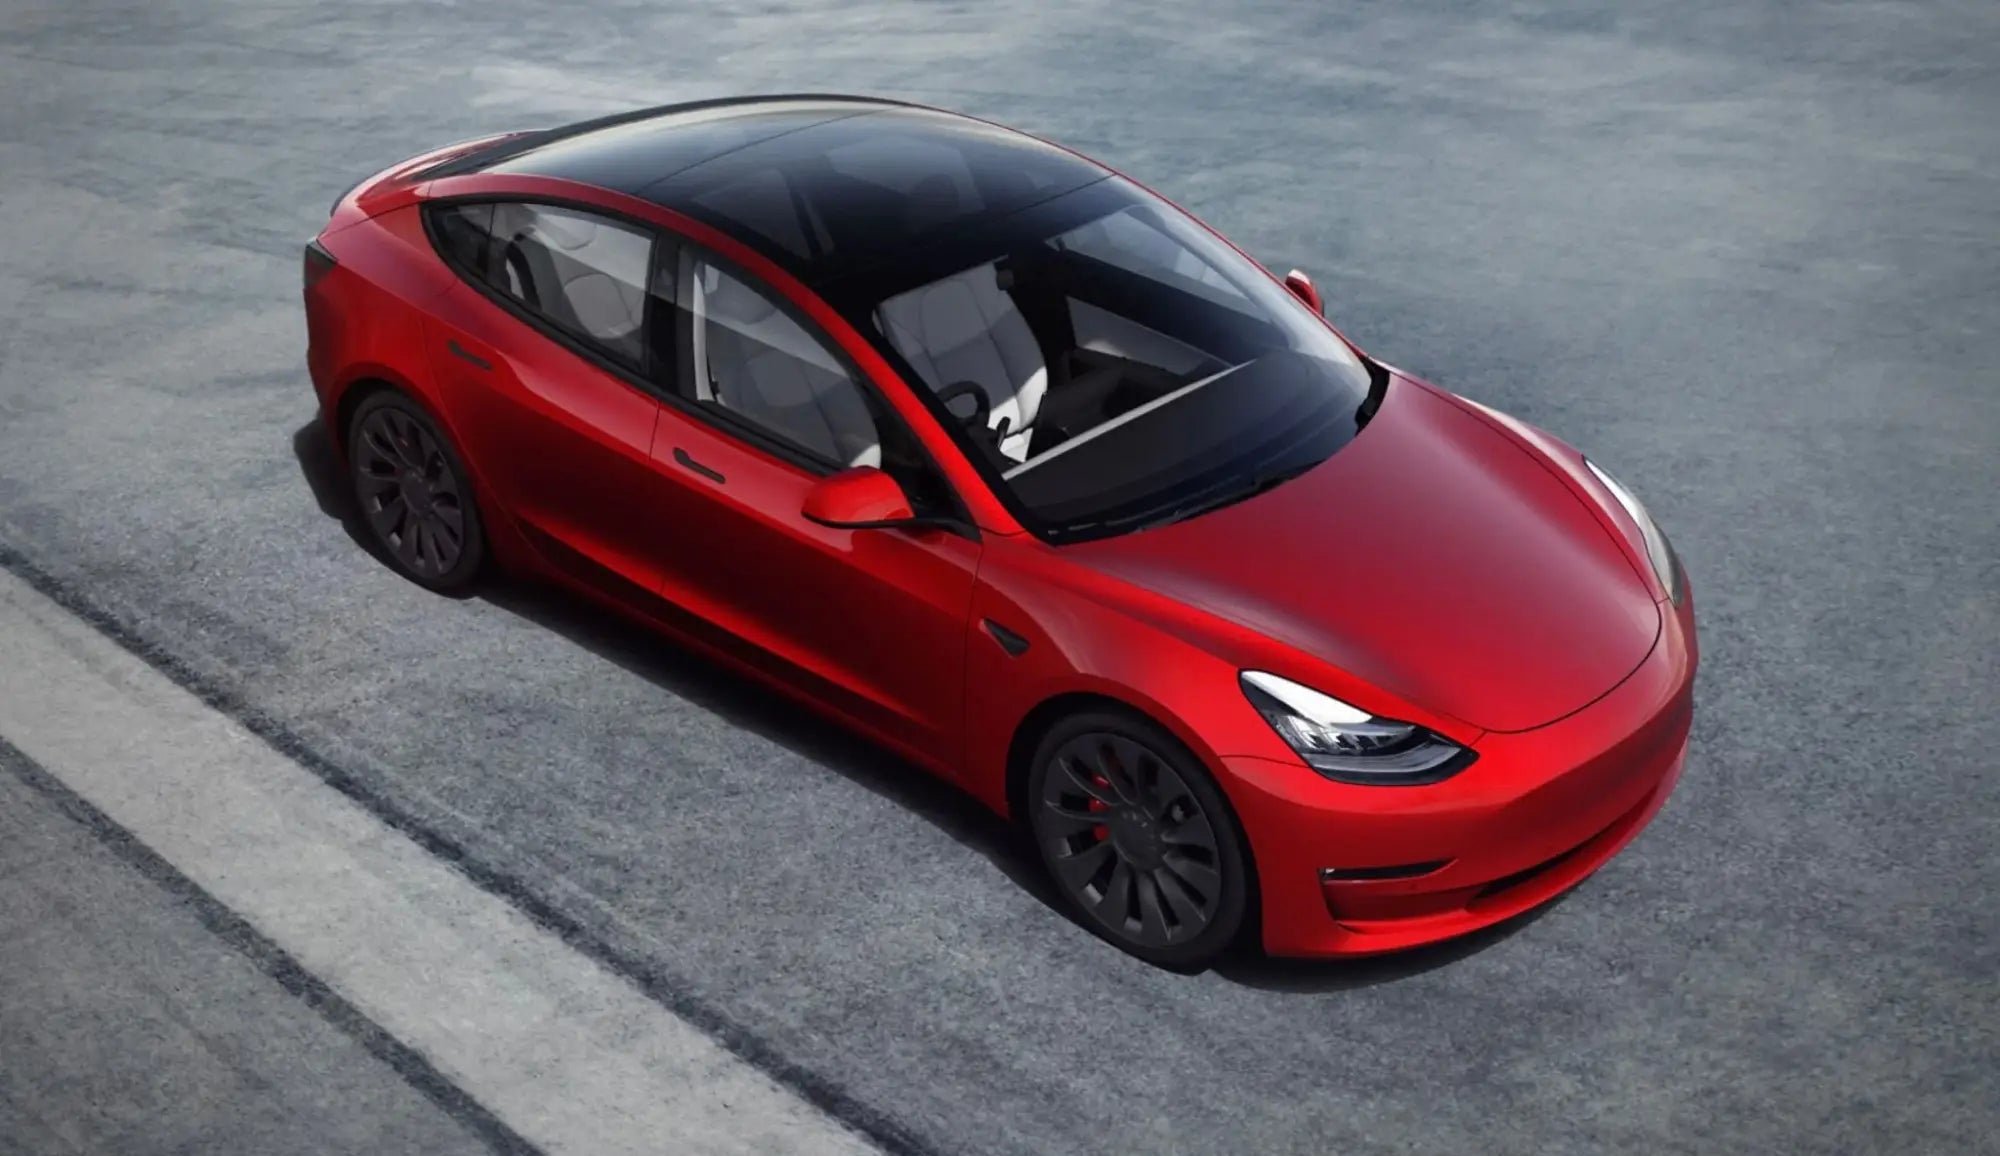
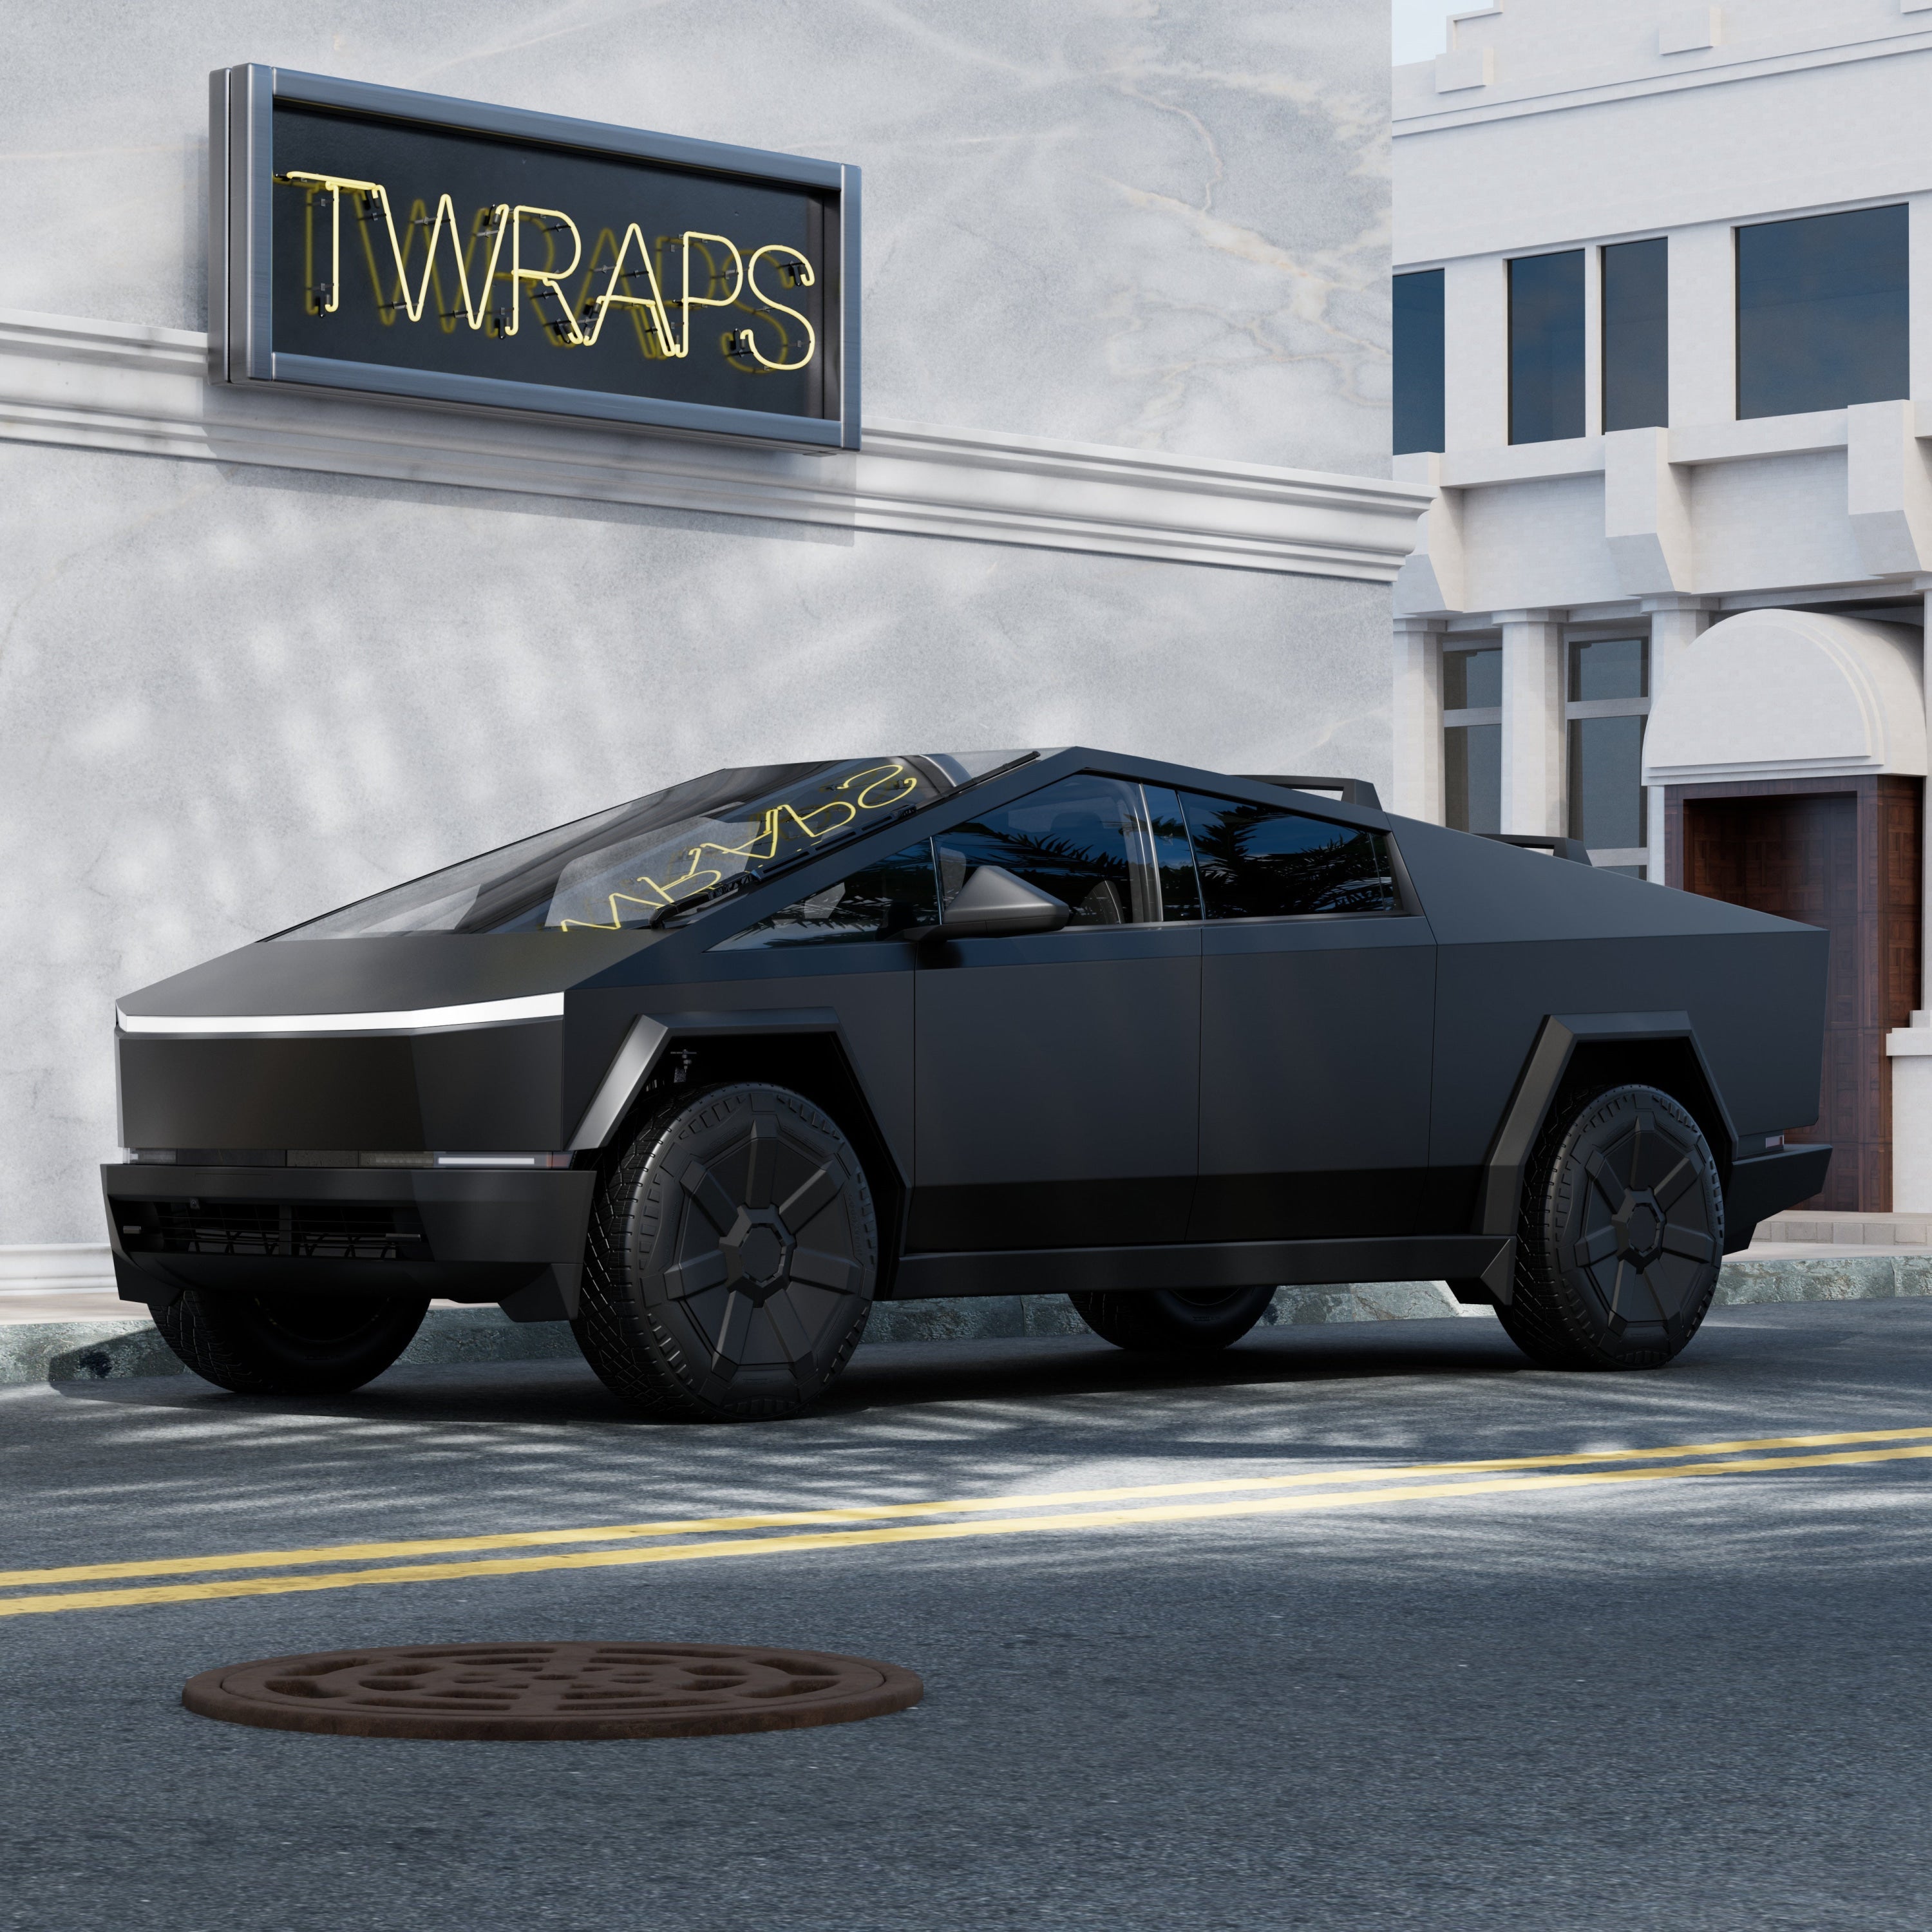
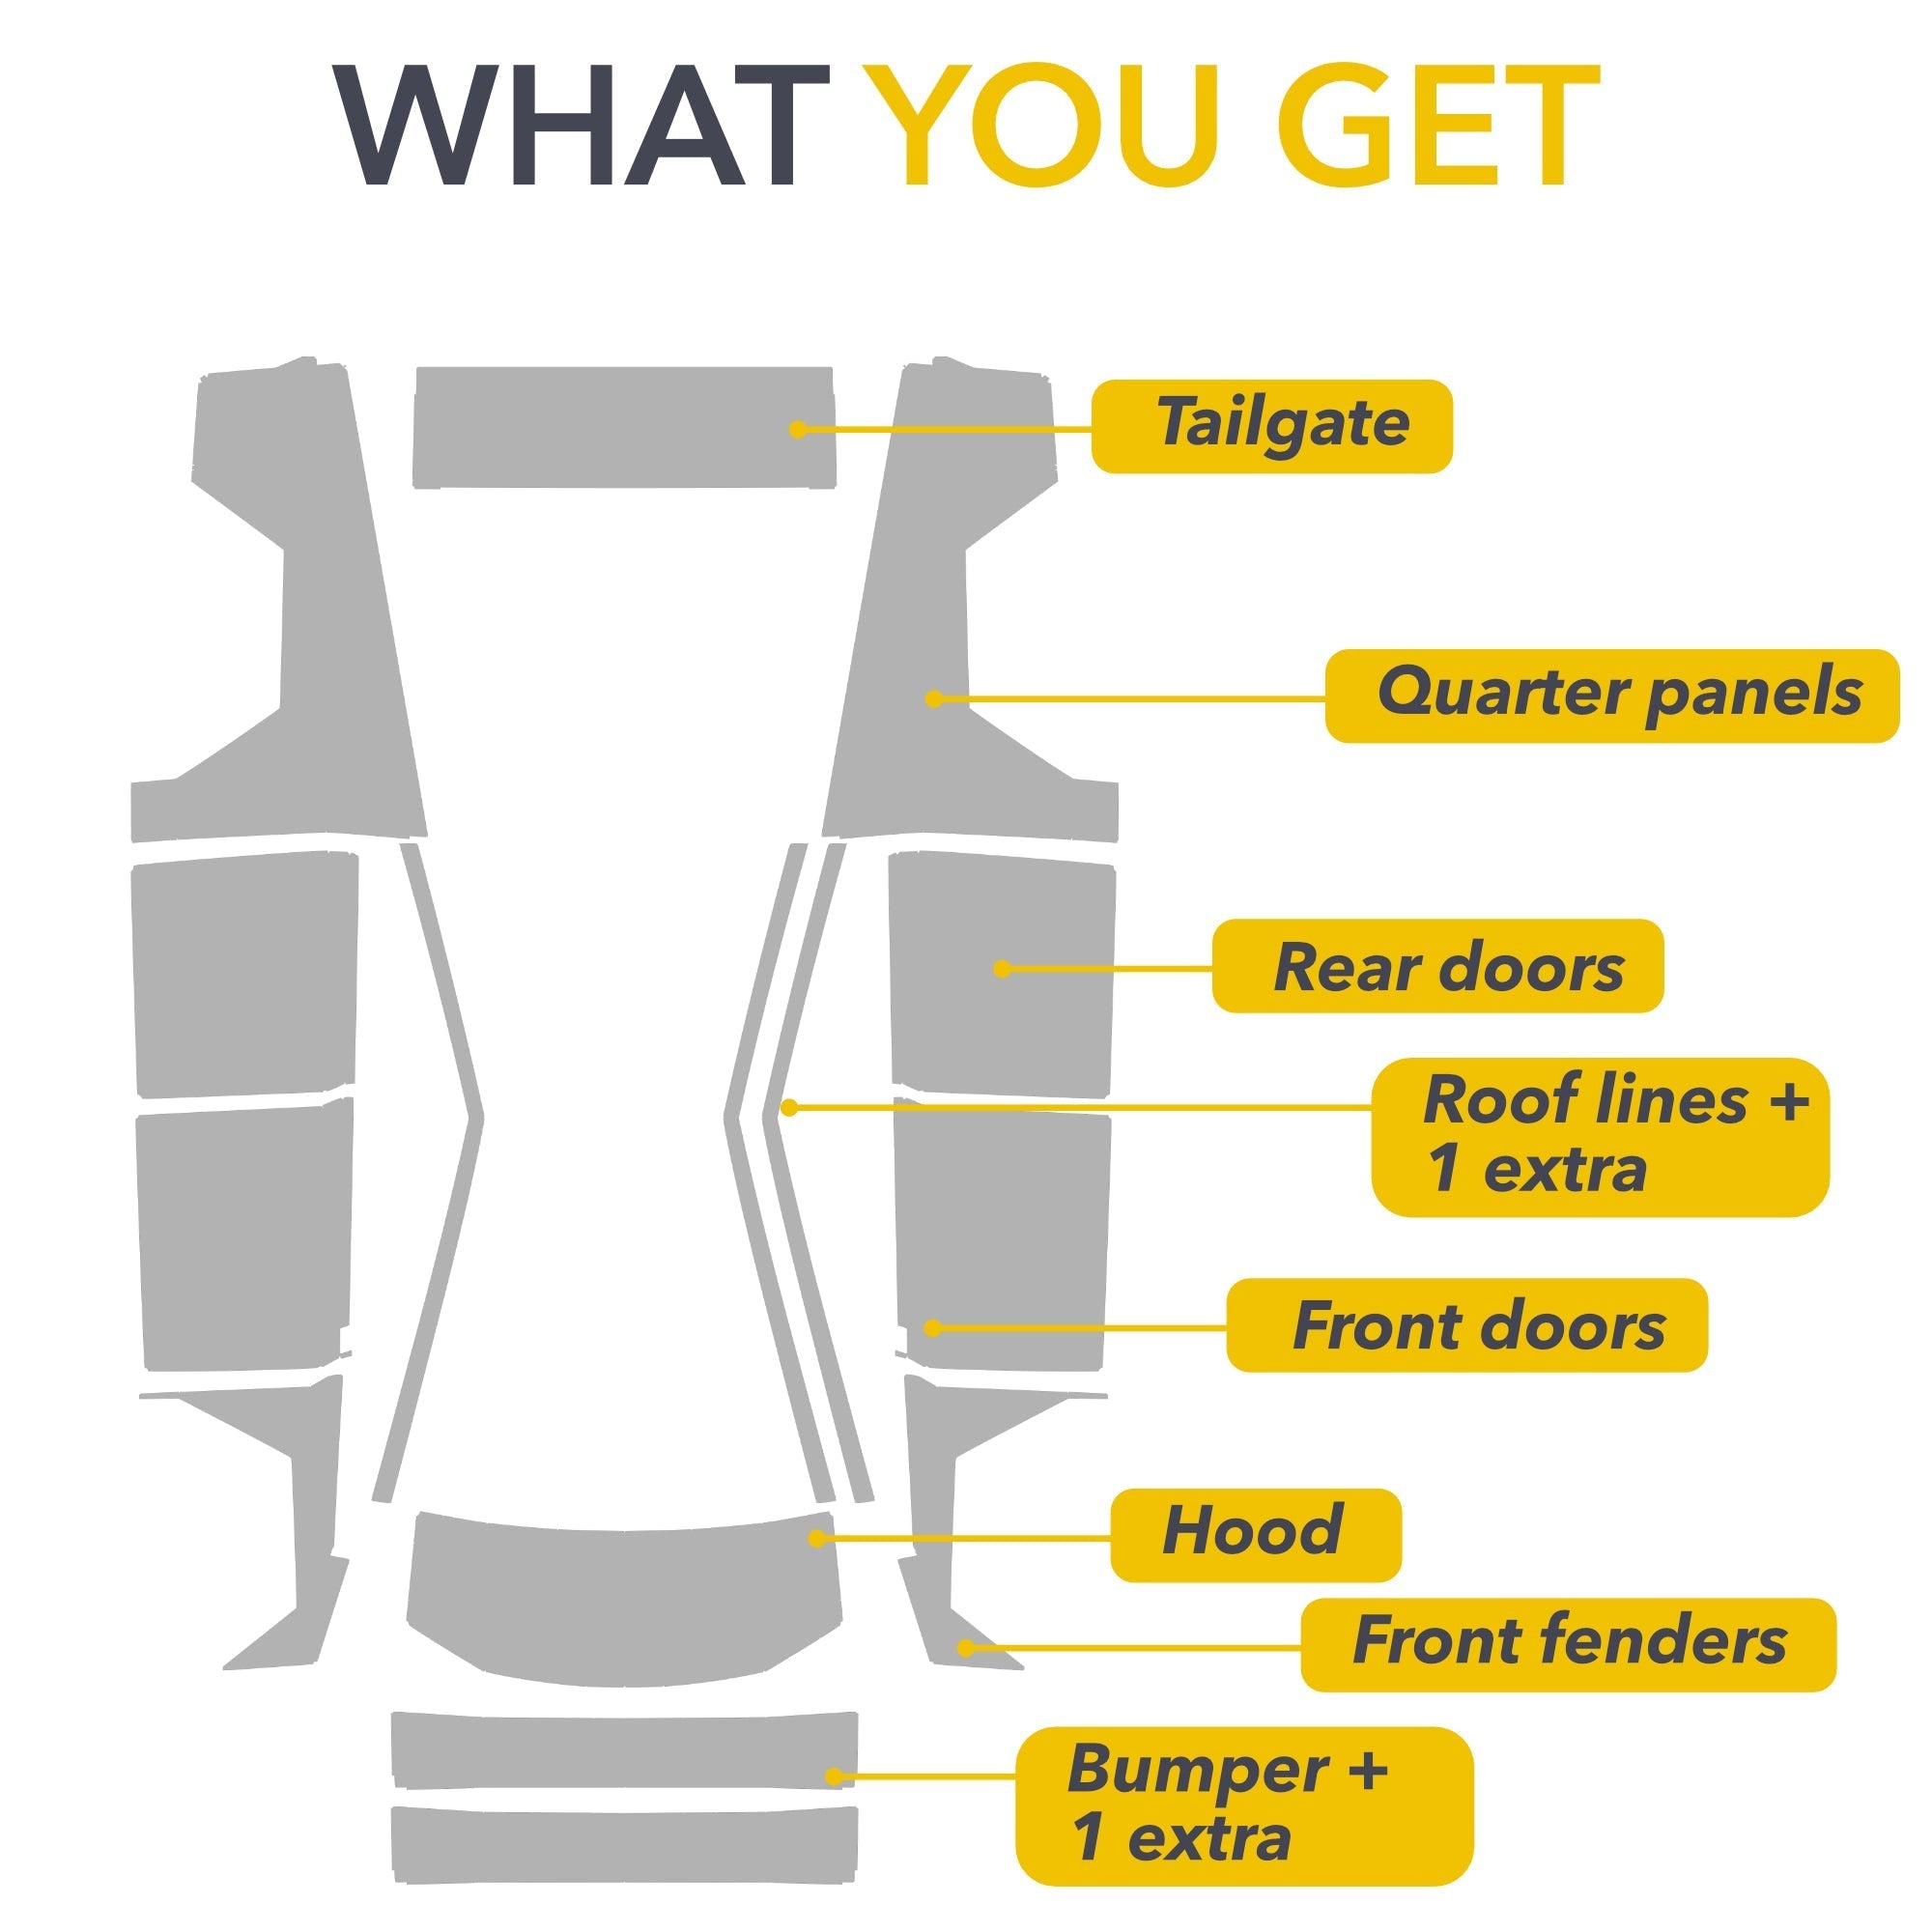
Bespoke Wraps
Bespoke wraps are designed in-house with a unique proprietary cut pattern for easy DIY. Made by TWRAPS in 🇺🇸 California.


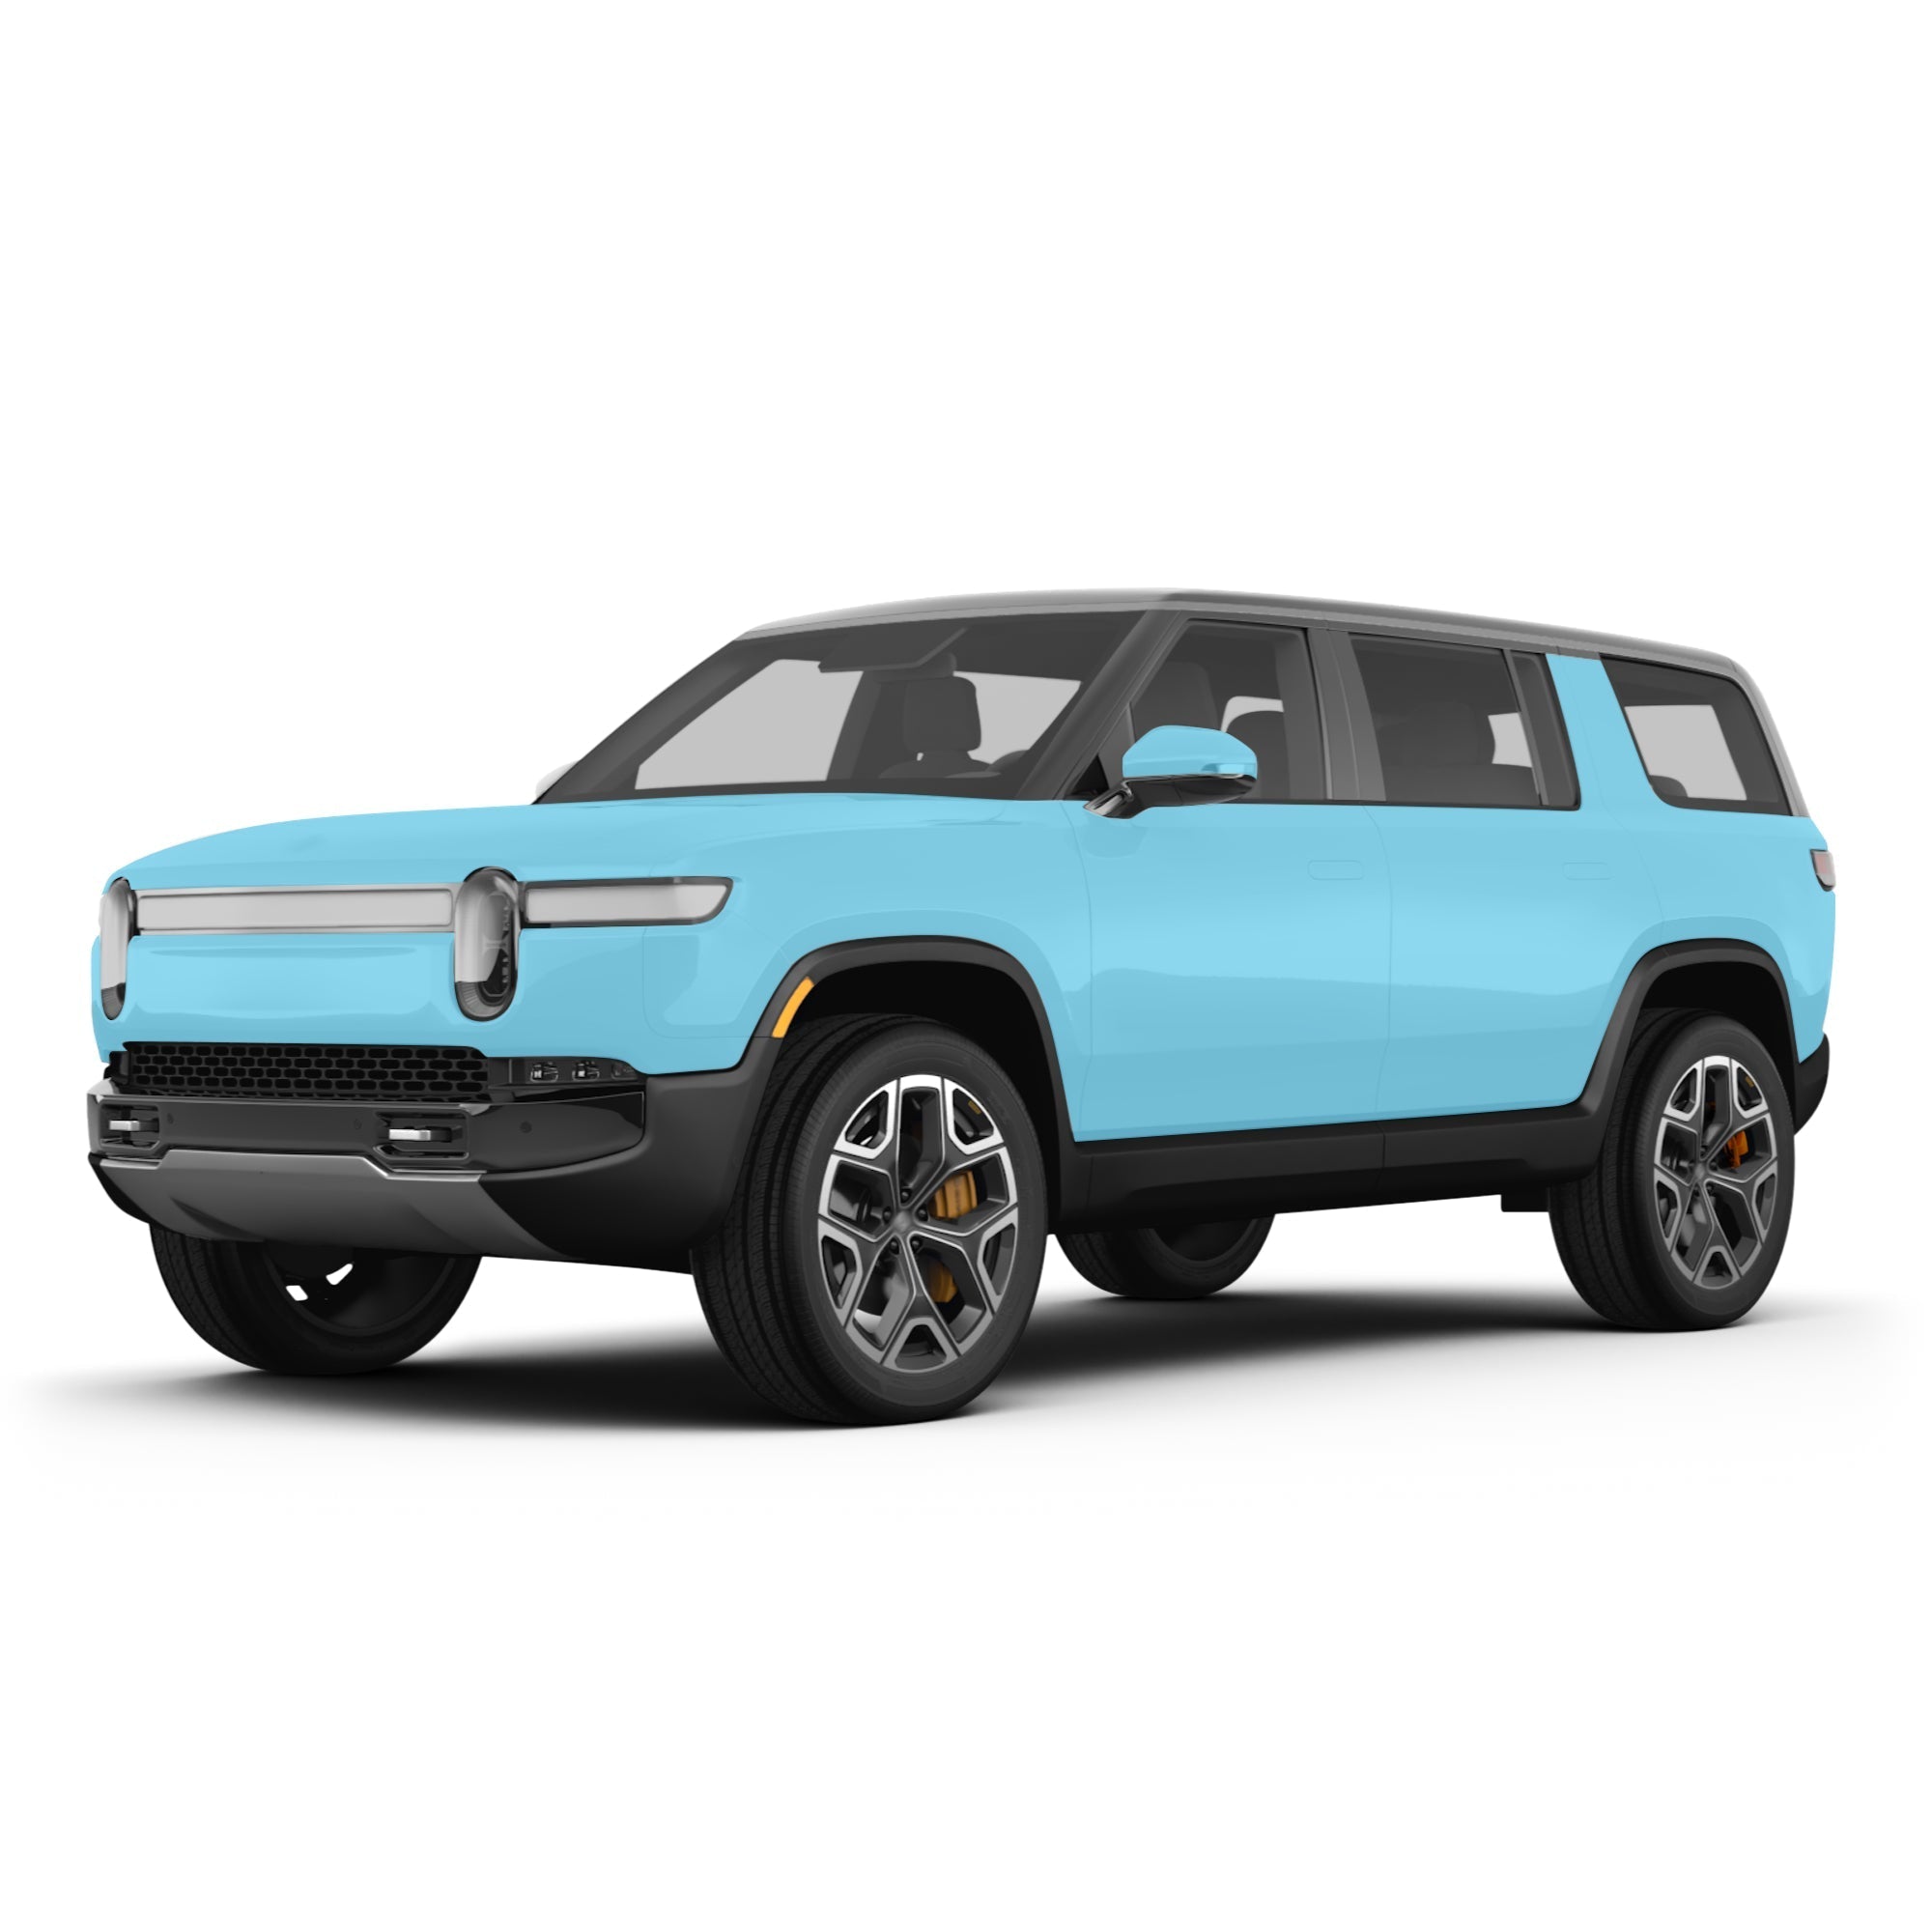


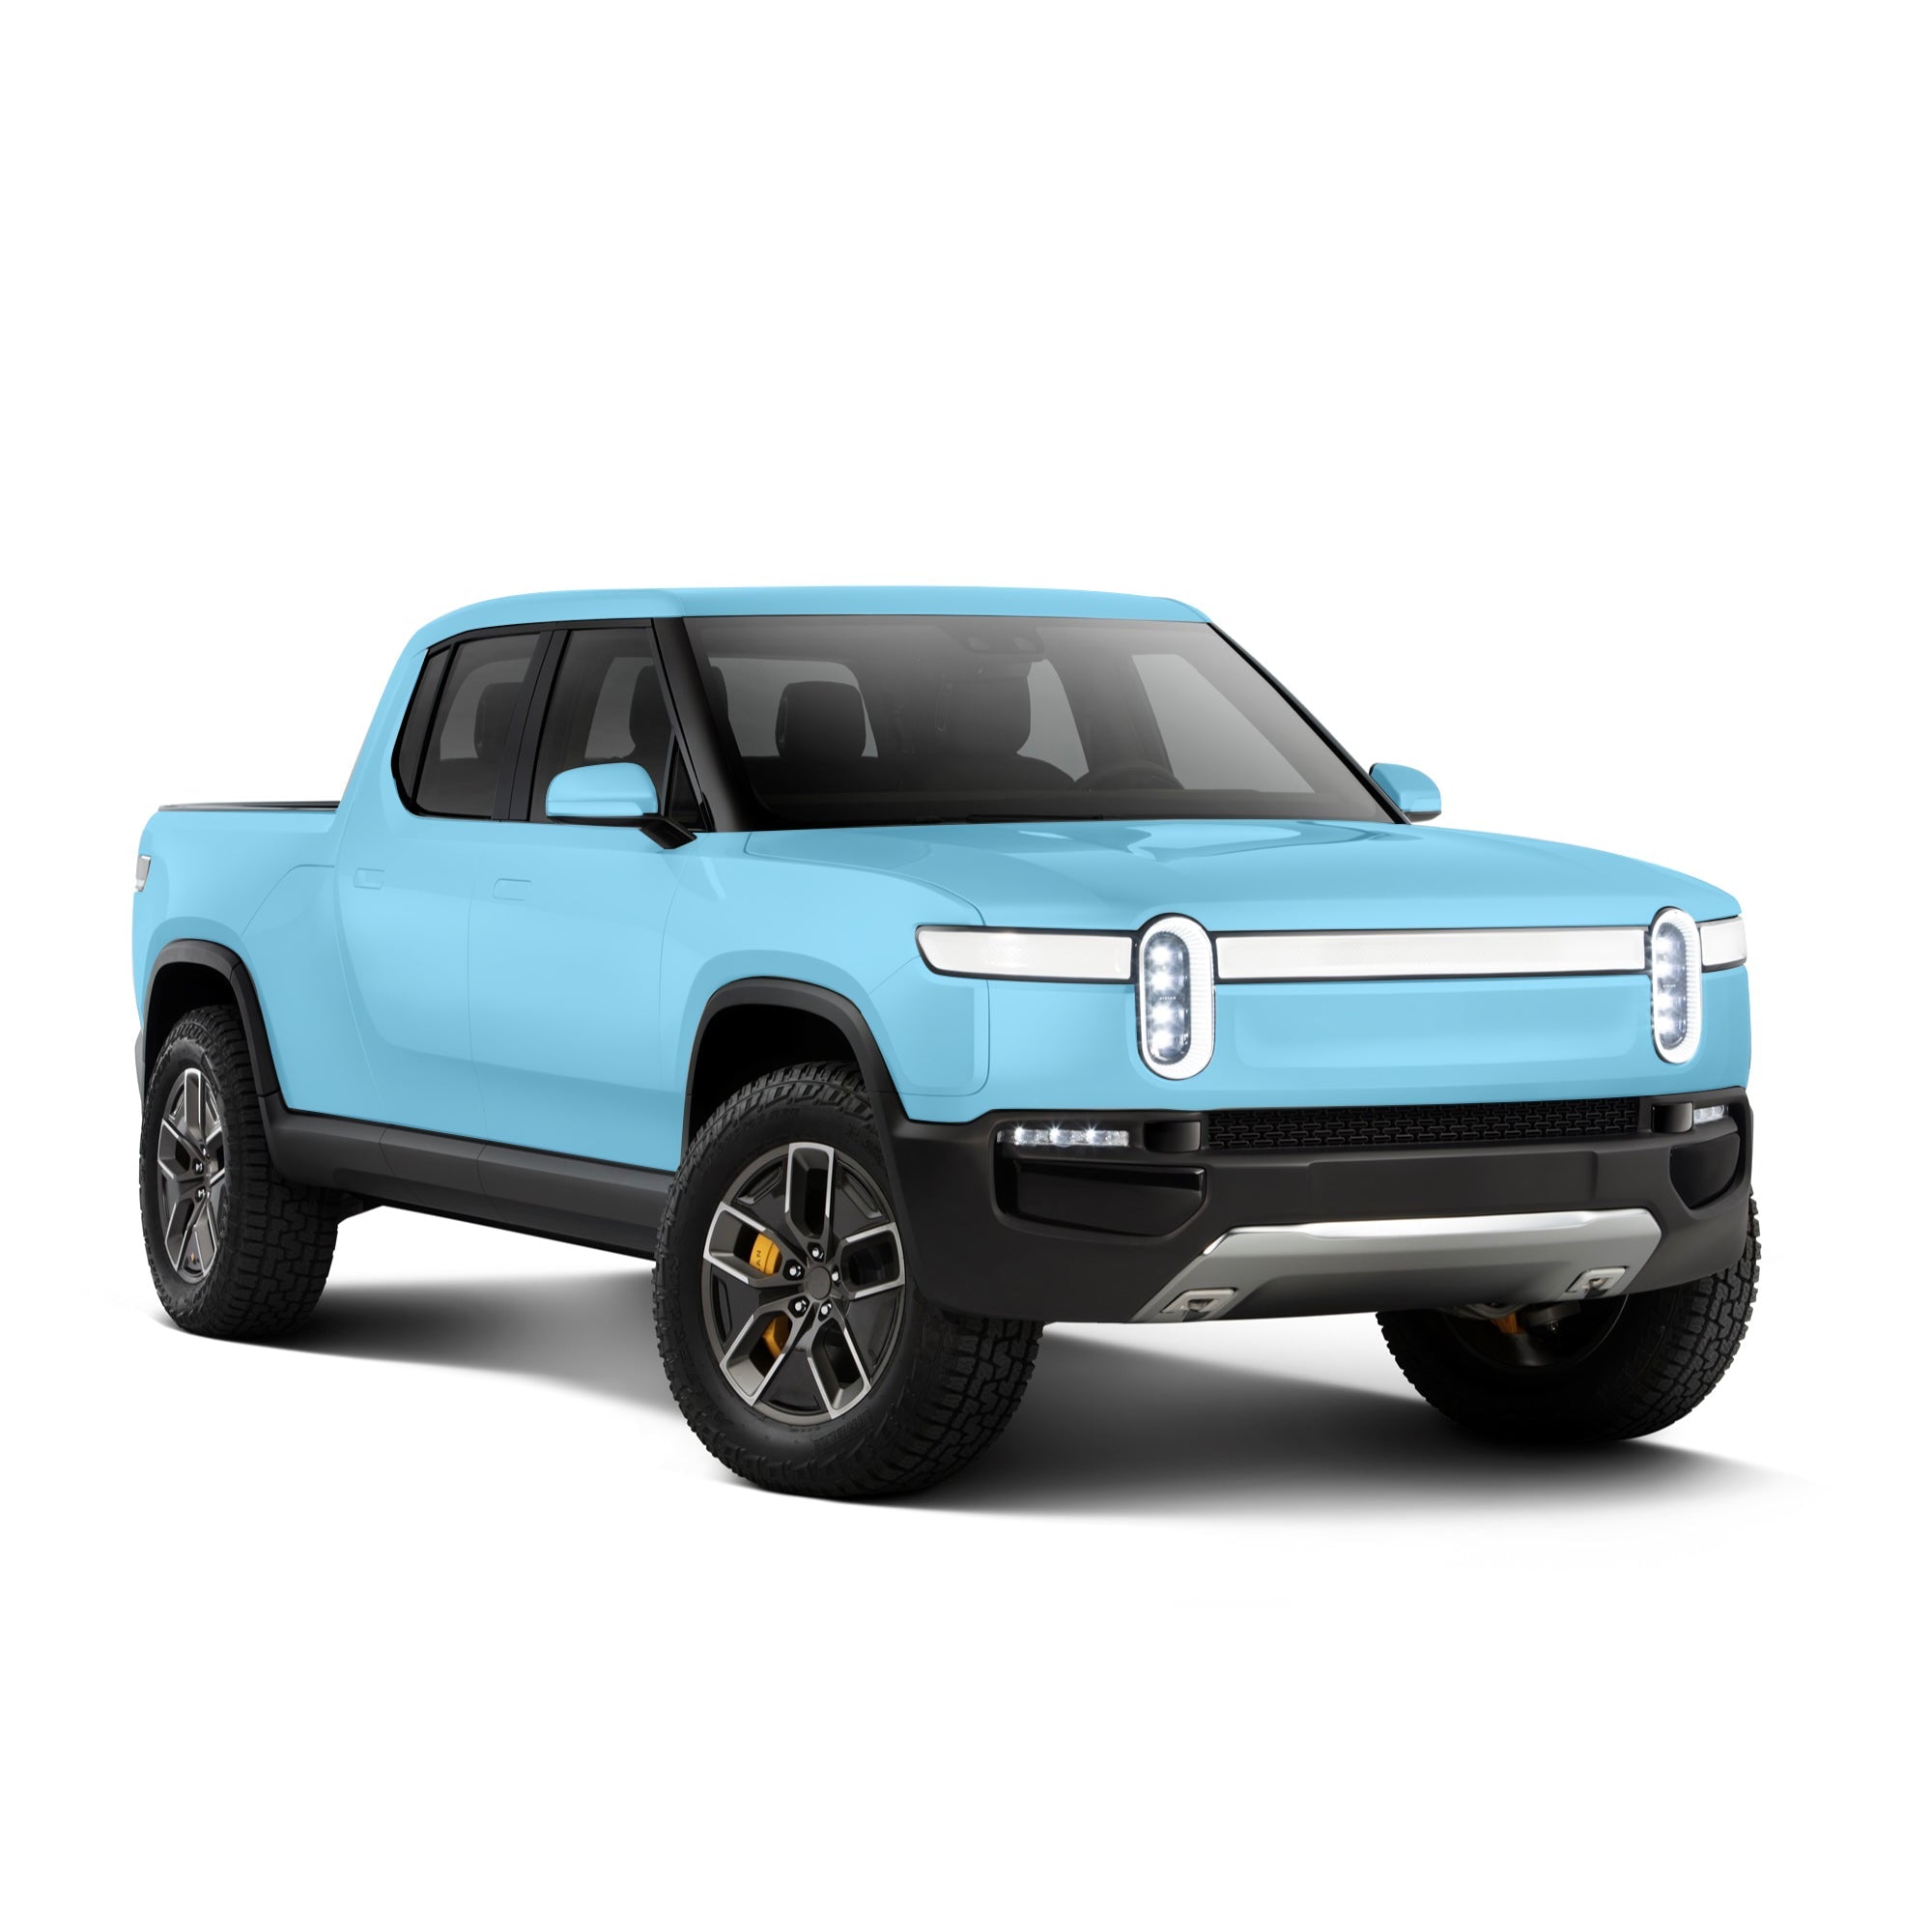


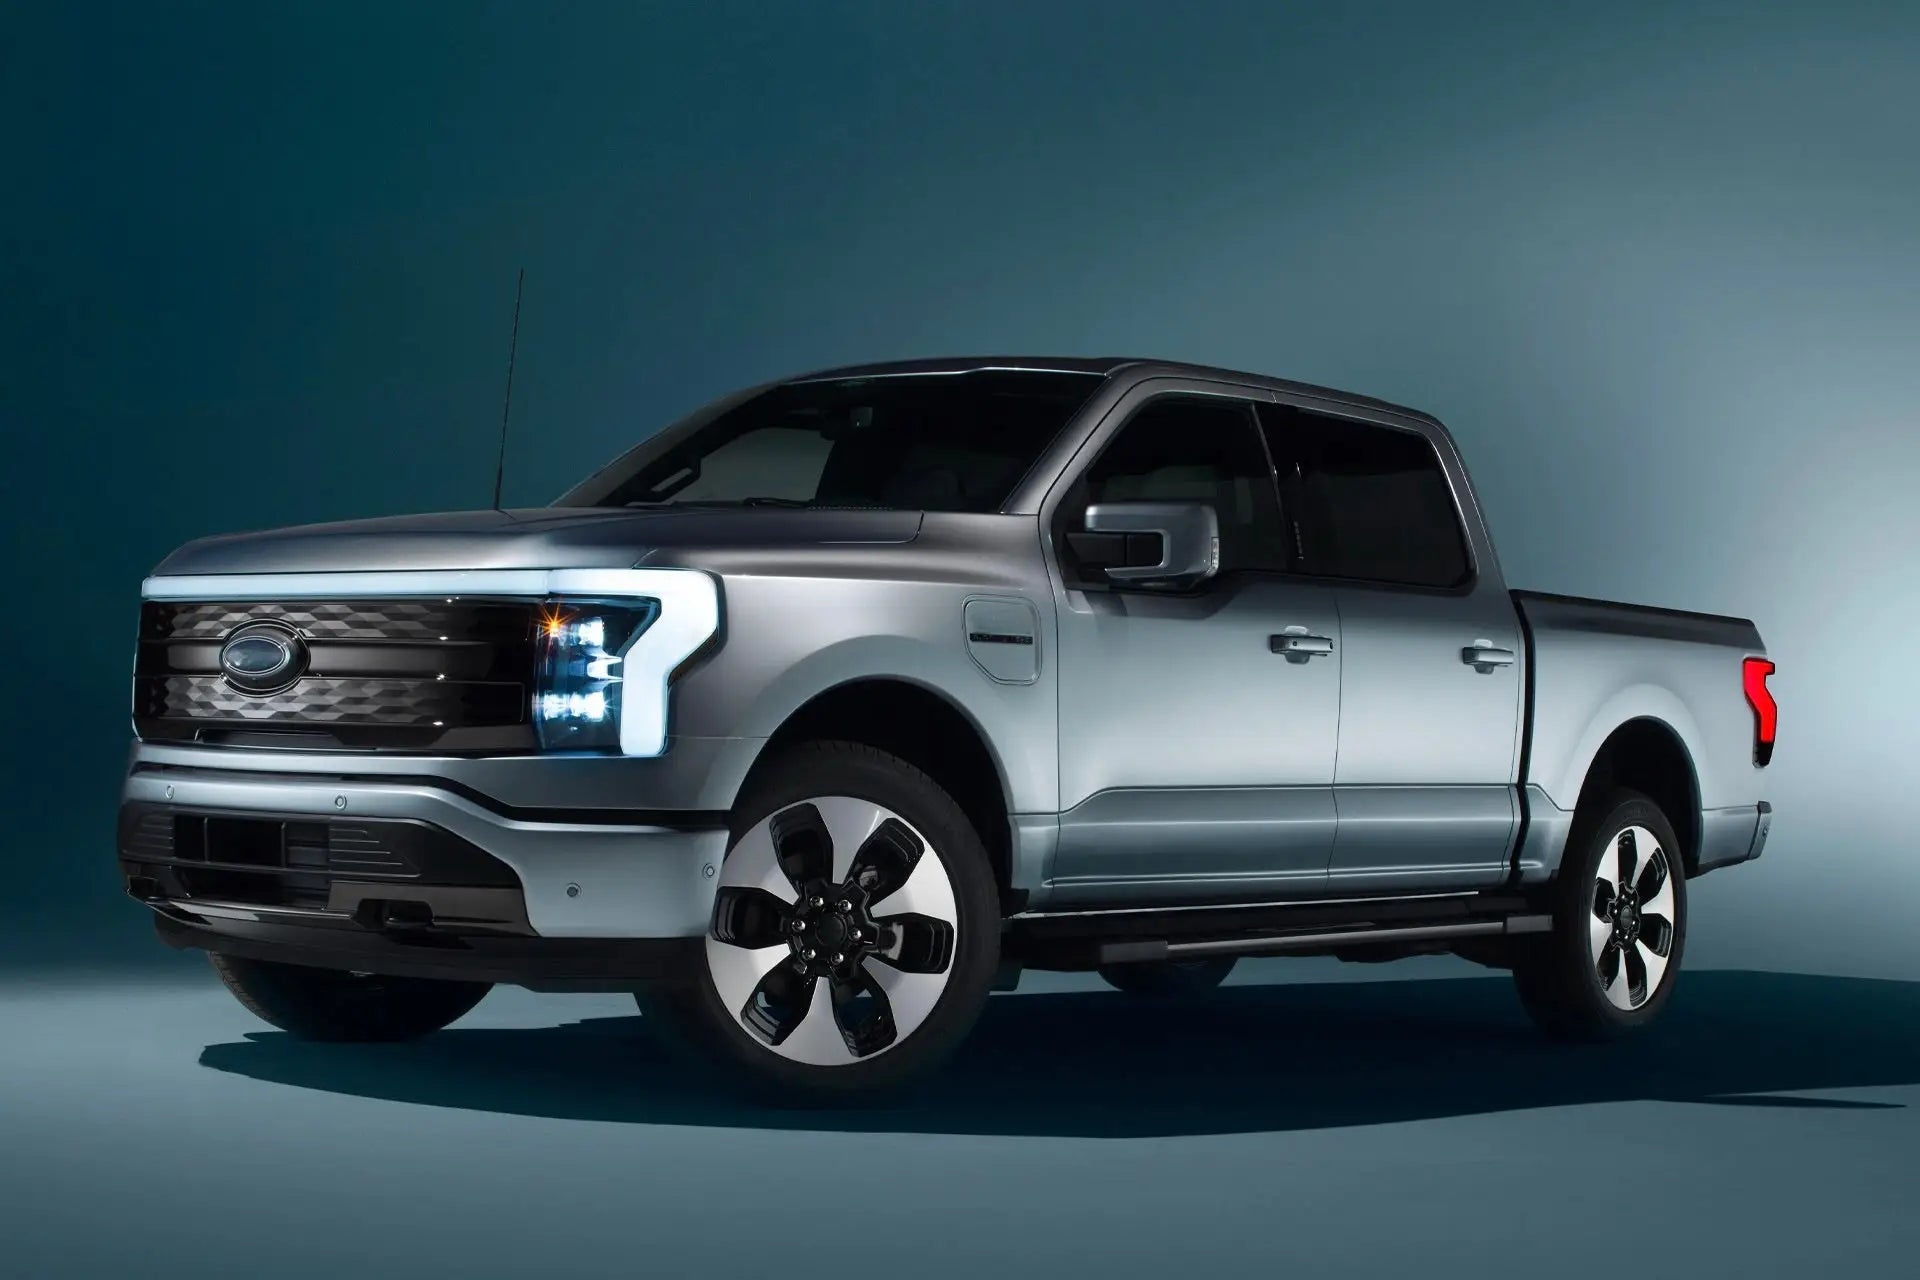
Browse by vehicle

Latest products
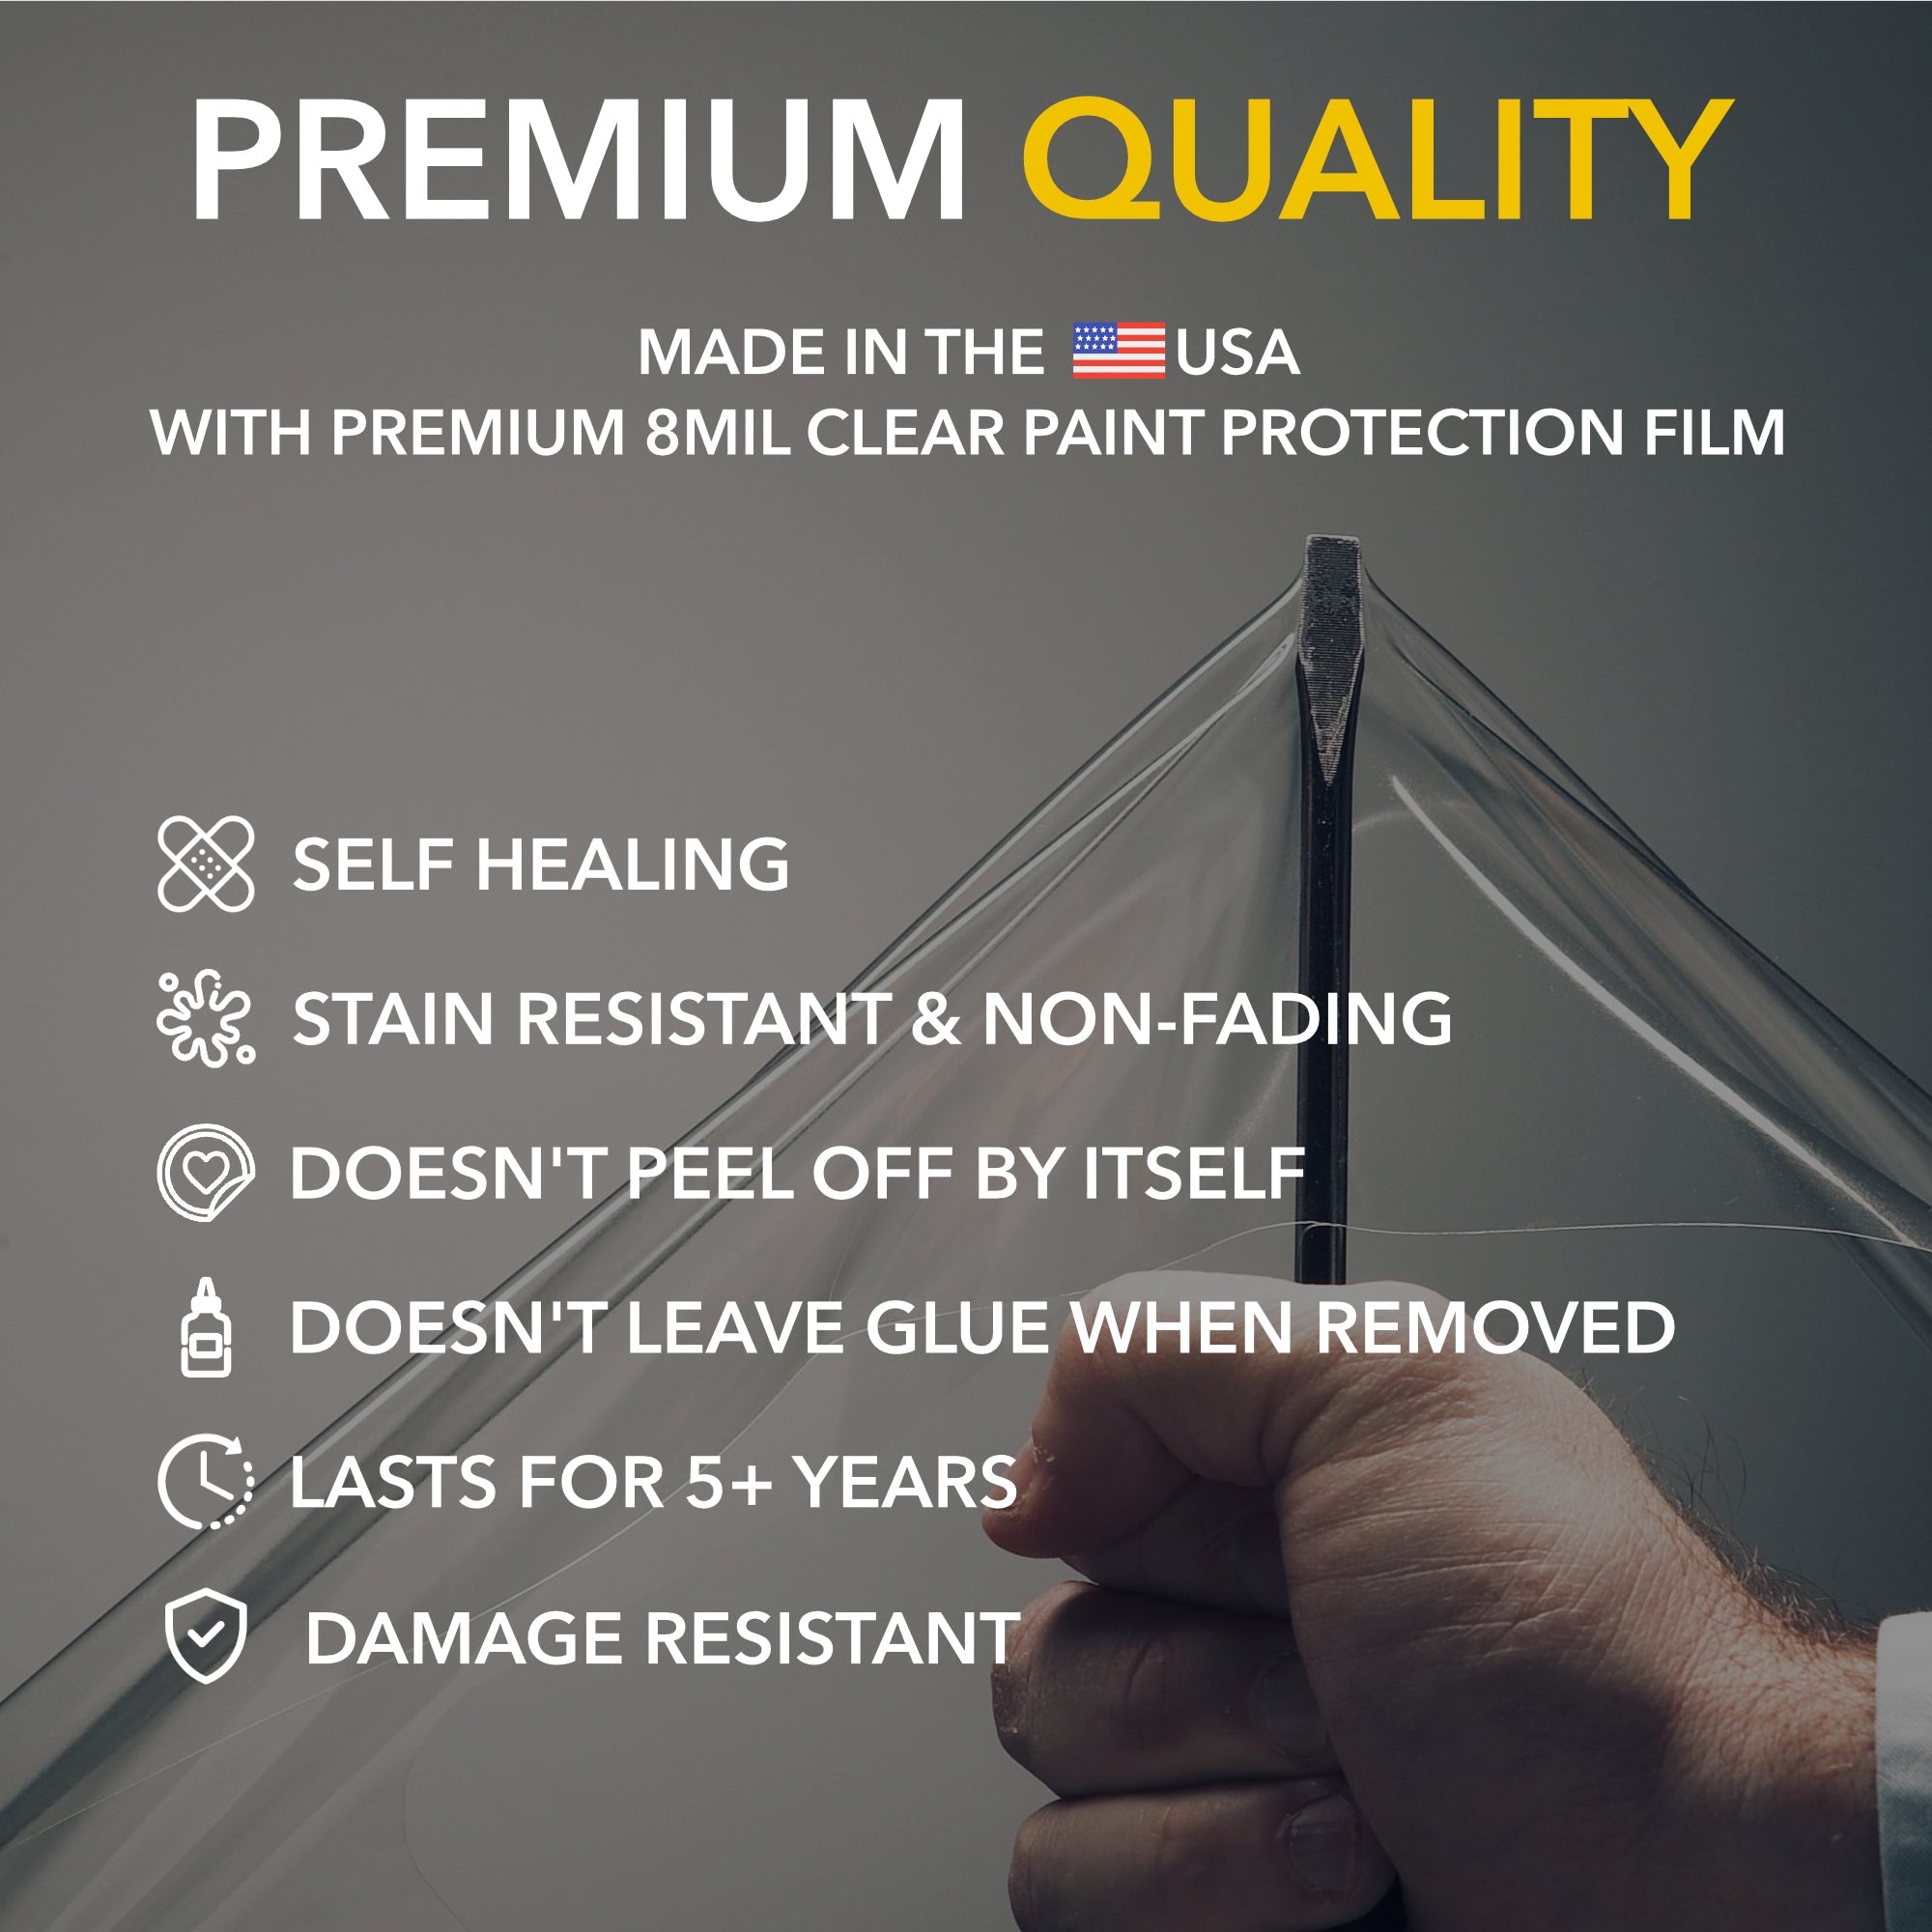
Original products, designed & manufactured by TWRAPS in 🇺🇸 California.

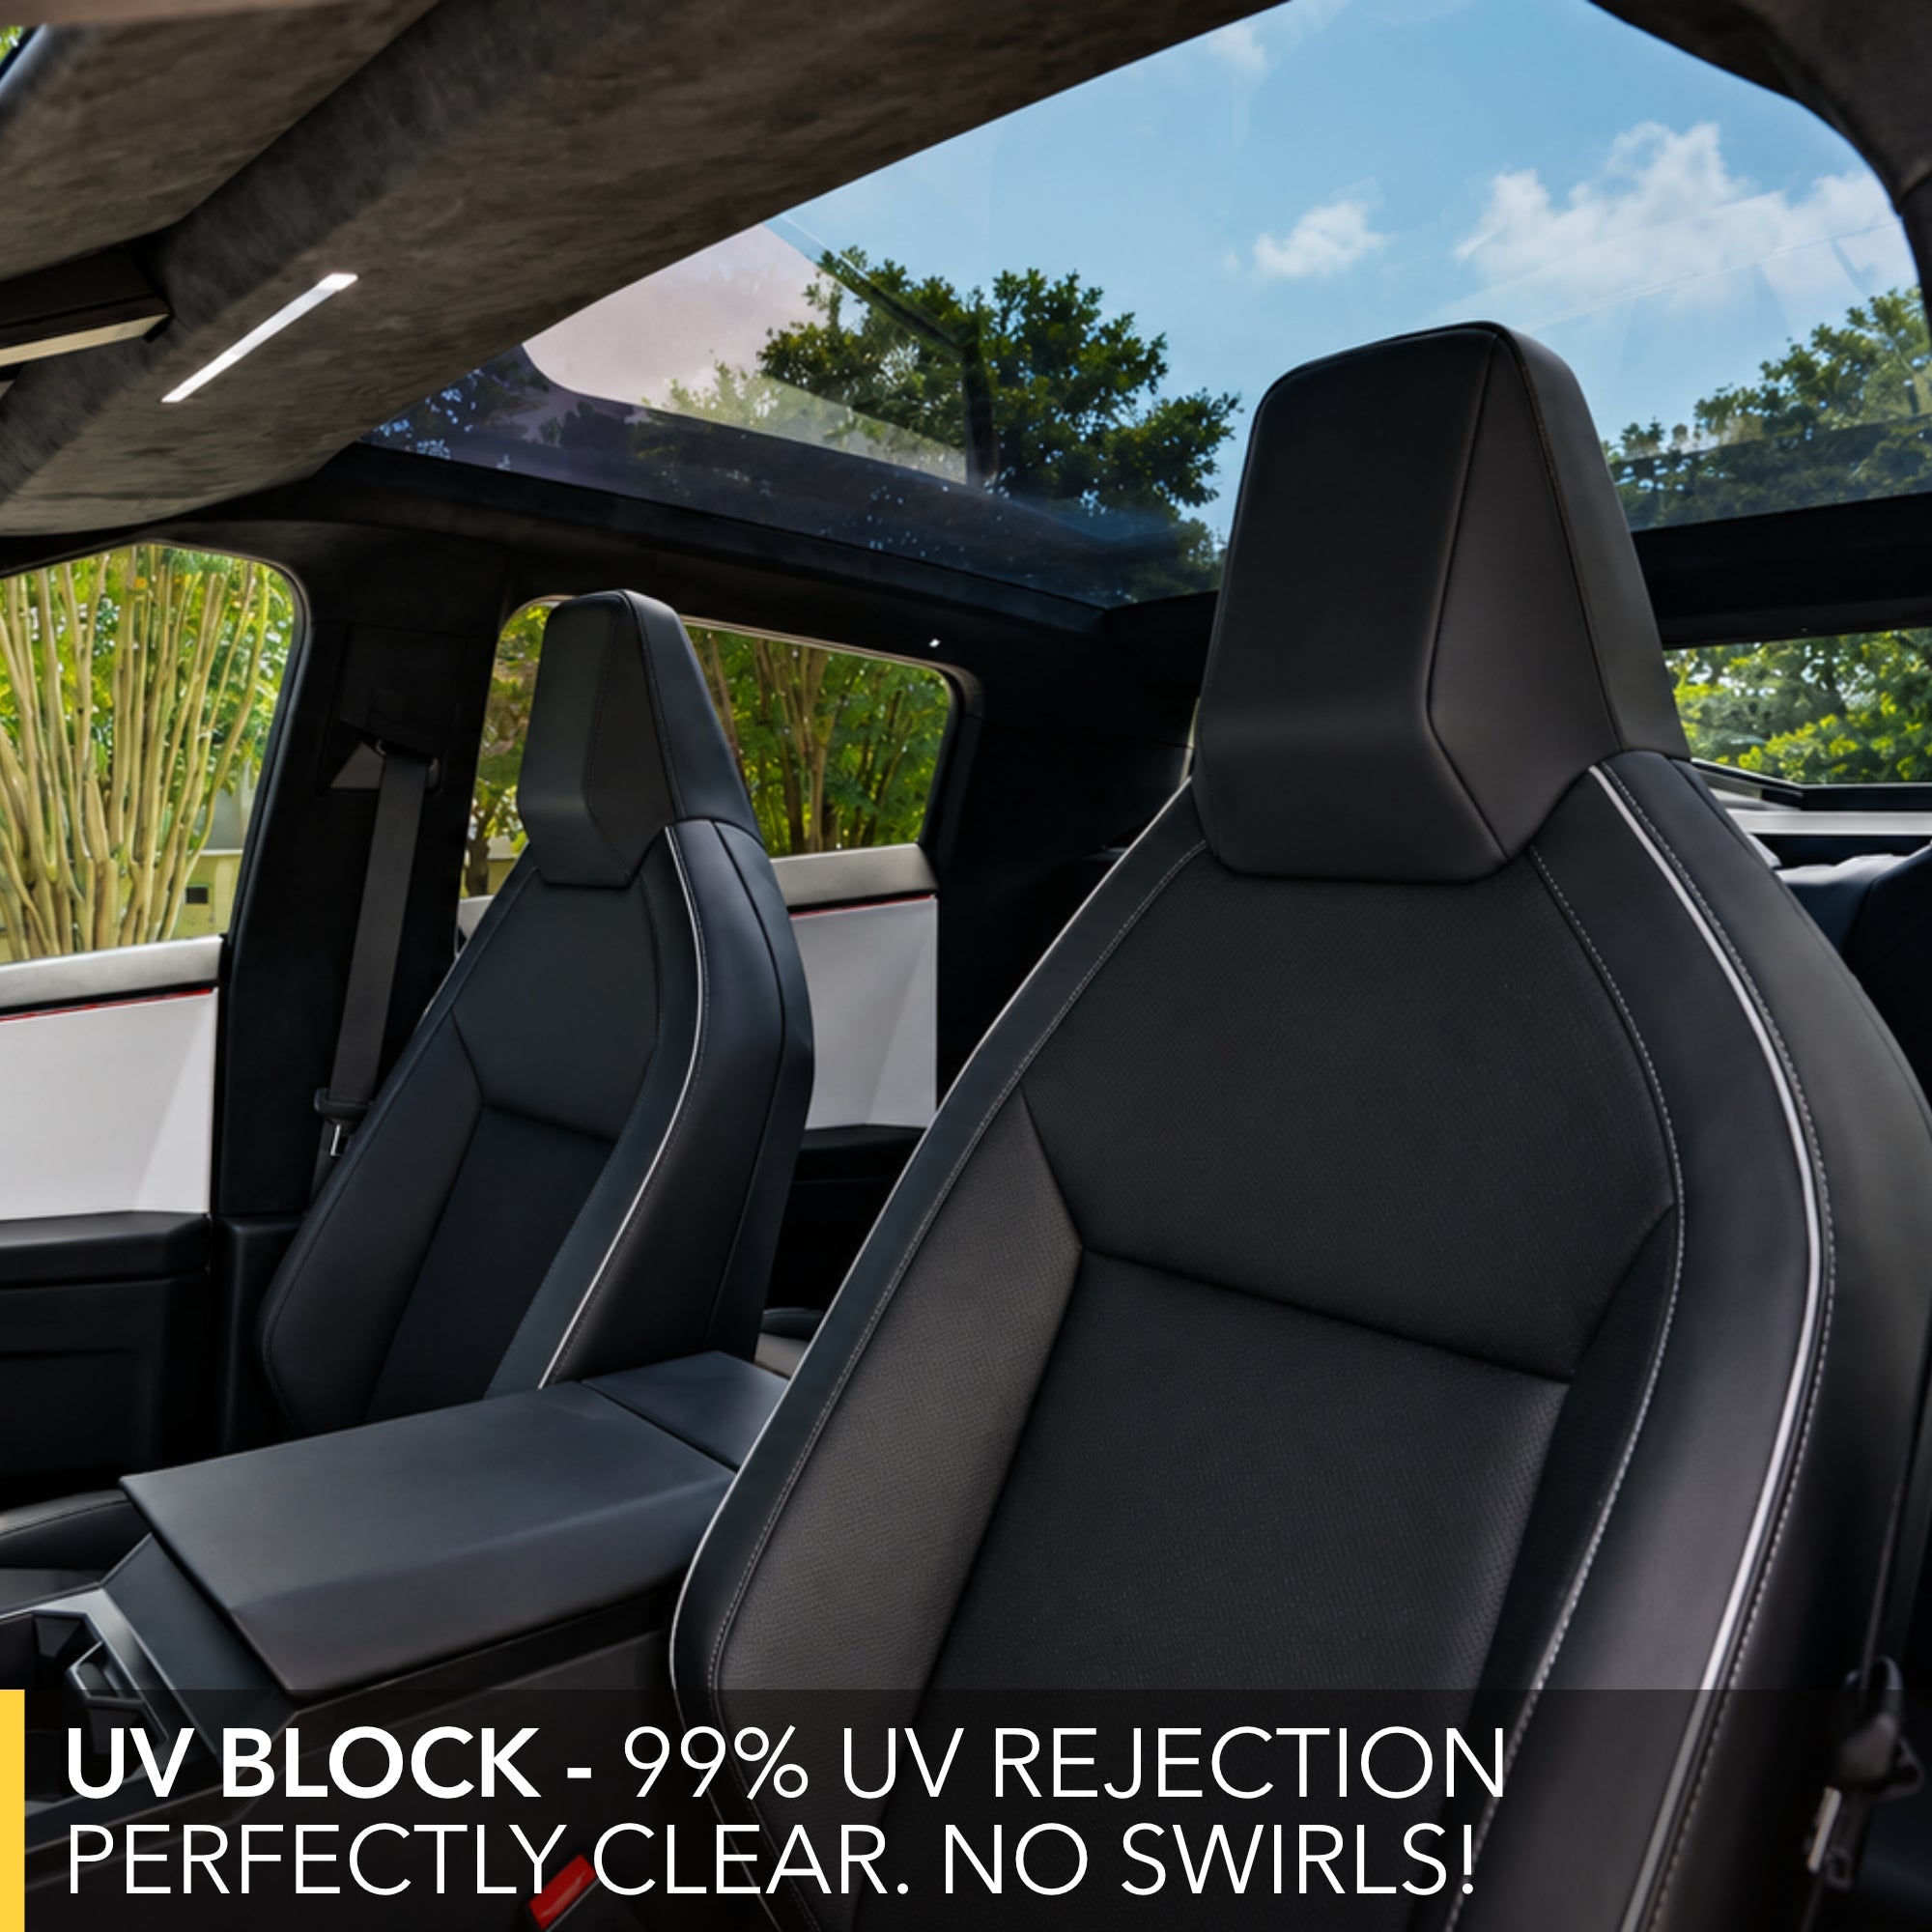


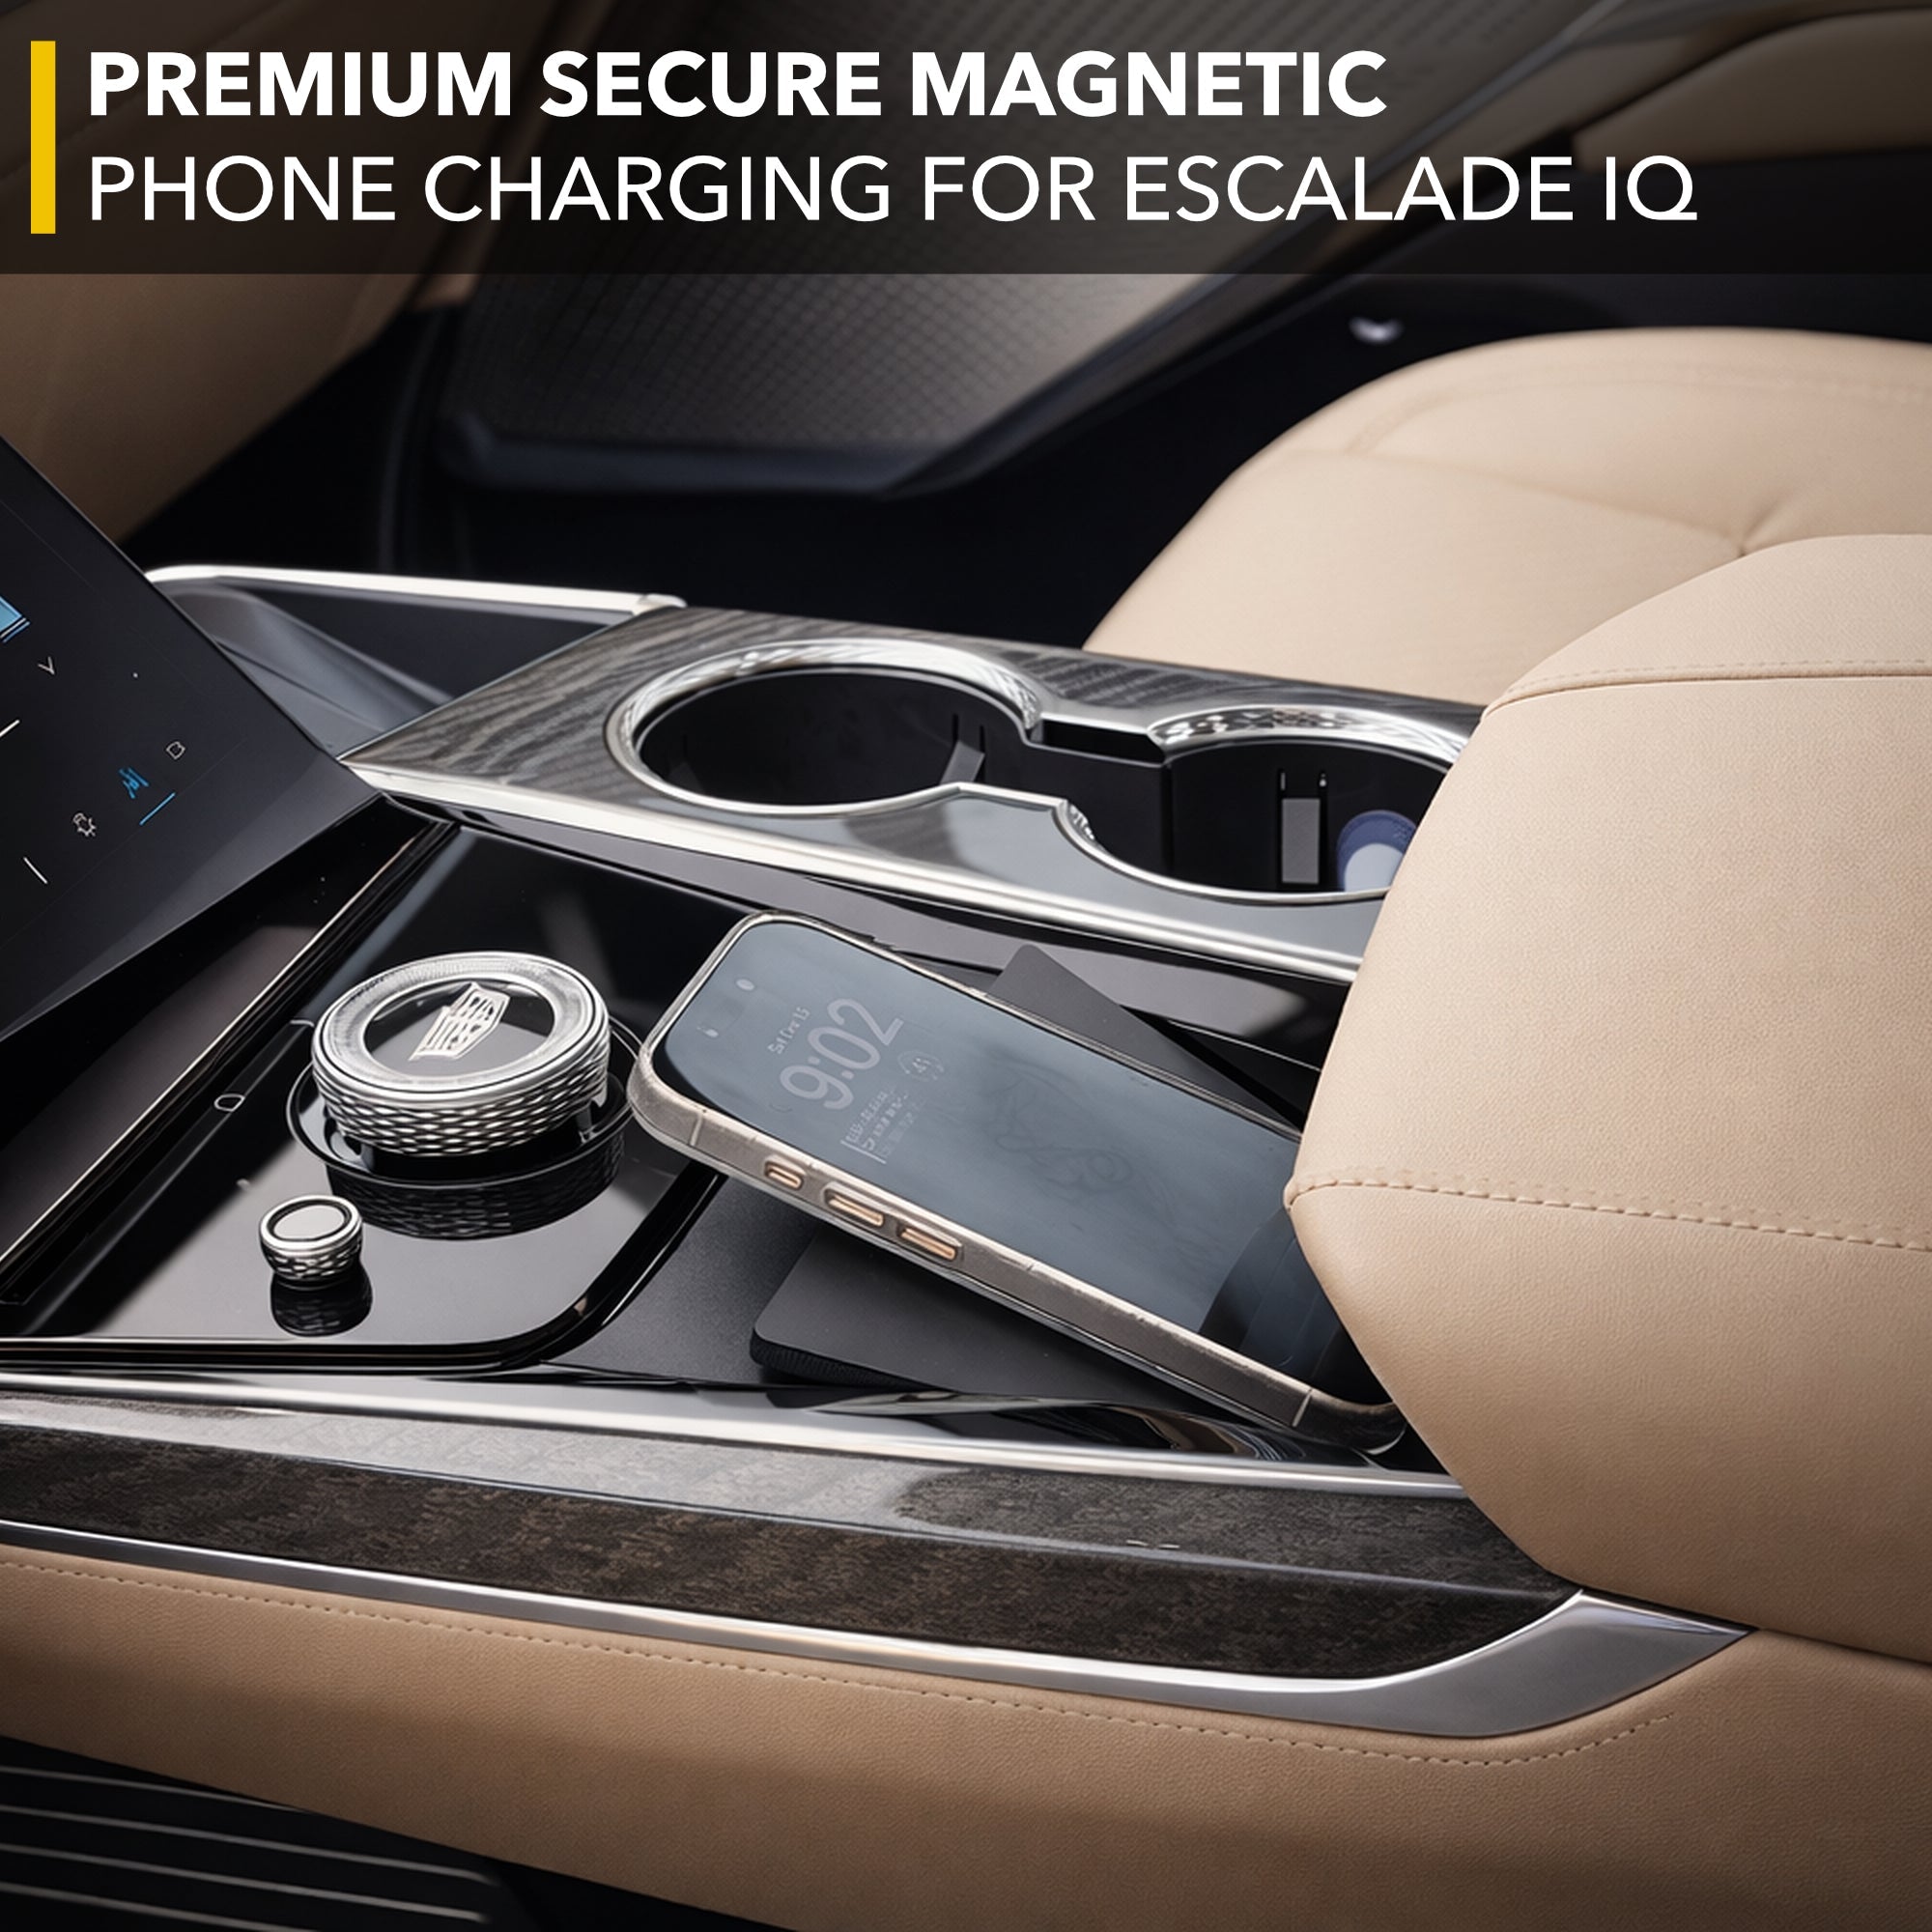
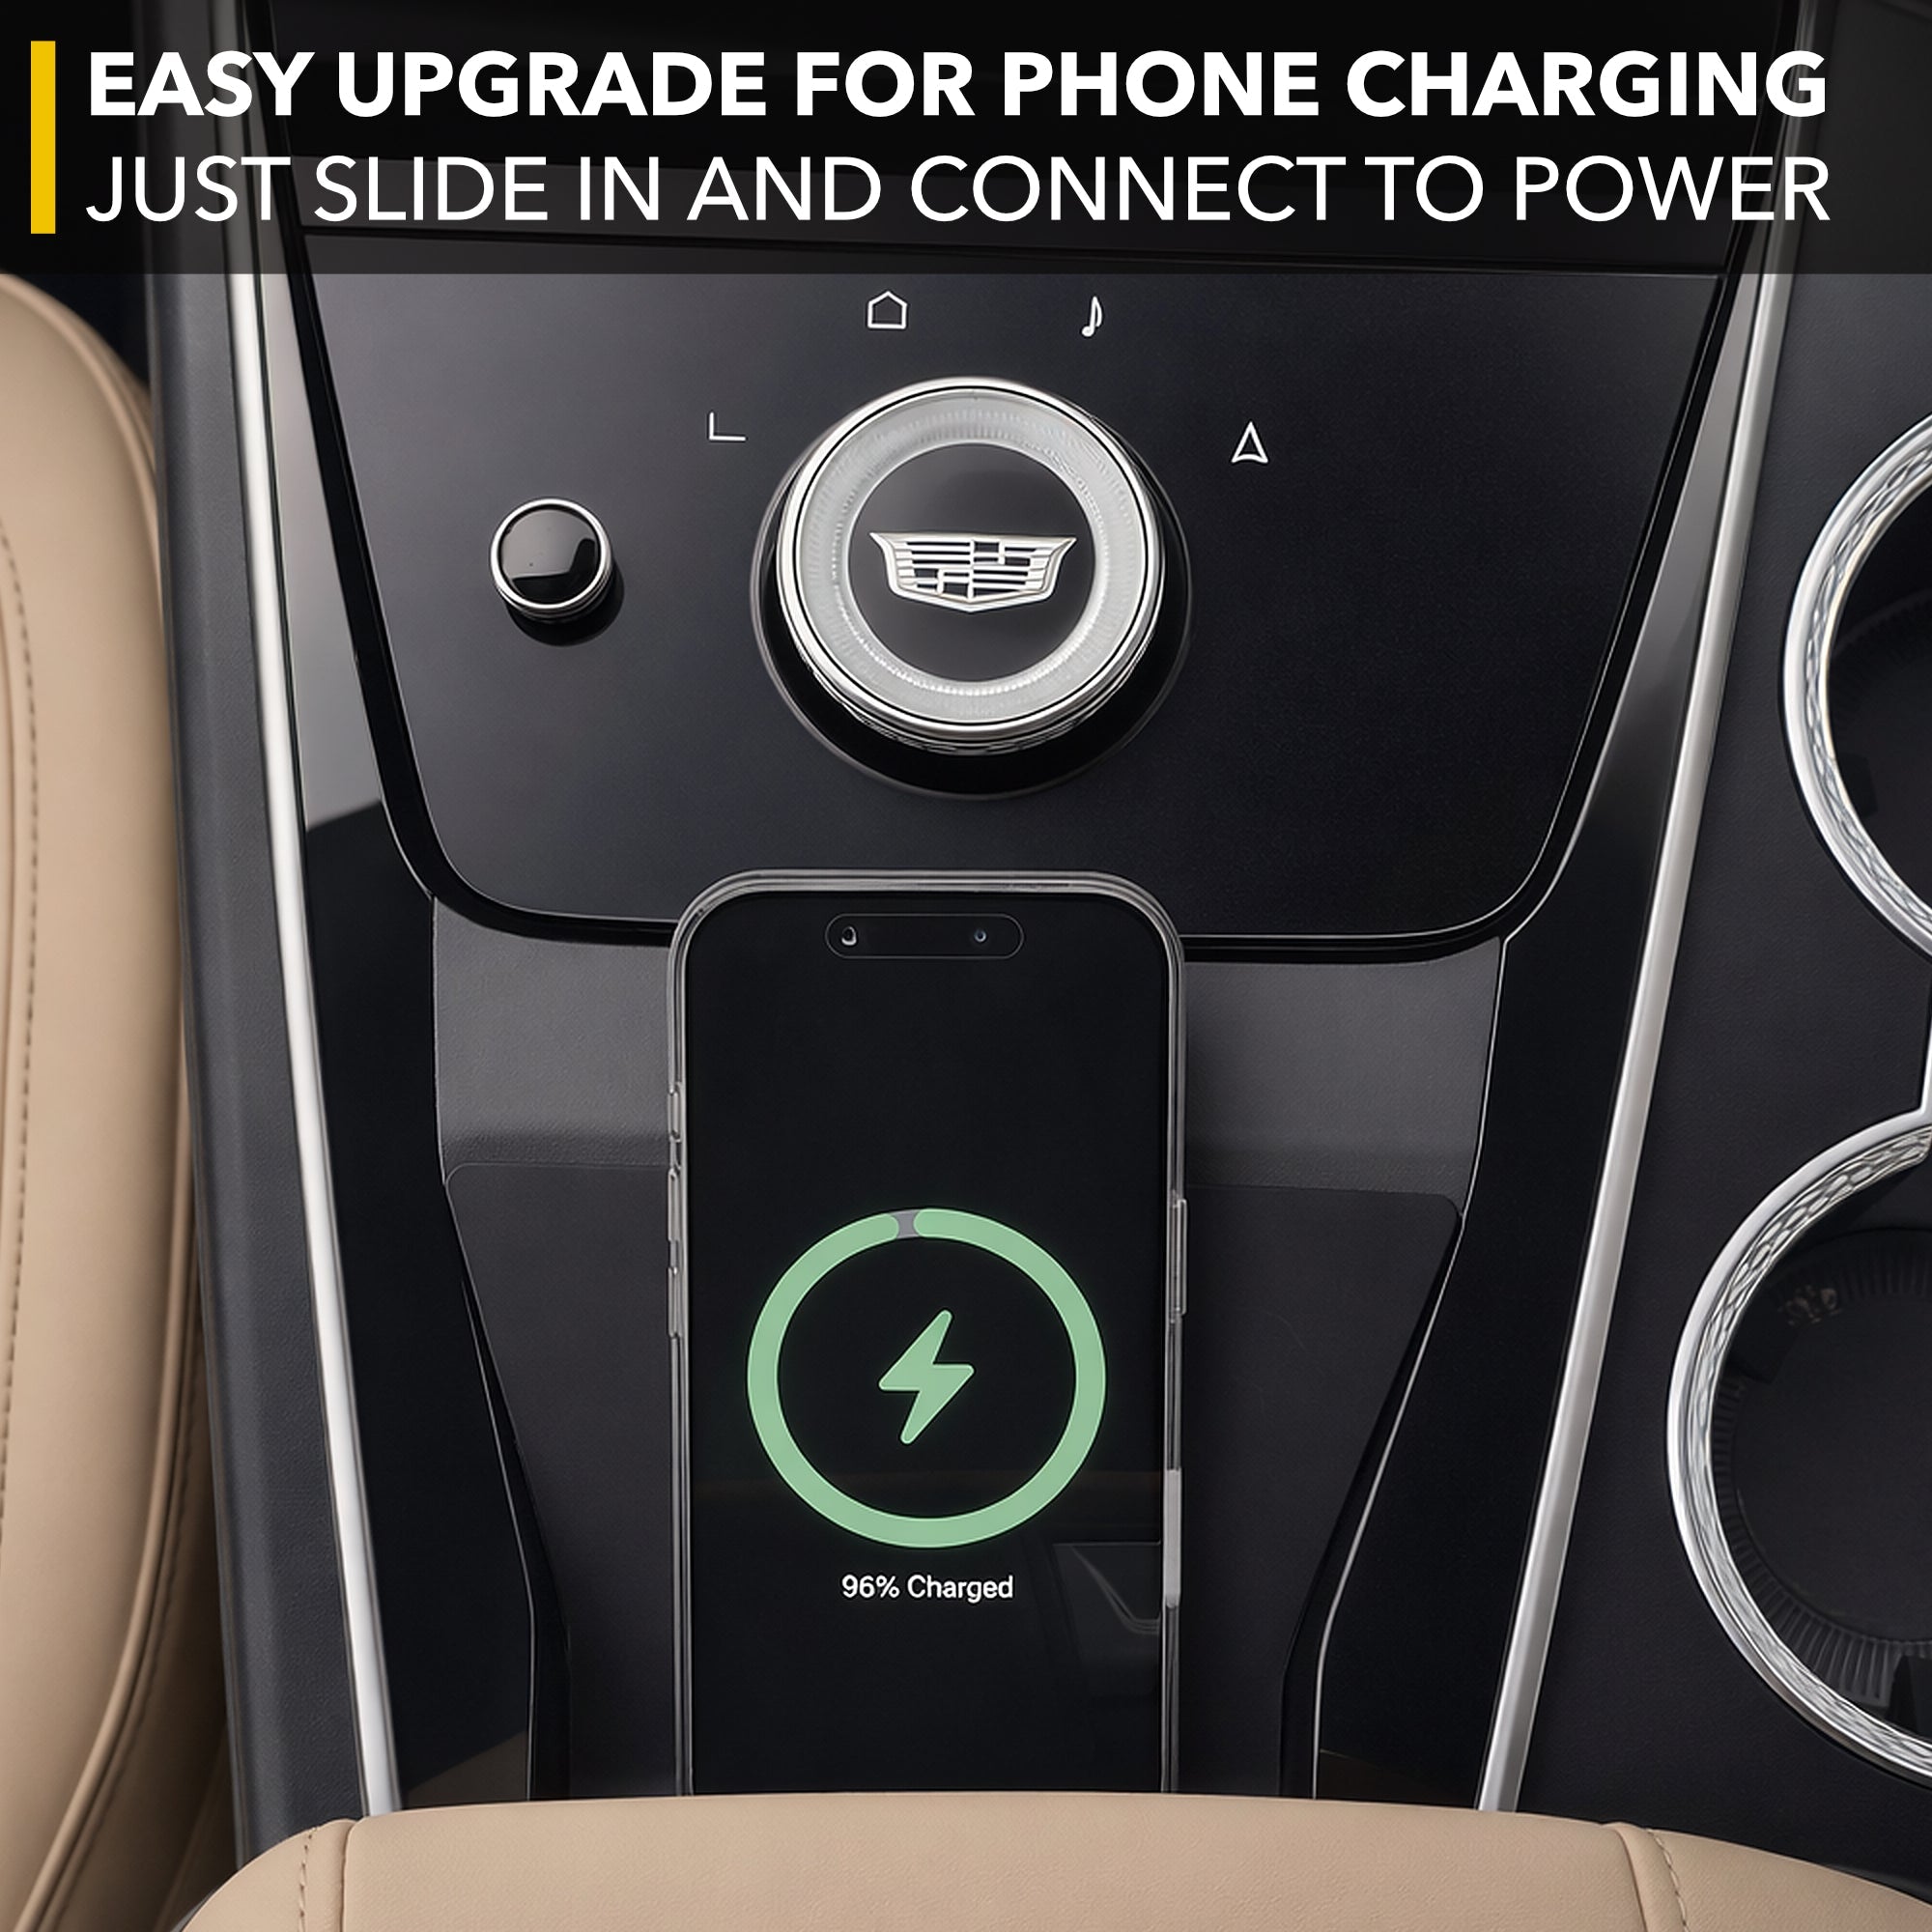
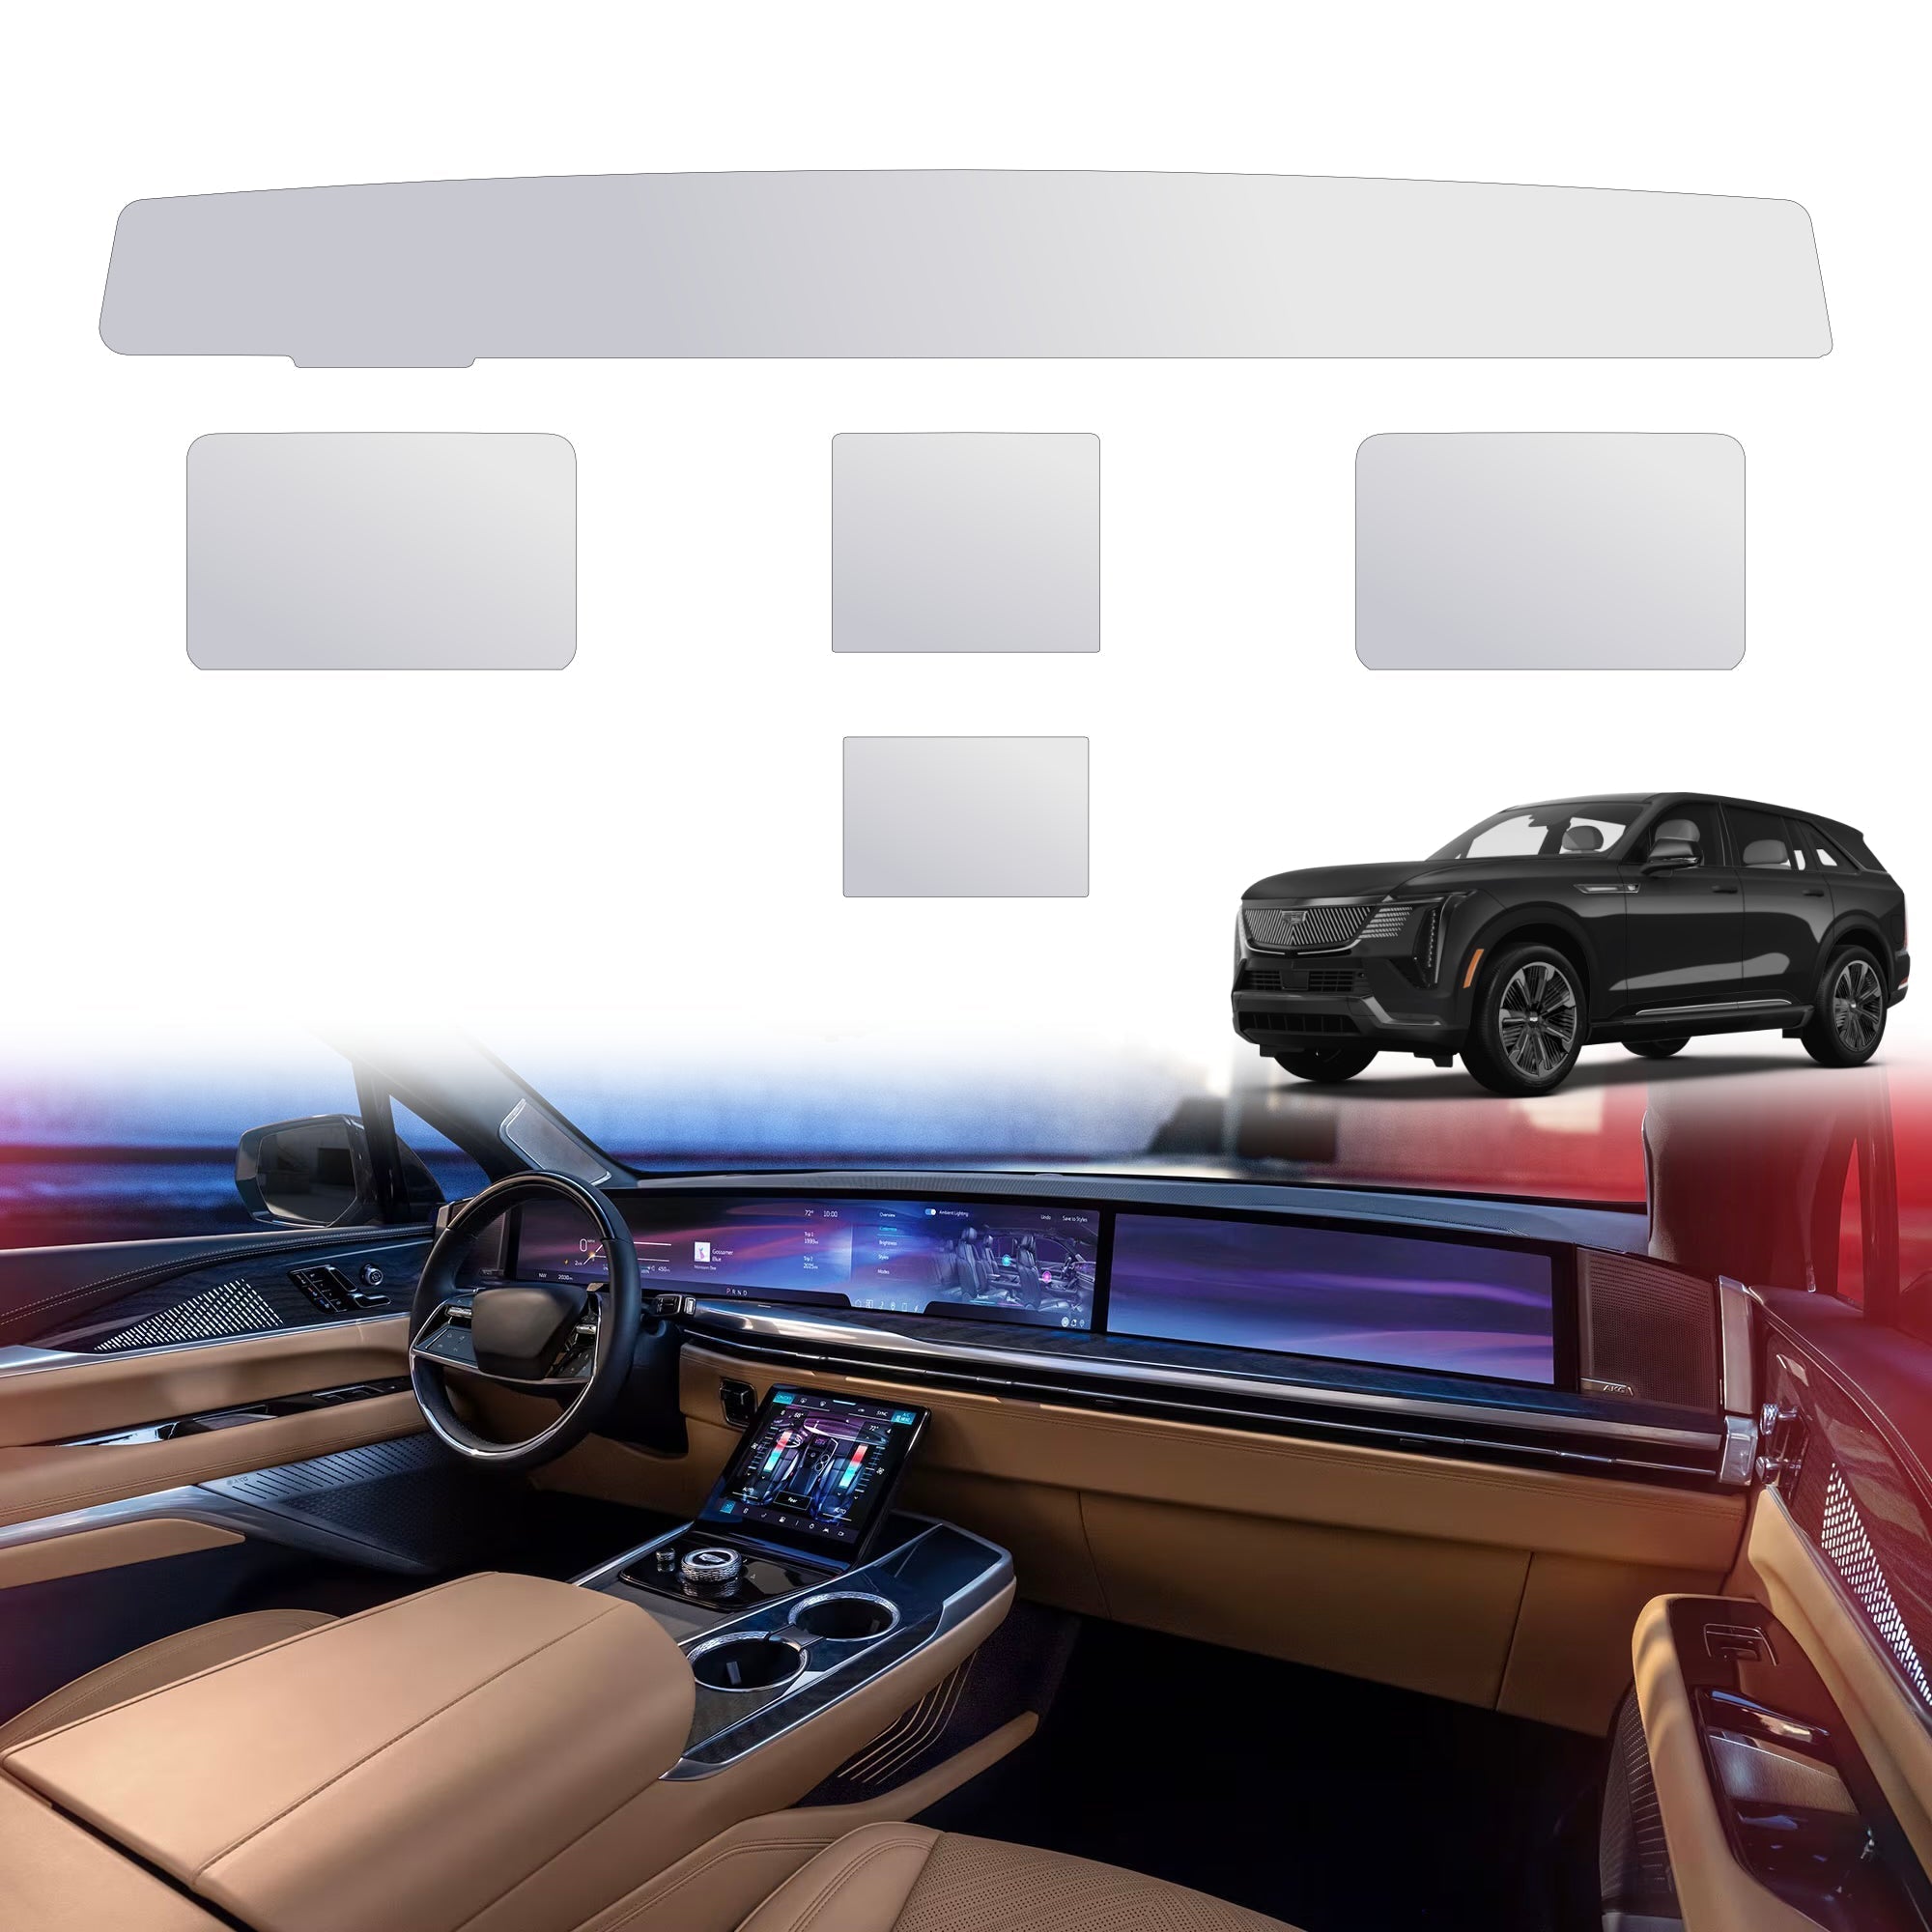
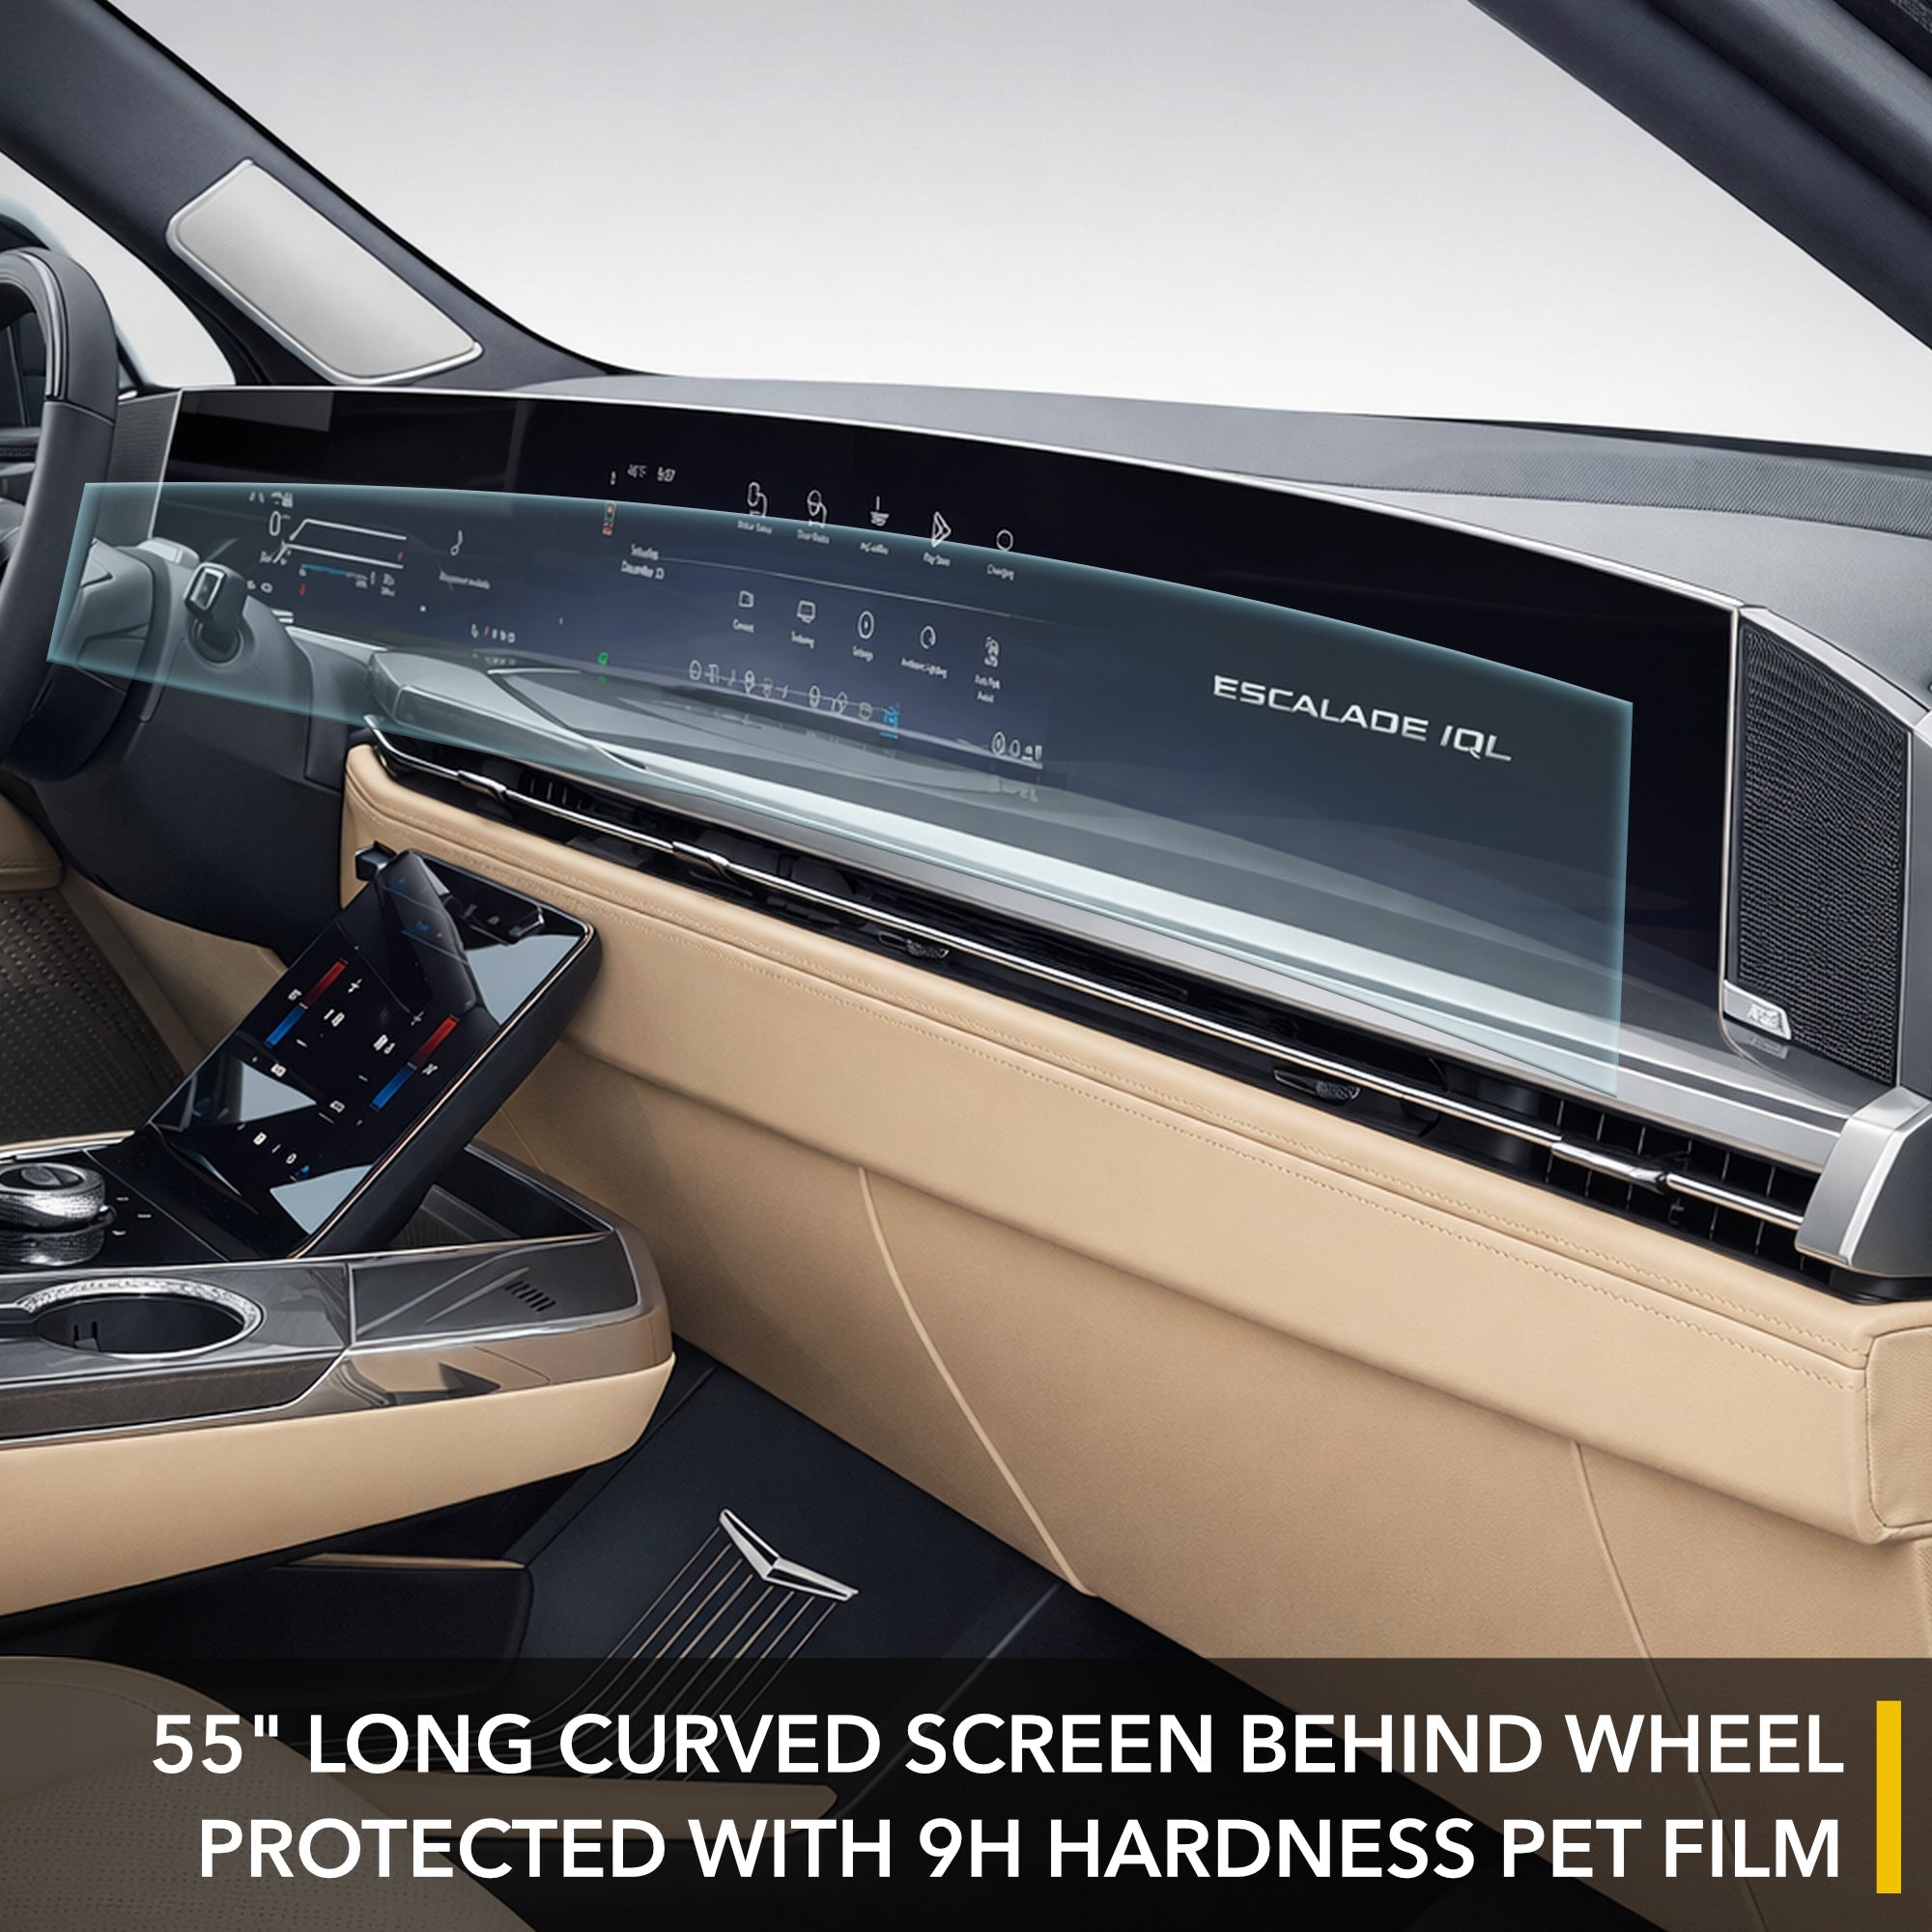
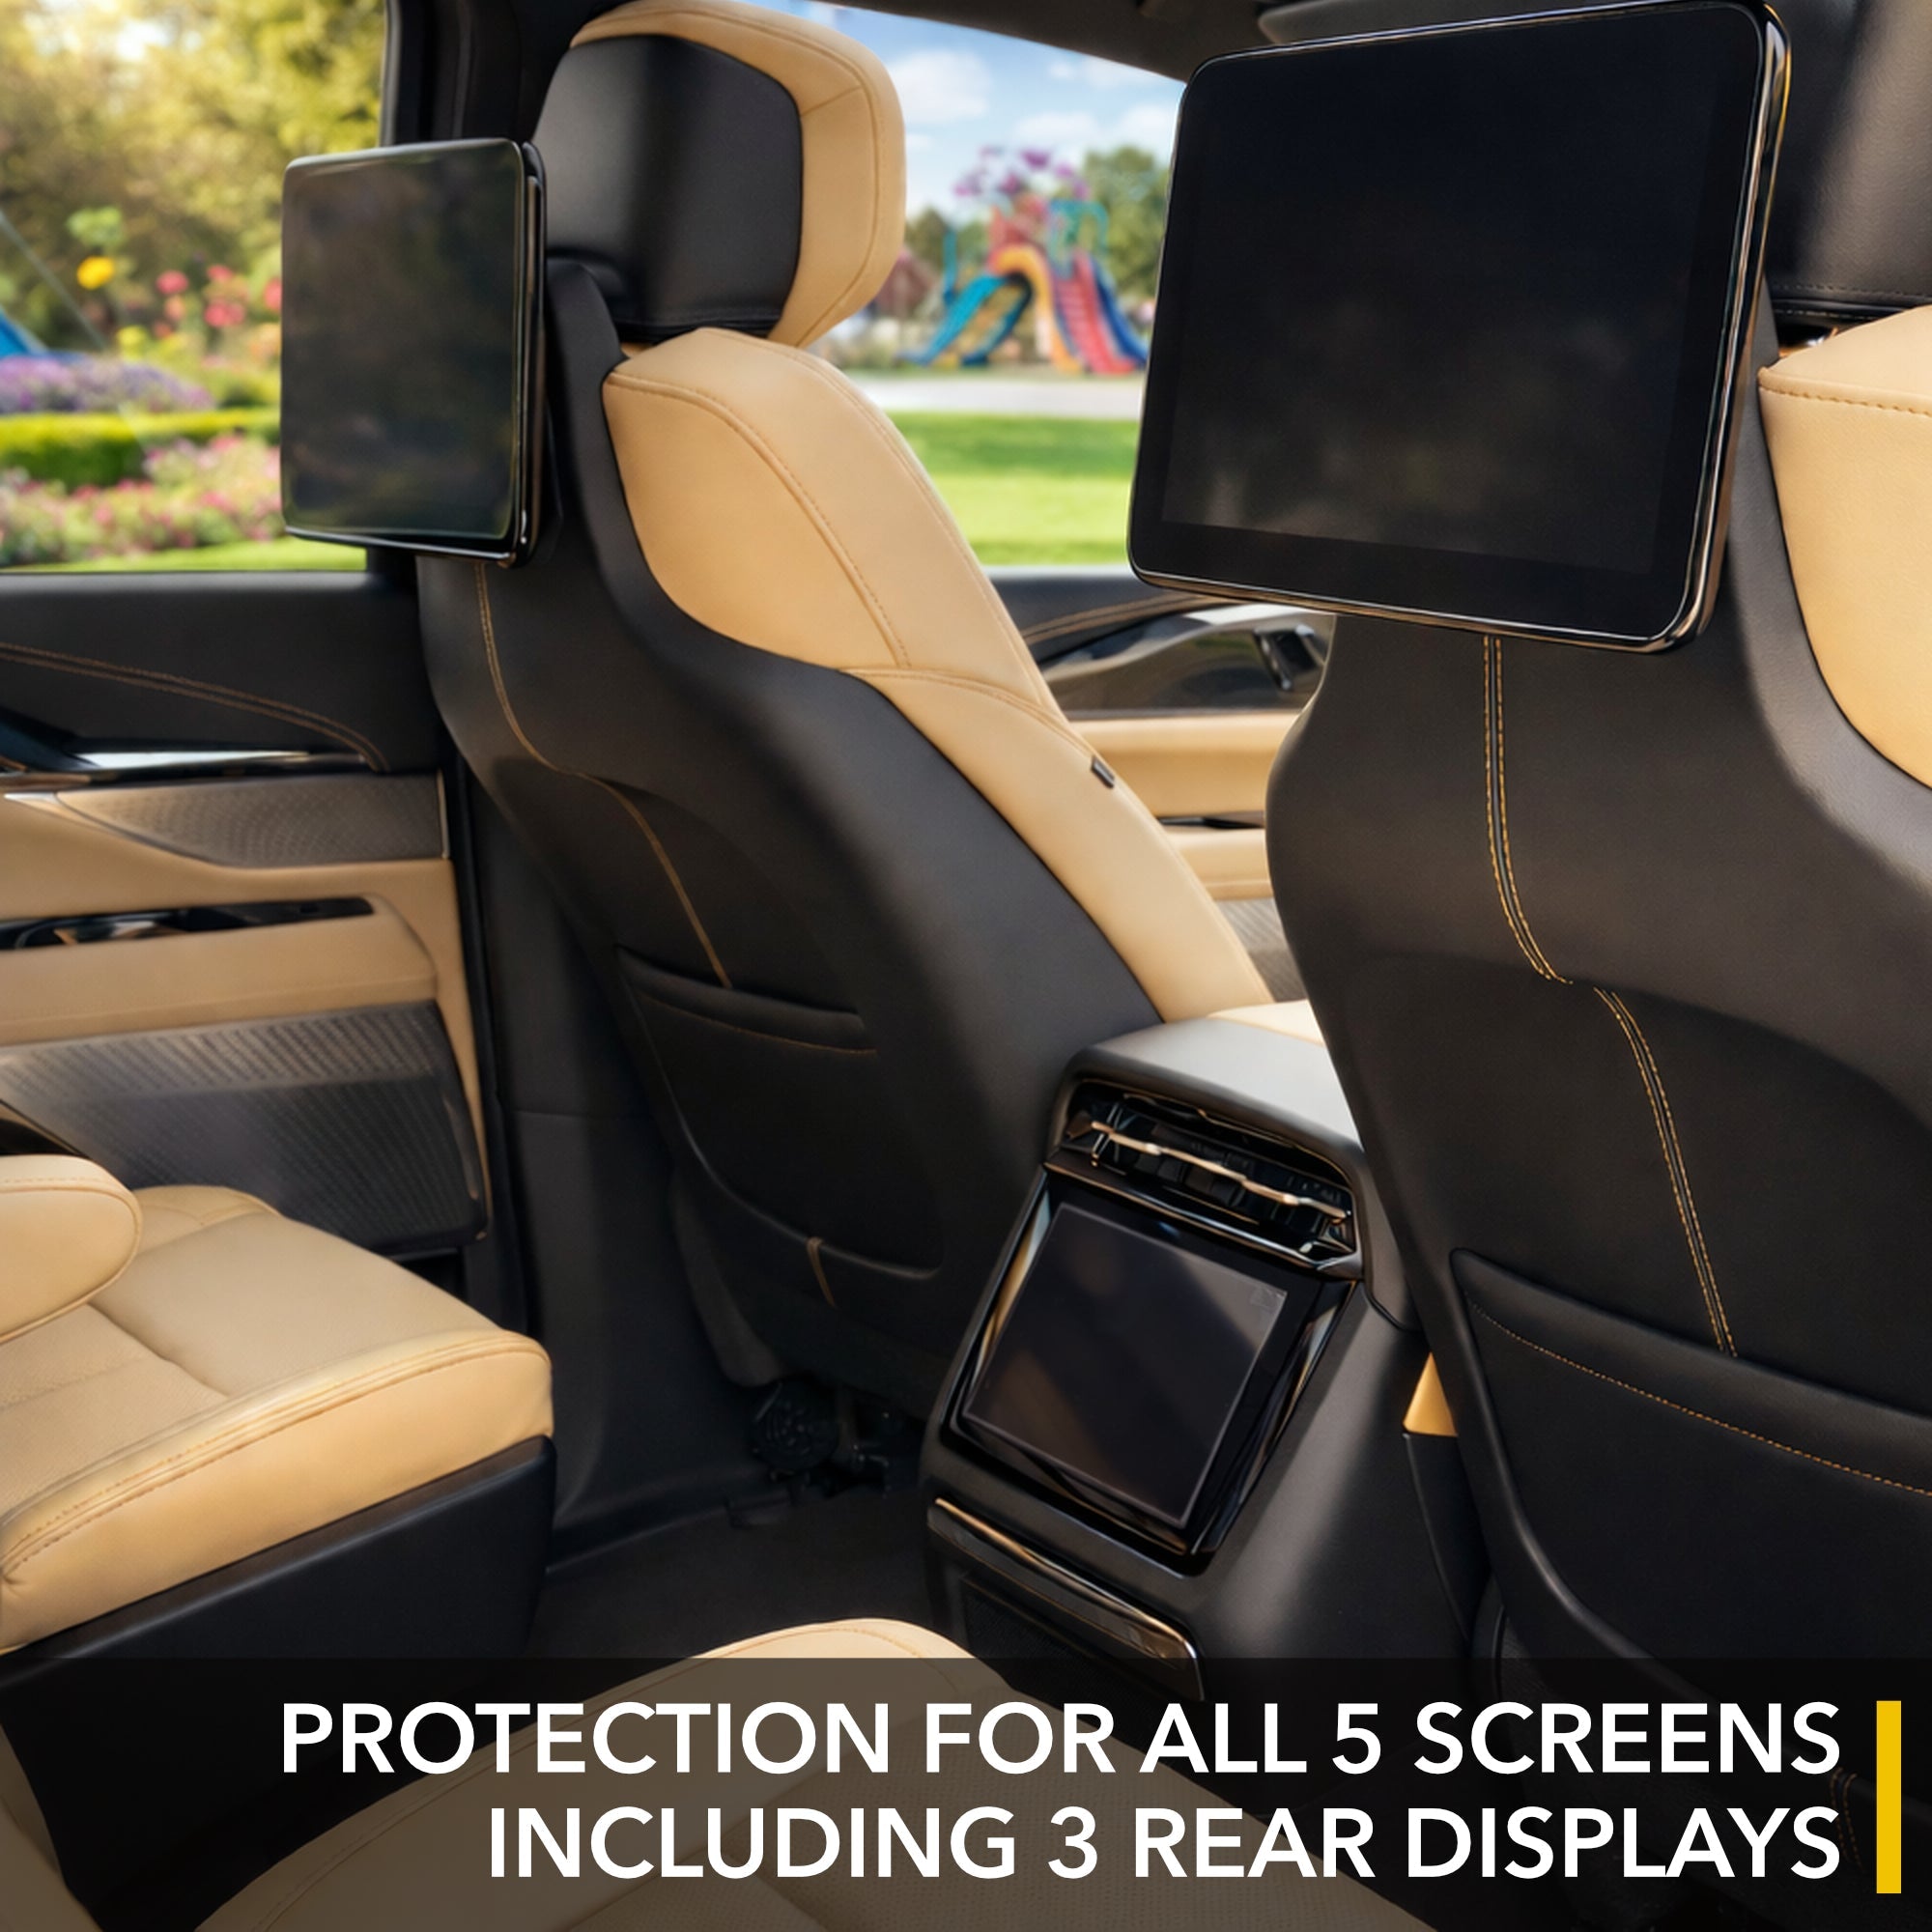
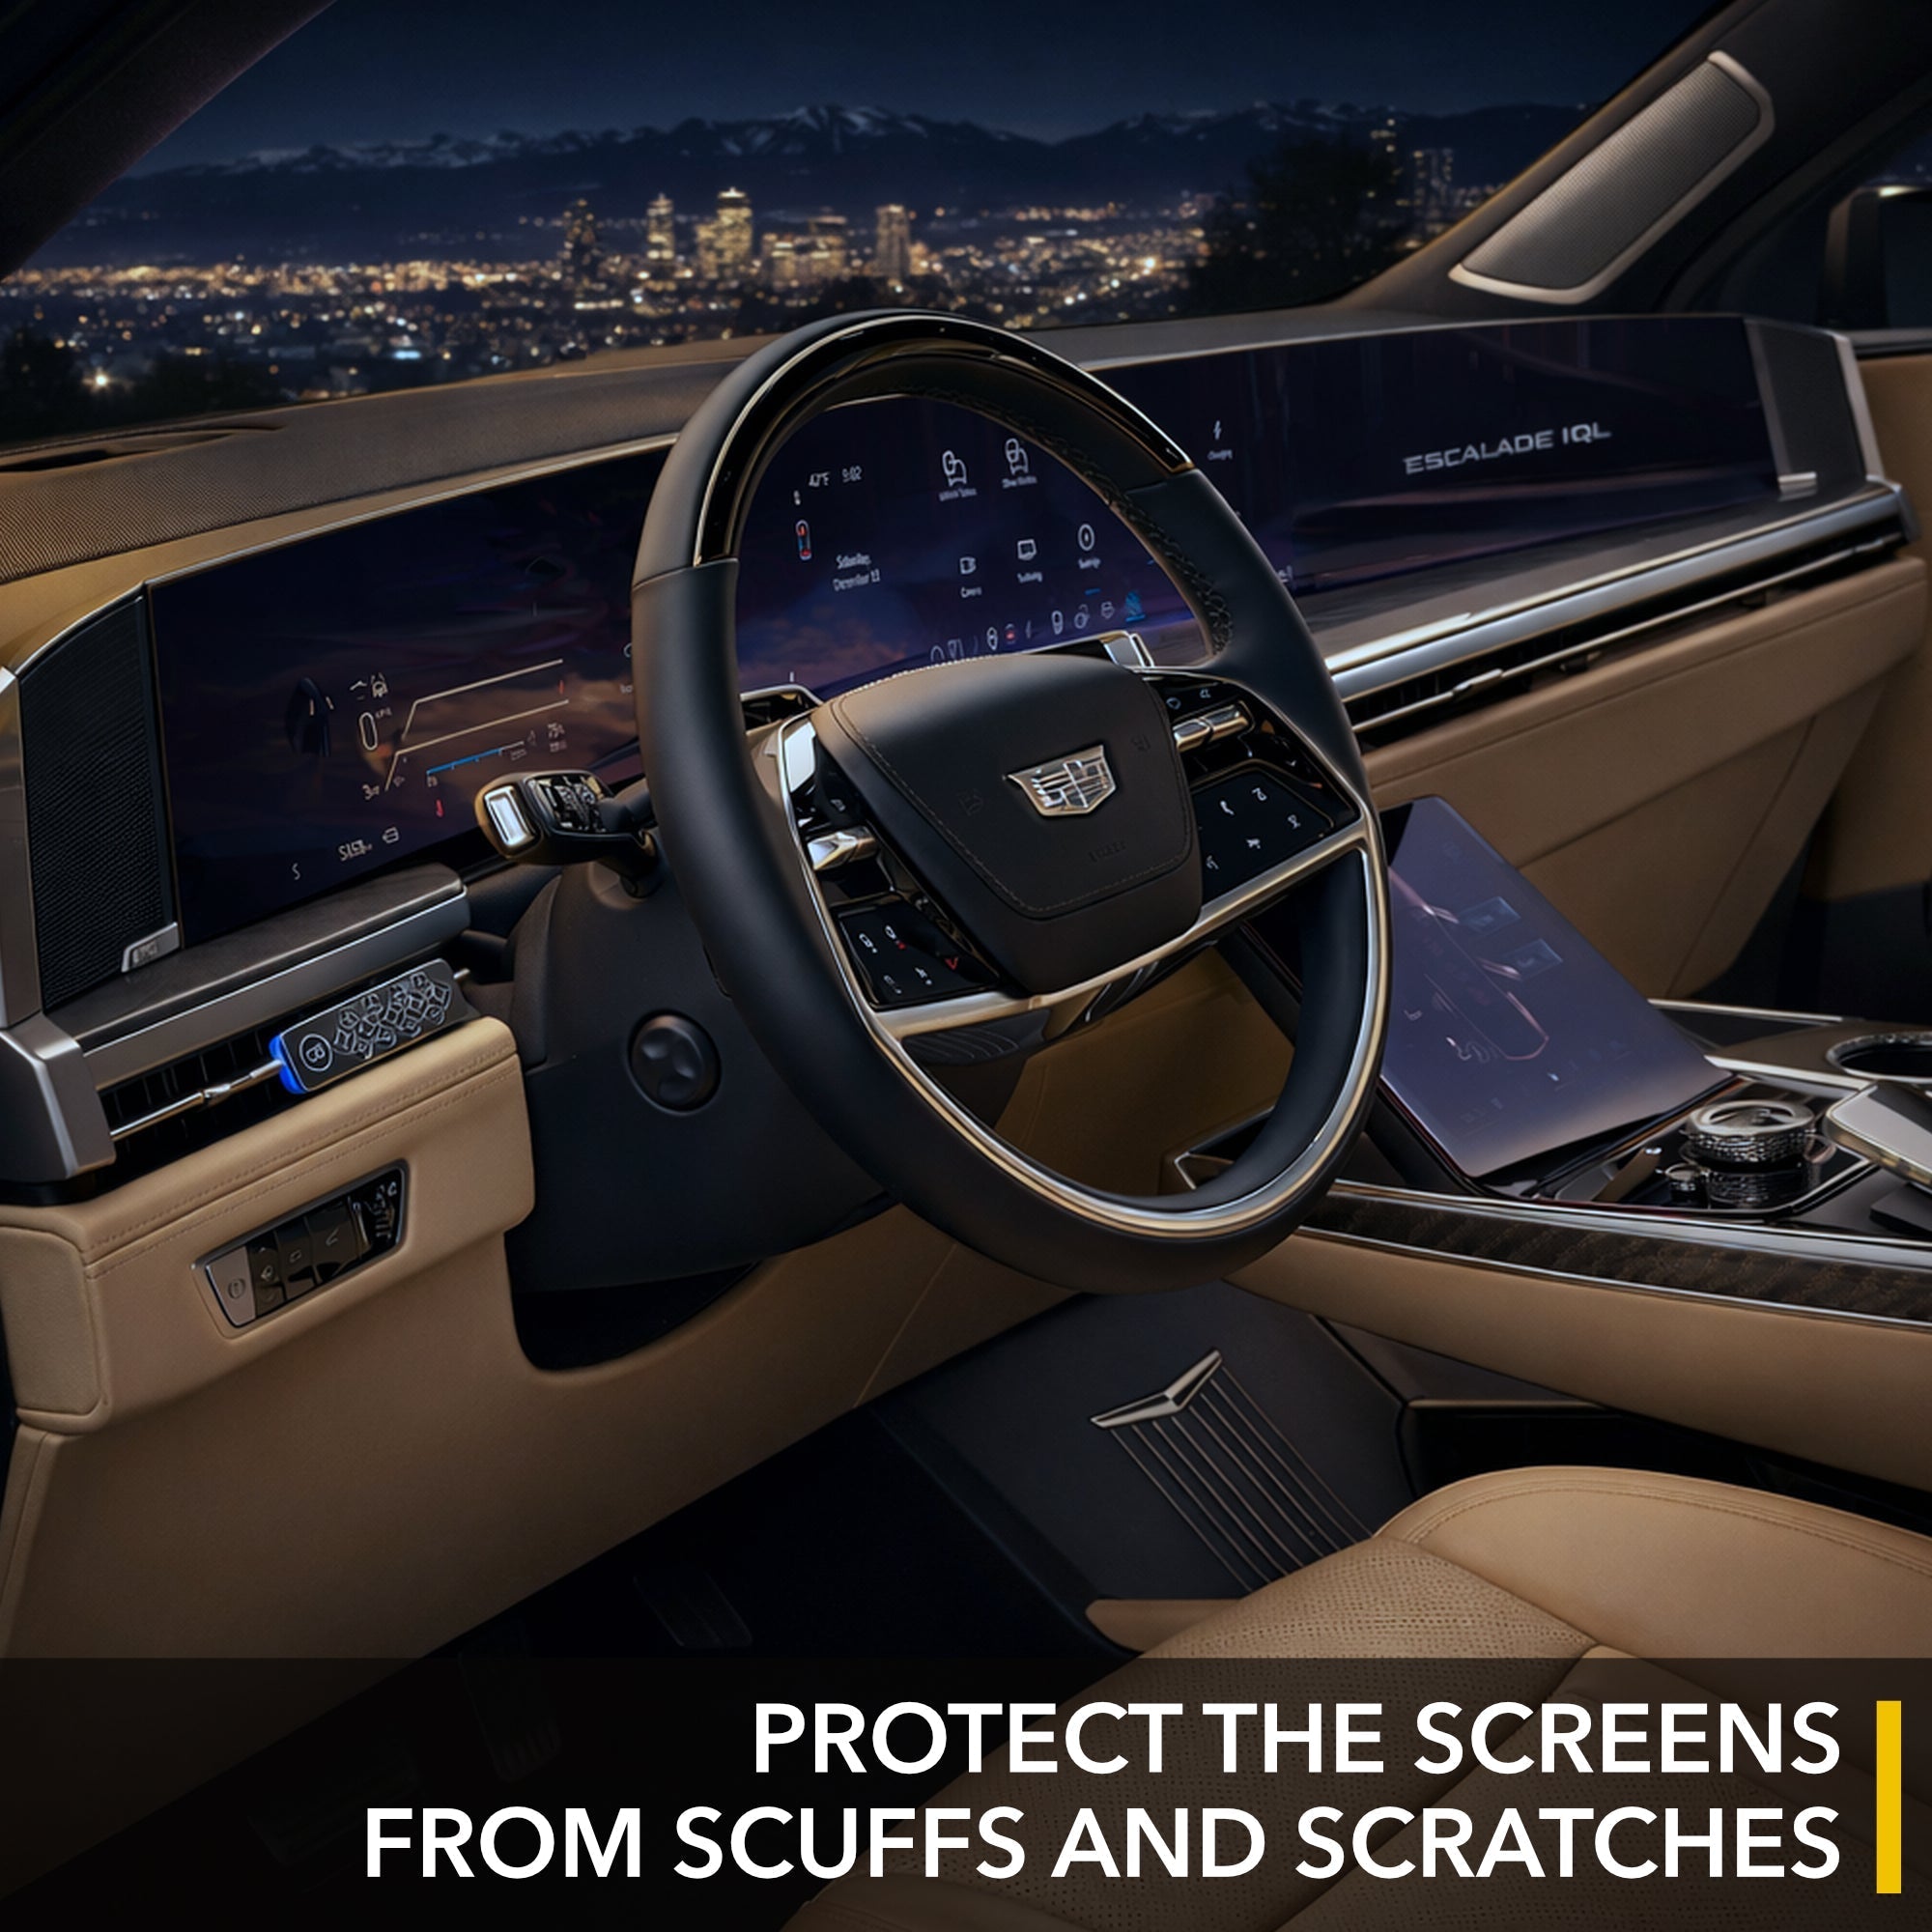
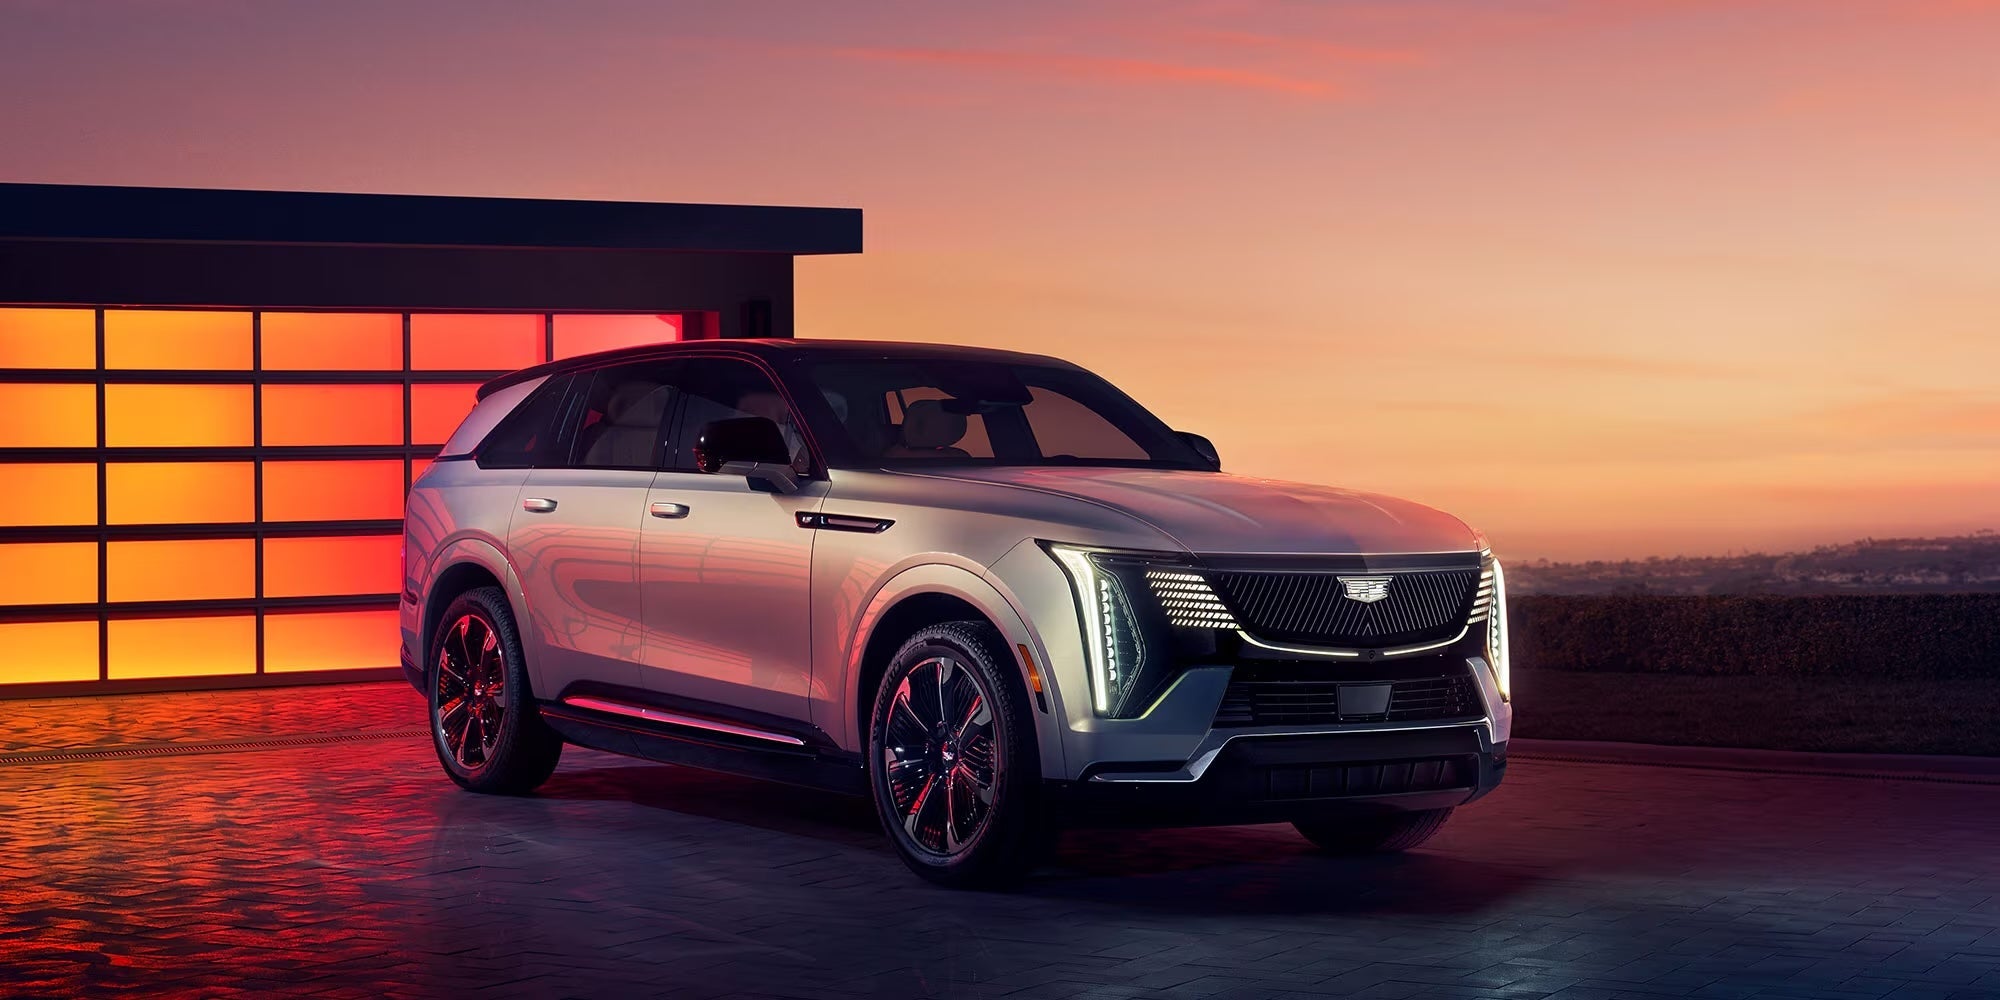
Screen ProtectorsCadillac Escalade IQ/IQL


Let customers speak for us
Wow what an amazing product!! I completed this with my twin 20 year old boys, I was nervous because I typically lack patience for stuff like this. Follow the instructions/video and it came out fantastic!! Great product and company!!
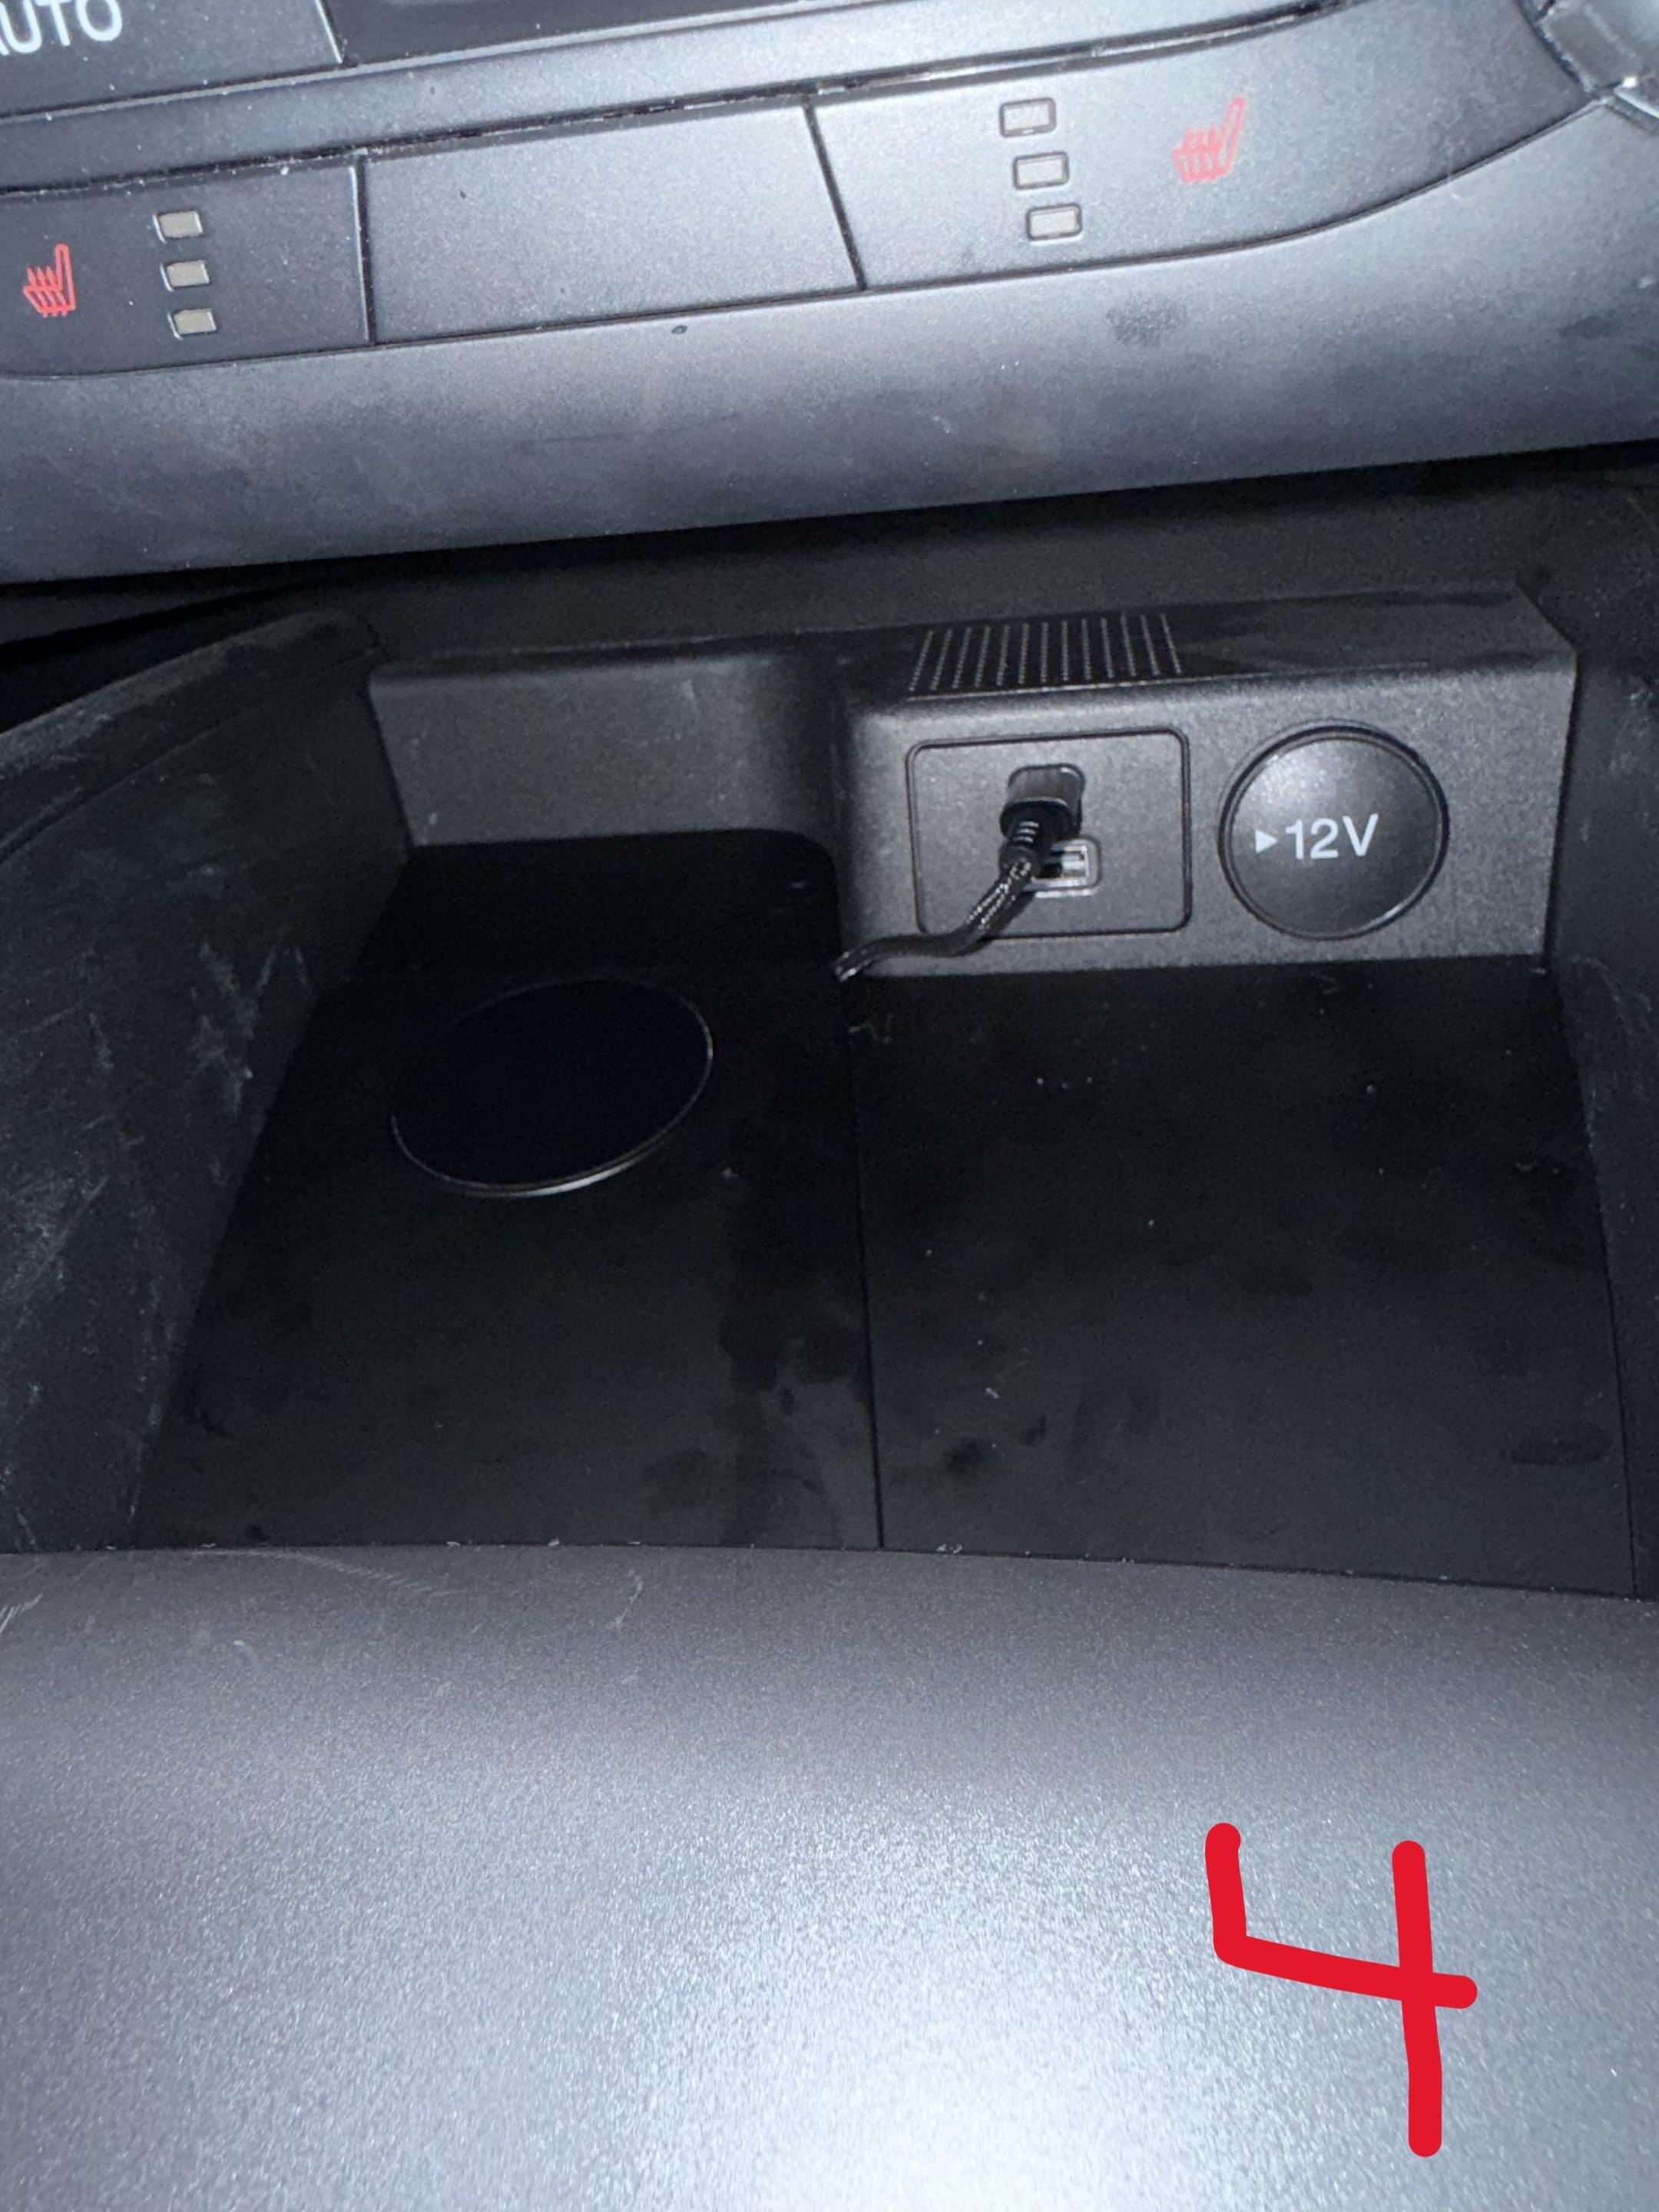
I have a 2022 Bronco Sport (Big Bend). I hate having a ton of cords in the center while I'm driving, so I wanted to make use of the wireless charger already included with my Bronco. There was just one problem.... It's shit. My phone (iPhone 16 Pro) never stayed connected to the chargers and would slide around. So naturally, I went searching for solutions on Reddit, and someone recommended this charging pad replacement. It was super easy to install and works great. Just make sure you remove the center console rubber cover if your car comes with one, like mine did. My phone instantly connects to it when placed on it and does not slide around. I will say the charging is not lightning speed but it gets the job done. However, that is an issue with the charging port of the car, not the product.
Overall, this is a great product, and it came quickly. I have not had any issues with it since I bought it about a month ago. It solved a very annoying issue with my Bronco for a reasonable cost. 10/10 recommend.
The photos I included are numbered 1-4 and are as follows:
1. The rubber cover that came with my car. Make sure you remove this prior to installing the charging pad. It should have a tab where you just pull up, and it slides right out.
2. The bare charging pad of my car with the rubber protector removed. As you can see, it is just a black rectangle with three ports on the right-hand side of the center console.
3. The charging pad this review is for. Please note I have had mine for about a month, so this is not fresh out of the box. The spots on it are fingerprints and moisture from my hands. I'd say the texture of the charging pad is a soft matte.
4. A visual of the charging pad installed and plugged into the USB-C port. This charger also comes with a USB adapter but I am not using it here.
I just finished my car looks amazing the only thing is some of my corners didn’t glue well
I got the MagSafe phone mount for my Cadillac Optiq and it perfectly mounts my phone in a handy location. When I needed a customisation for my mount, the team were extremely responsive and accomodating - something thats very rare in this day and age. Highly recommend! 5/5
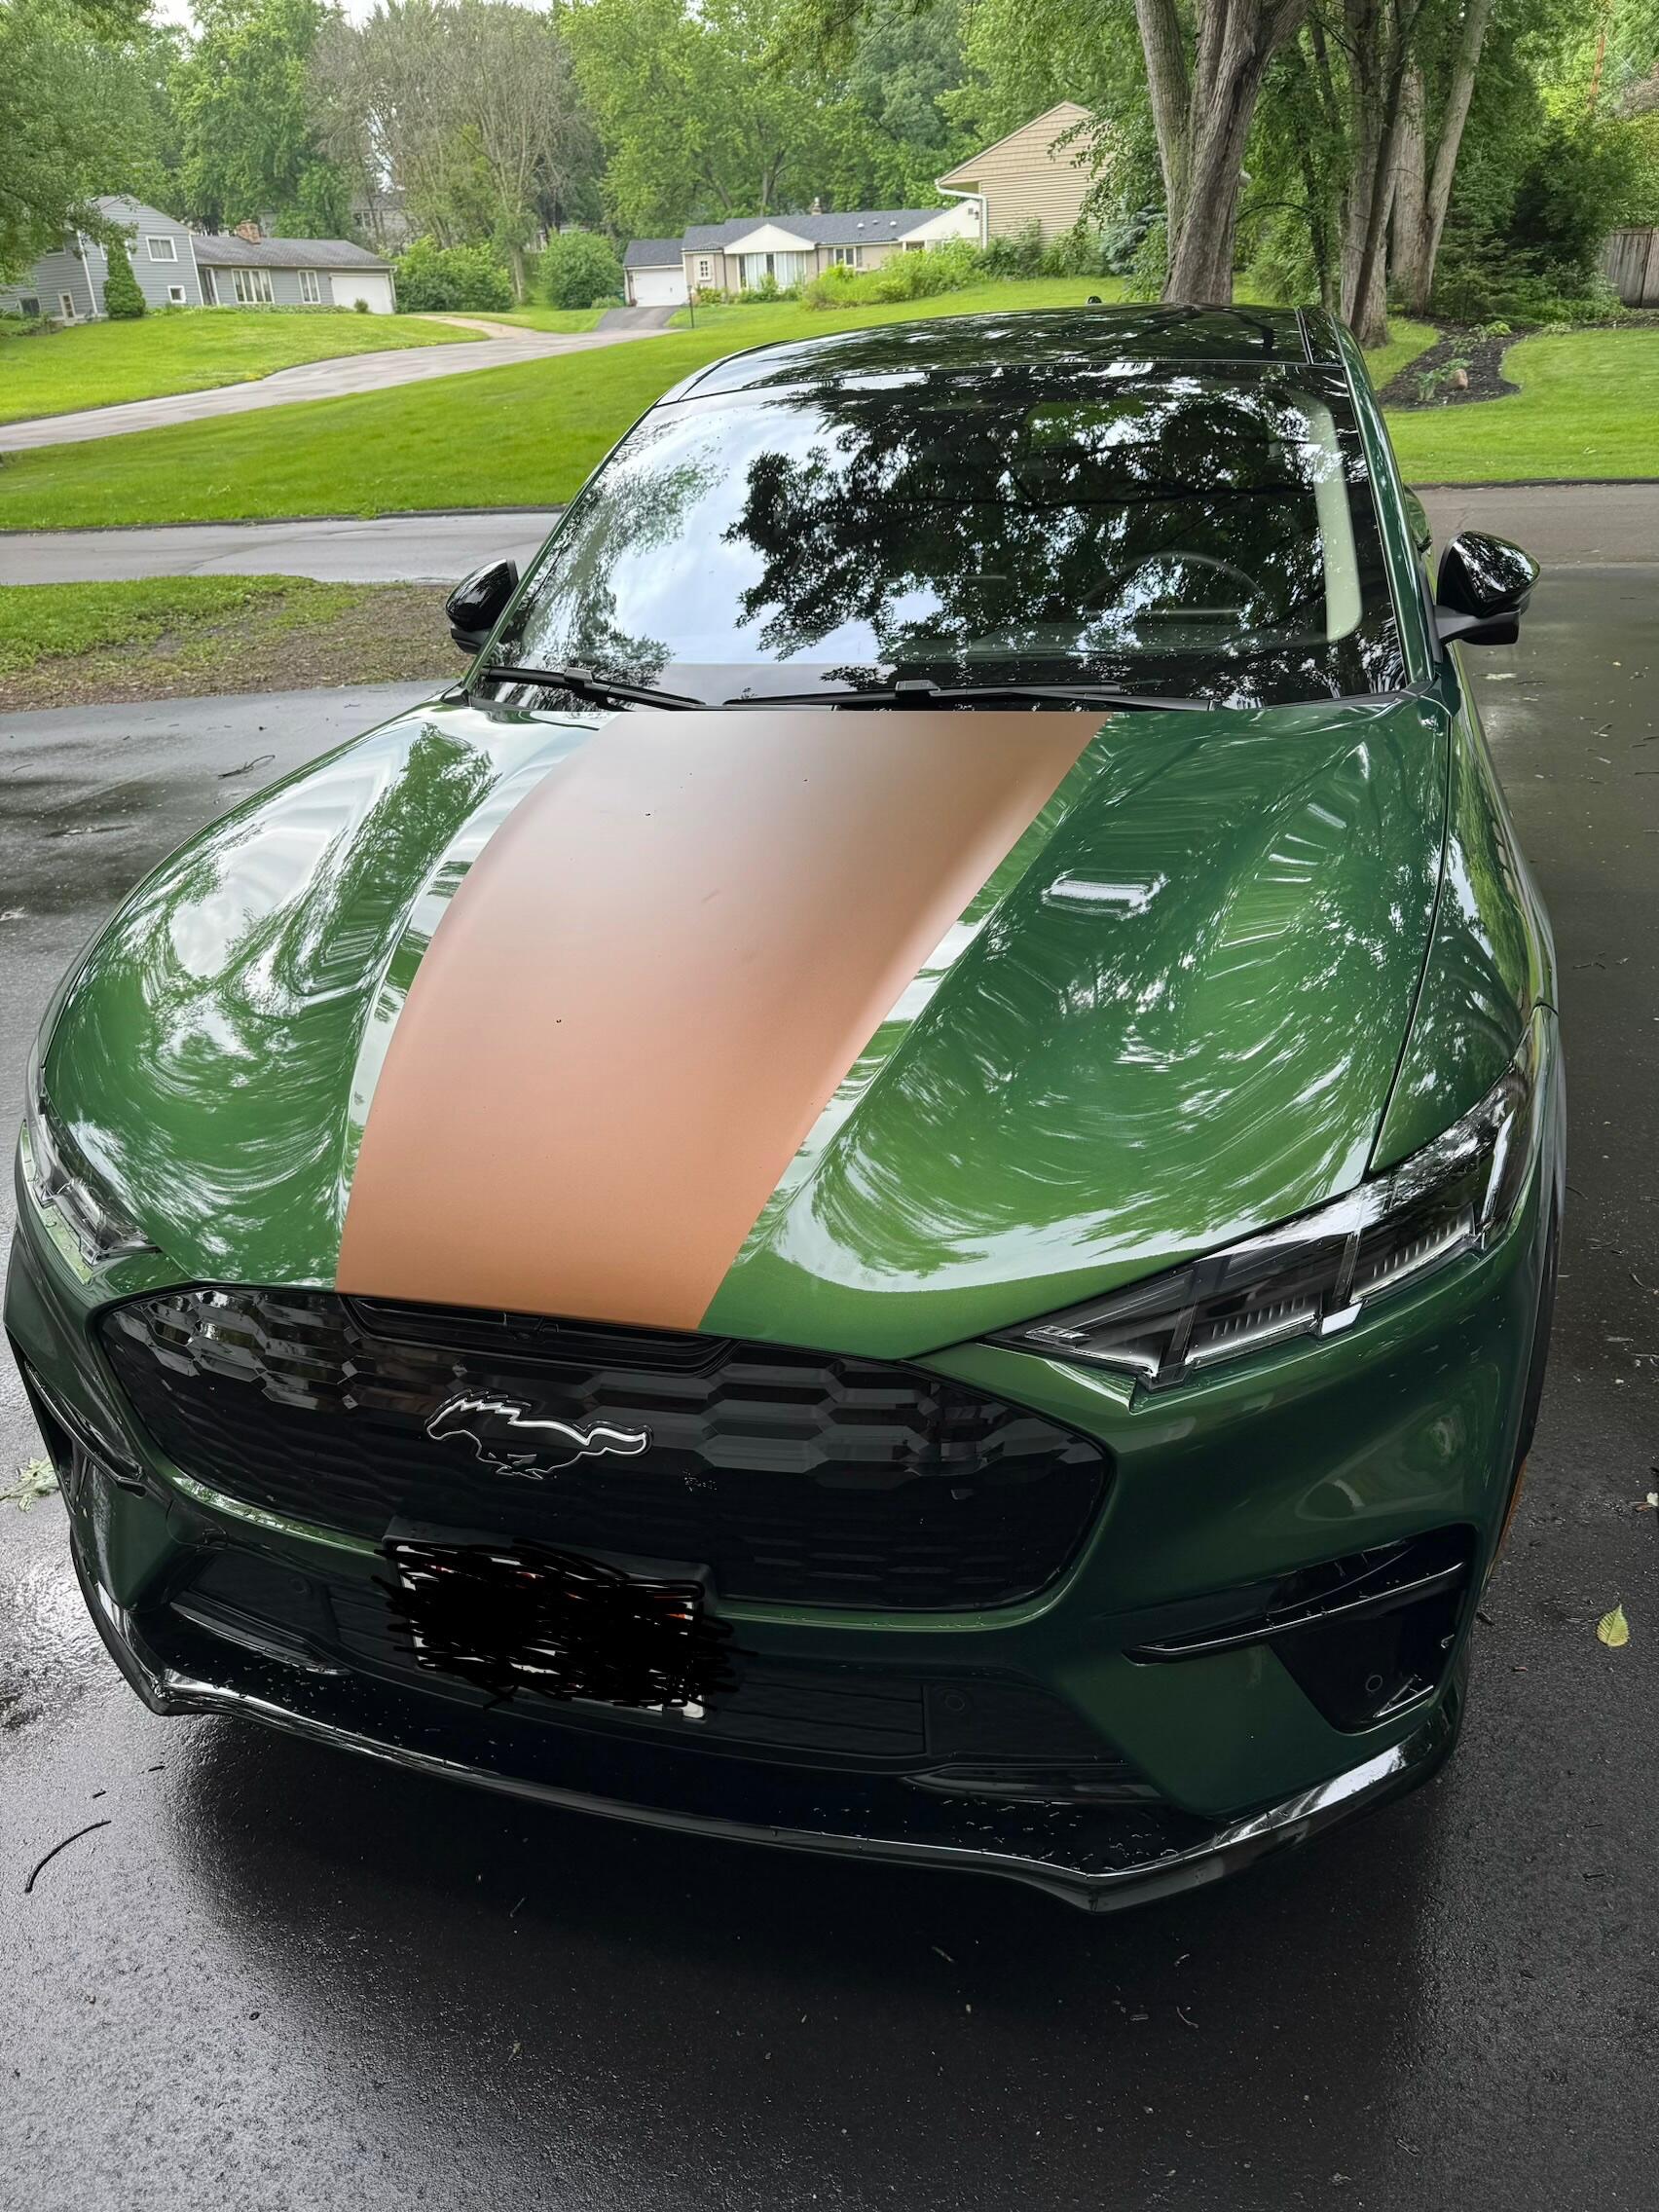
Company was great to work with and accommodated my request for the Mach E Style 1 stripe package in a color other than black. I had a local automotive shop handle the installation because I didn’t want to screw it up. I think that they turned out great!
I wanted to take a moment to thank Iliya and the entire TWRAPS team.
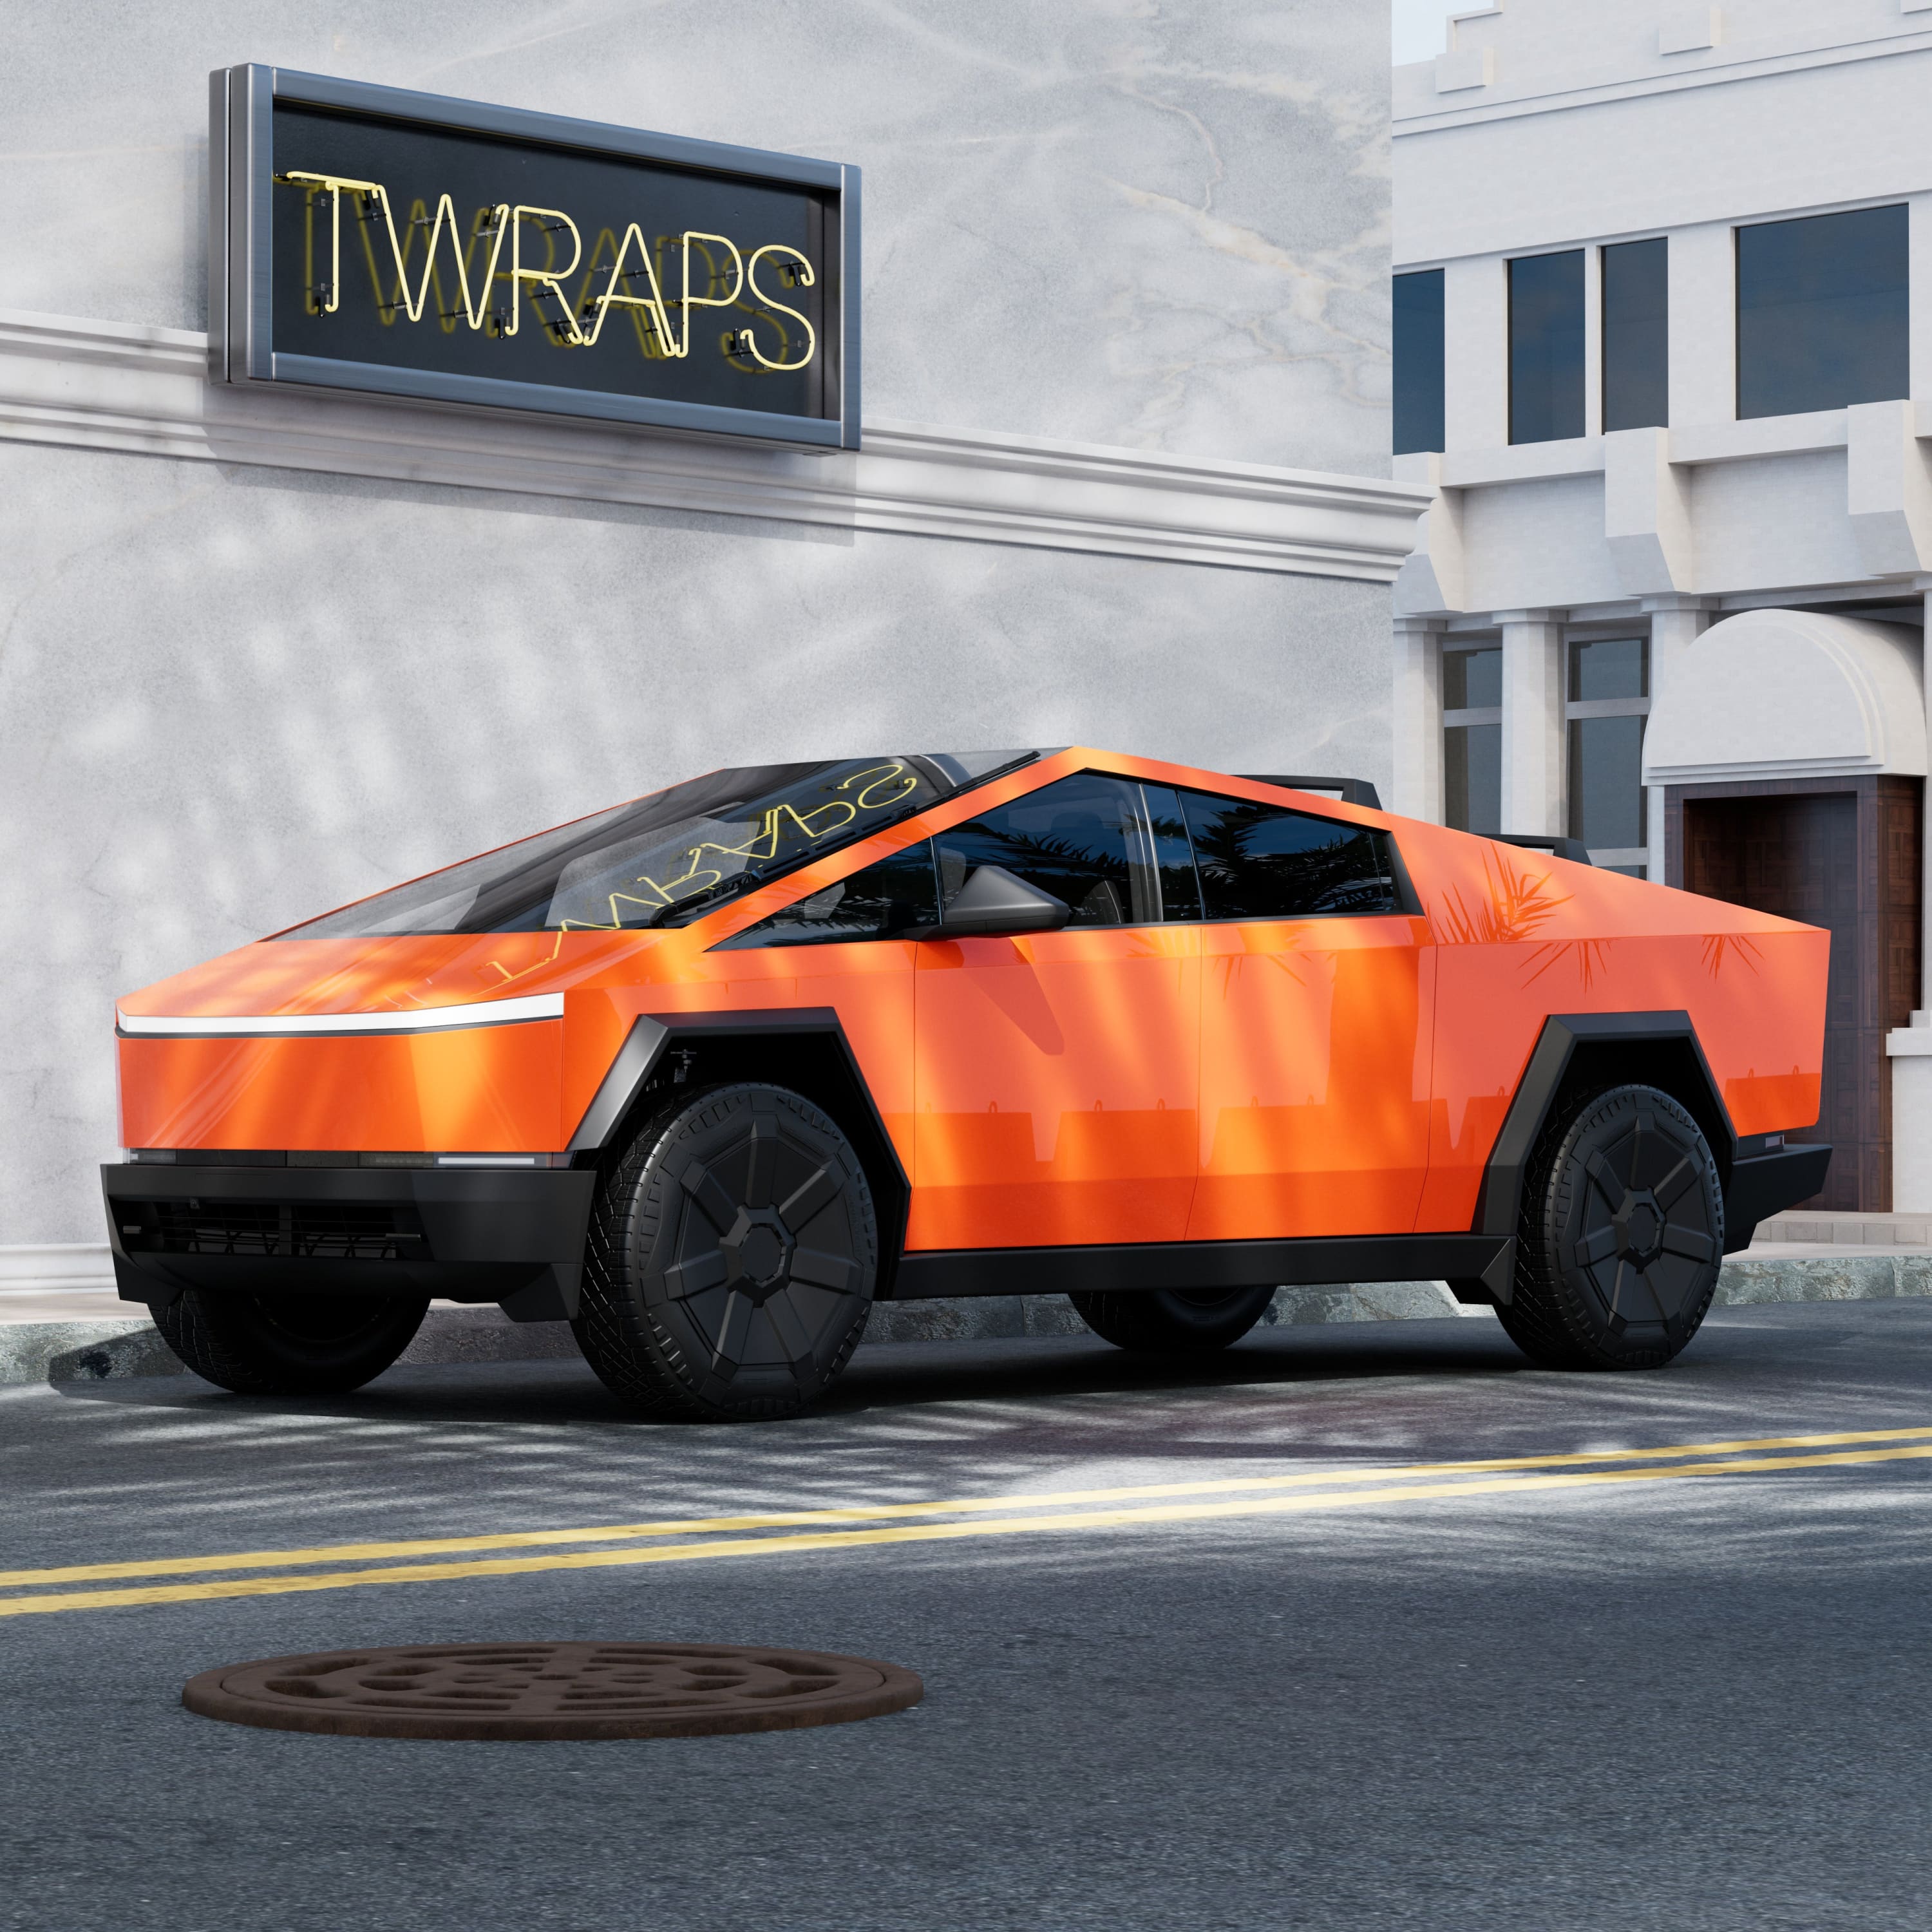
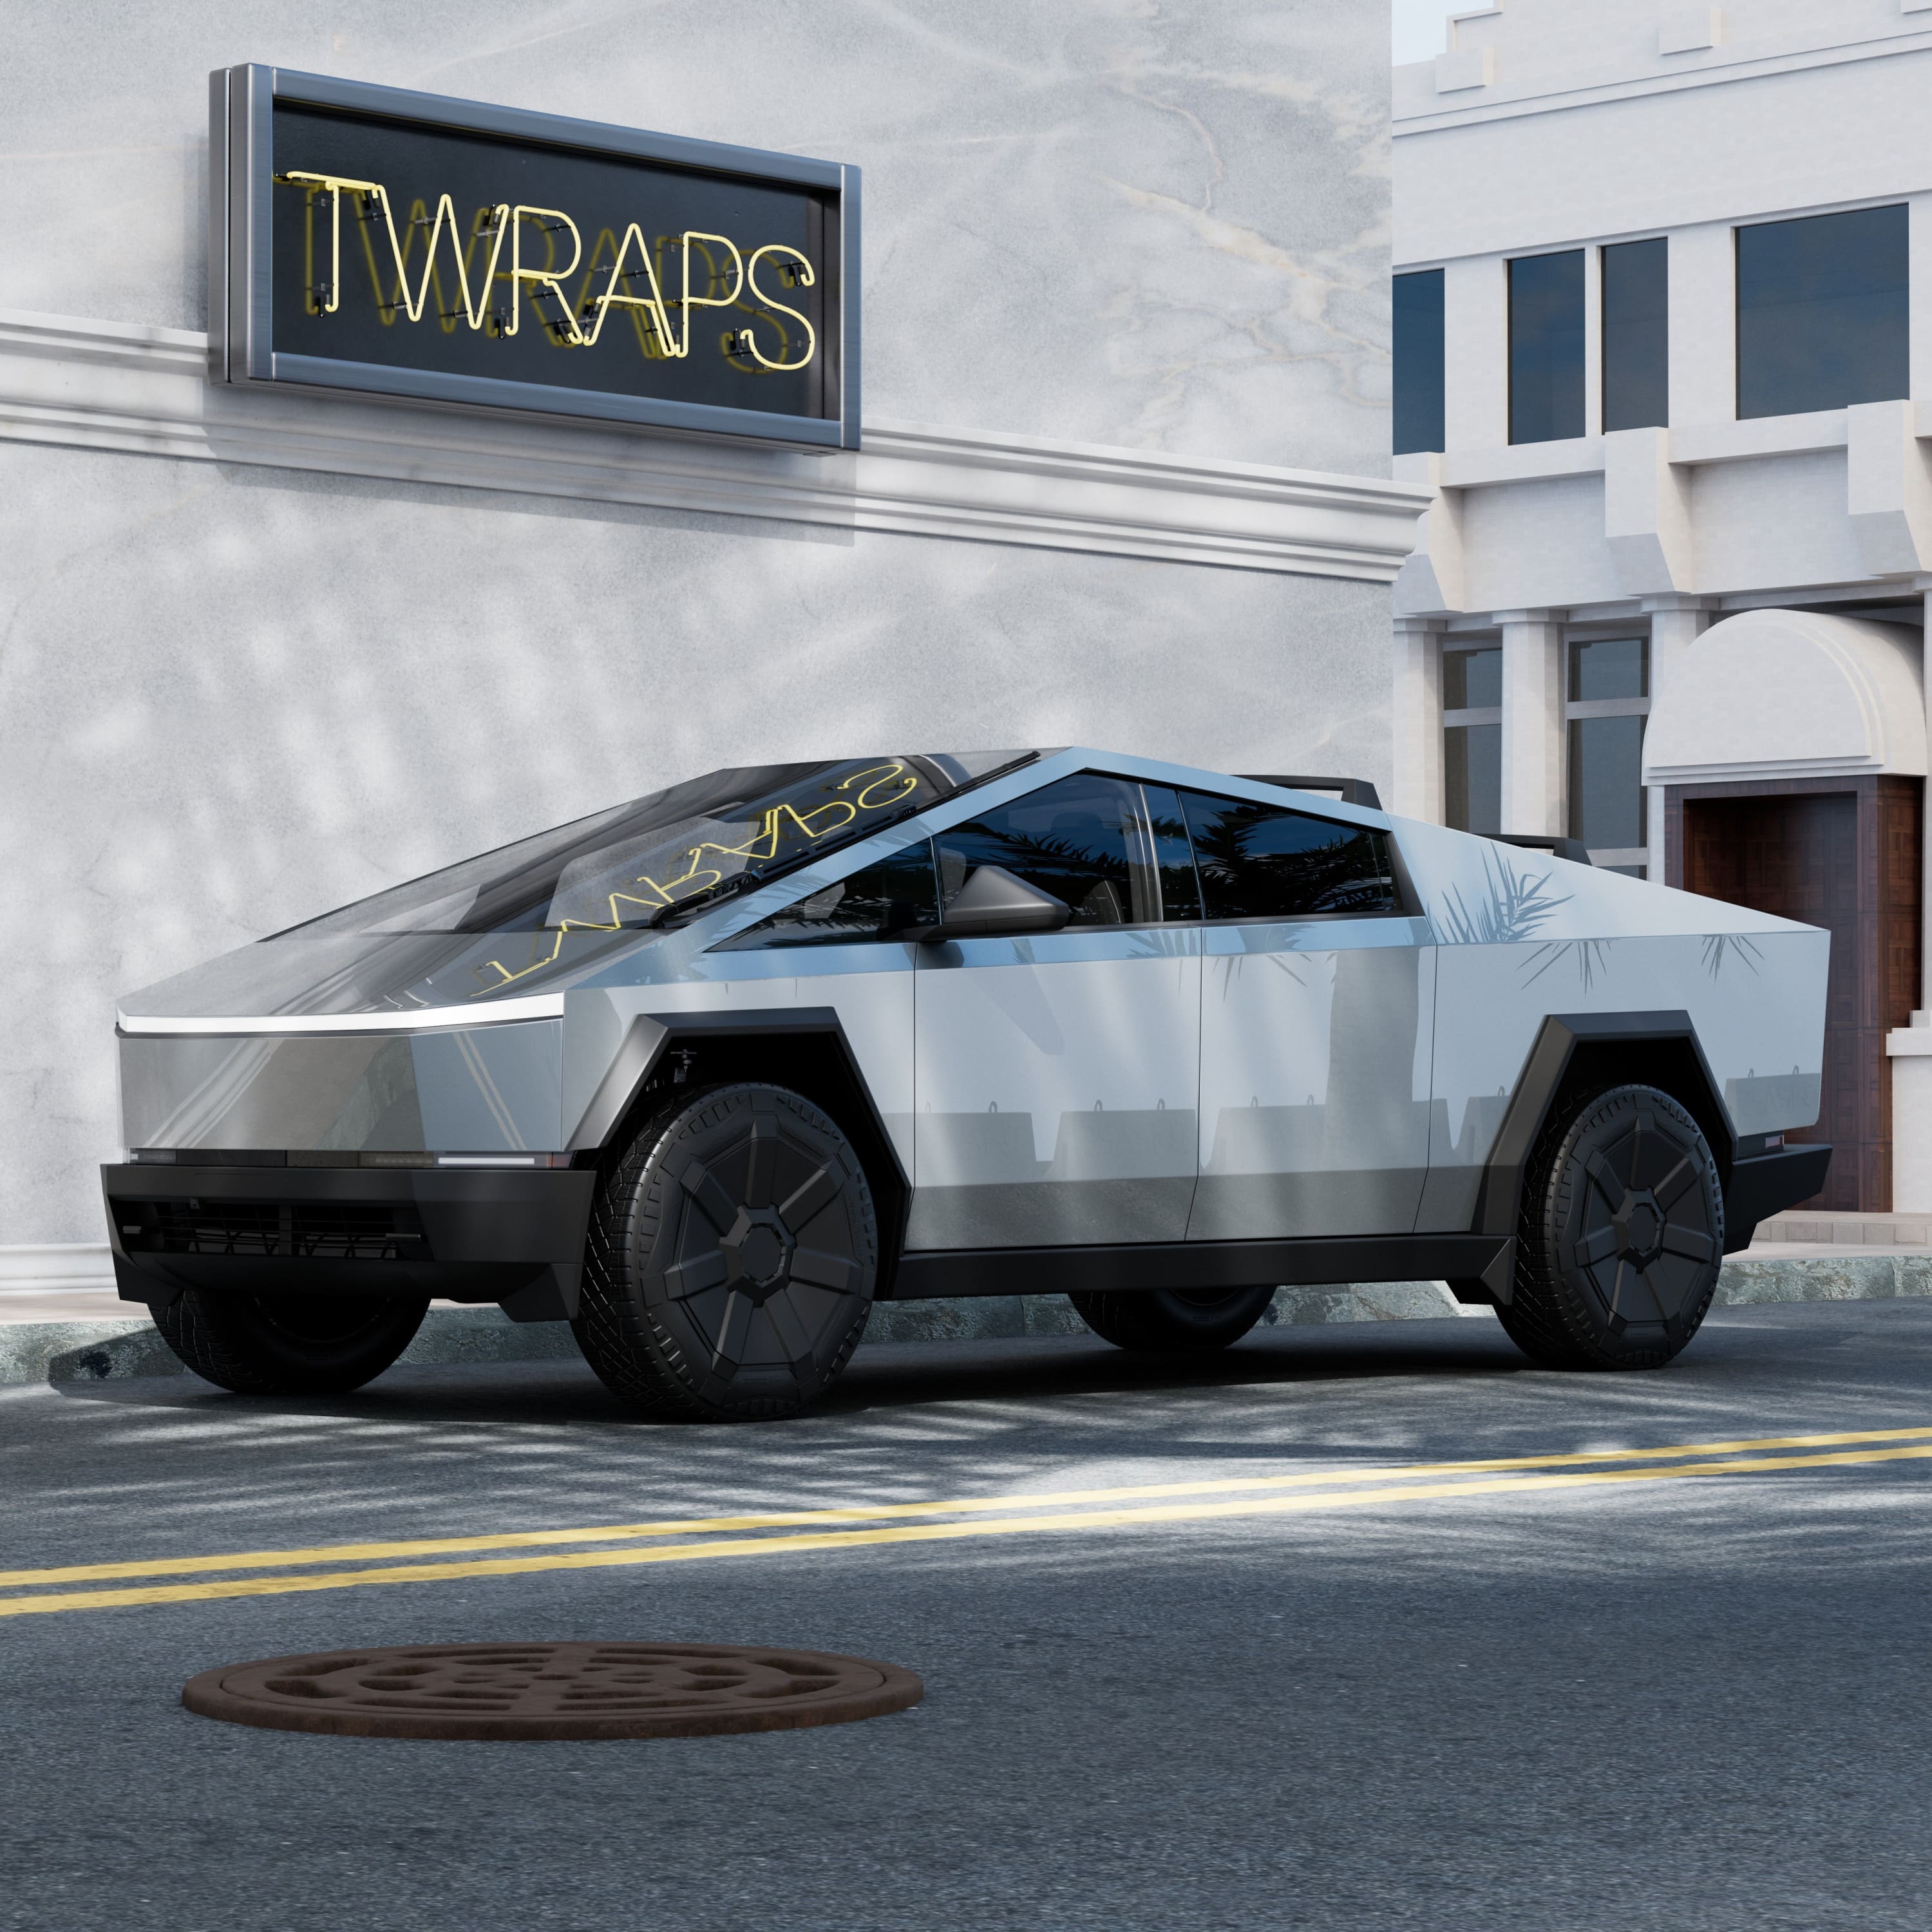
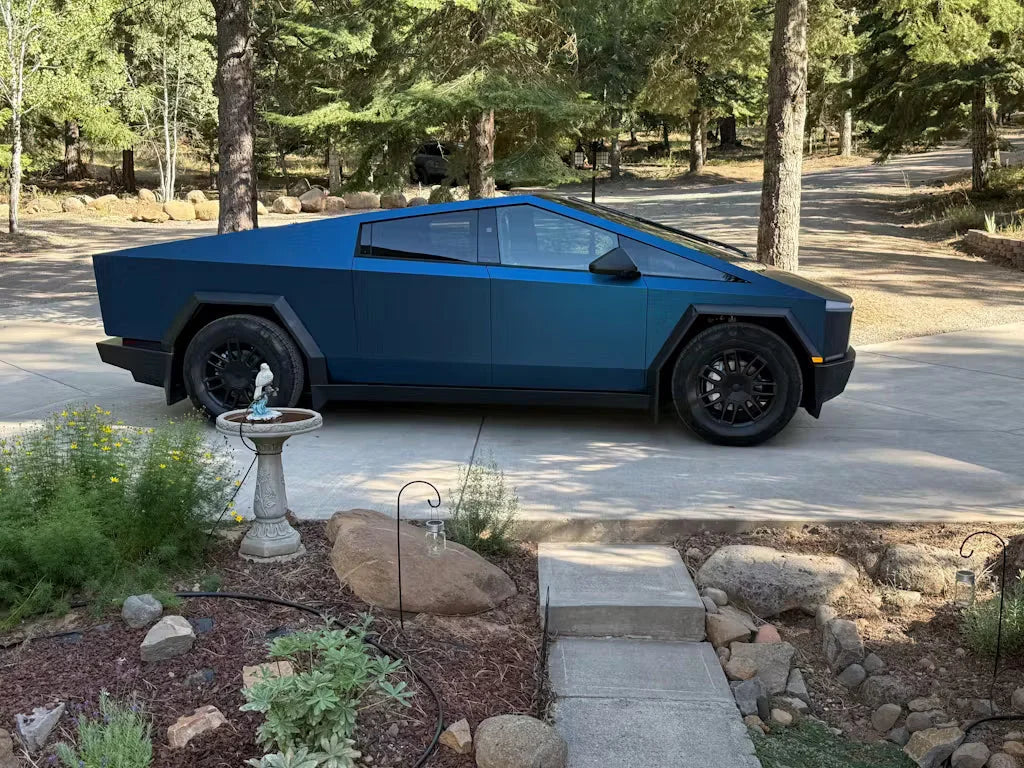
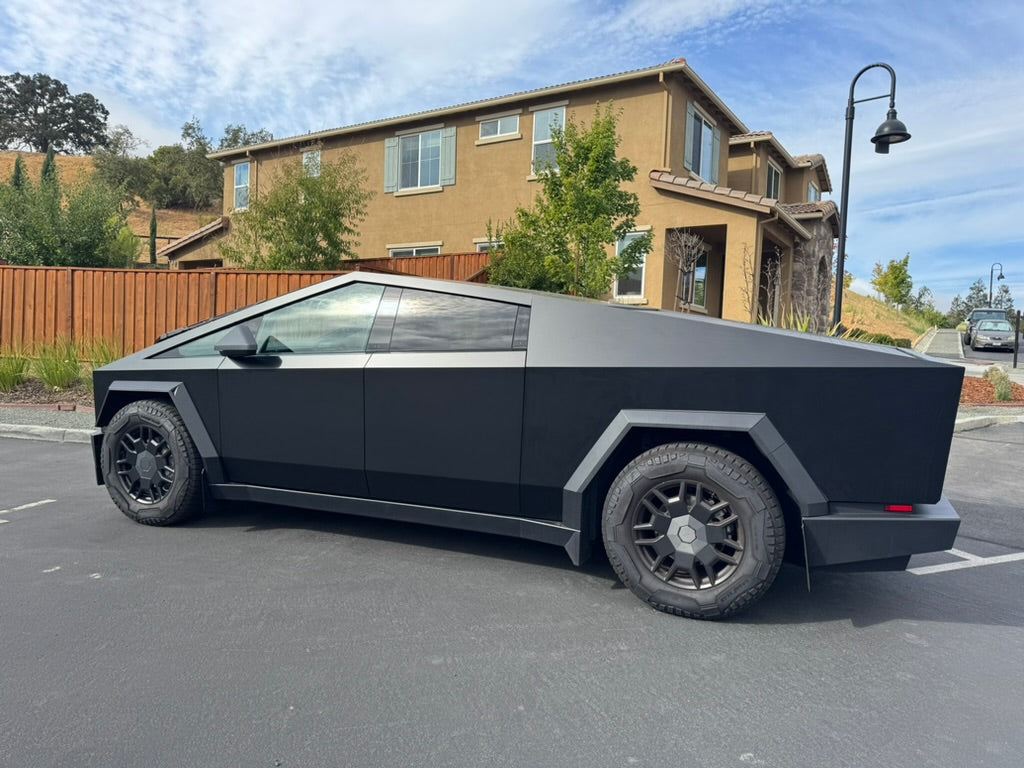
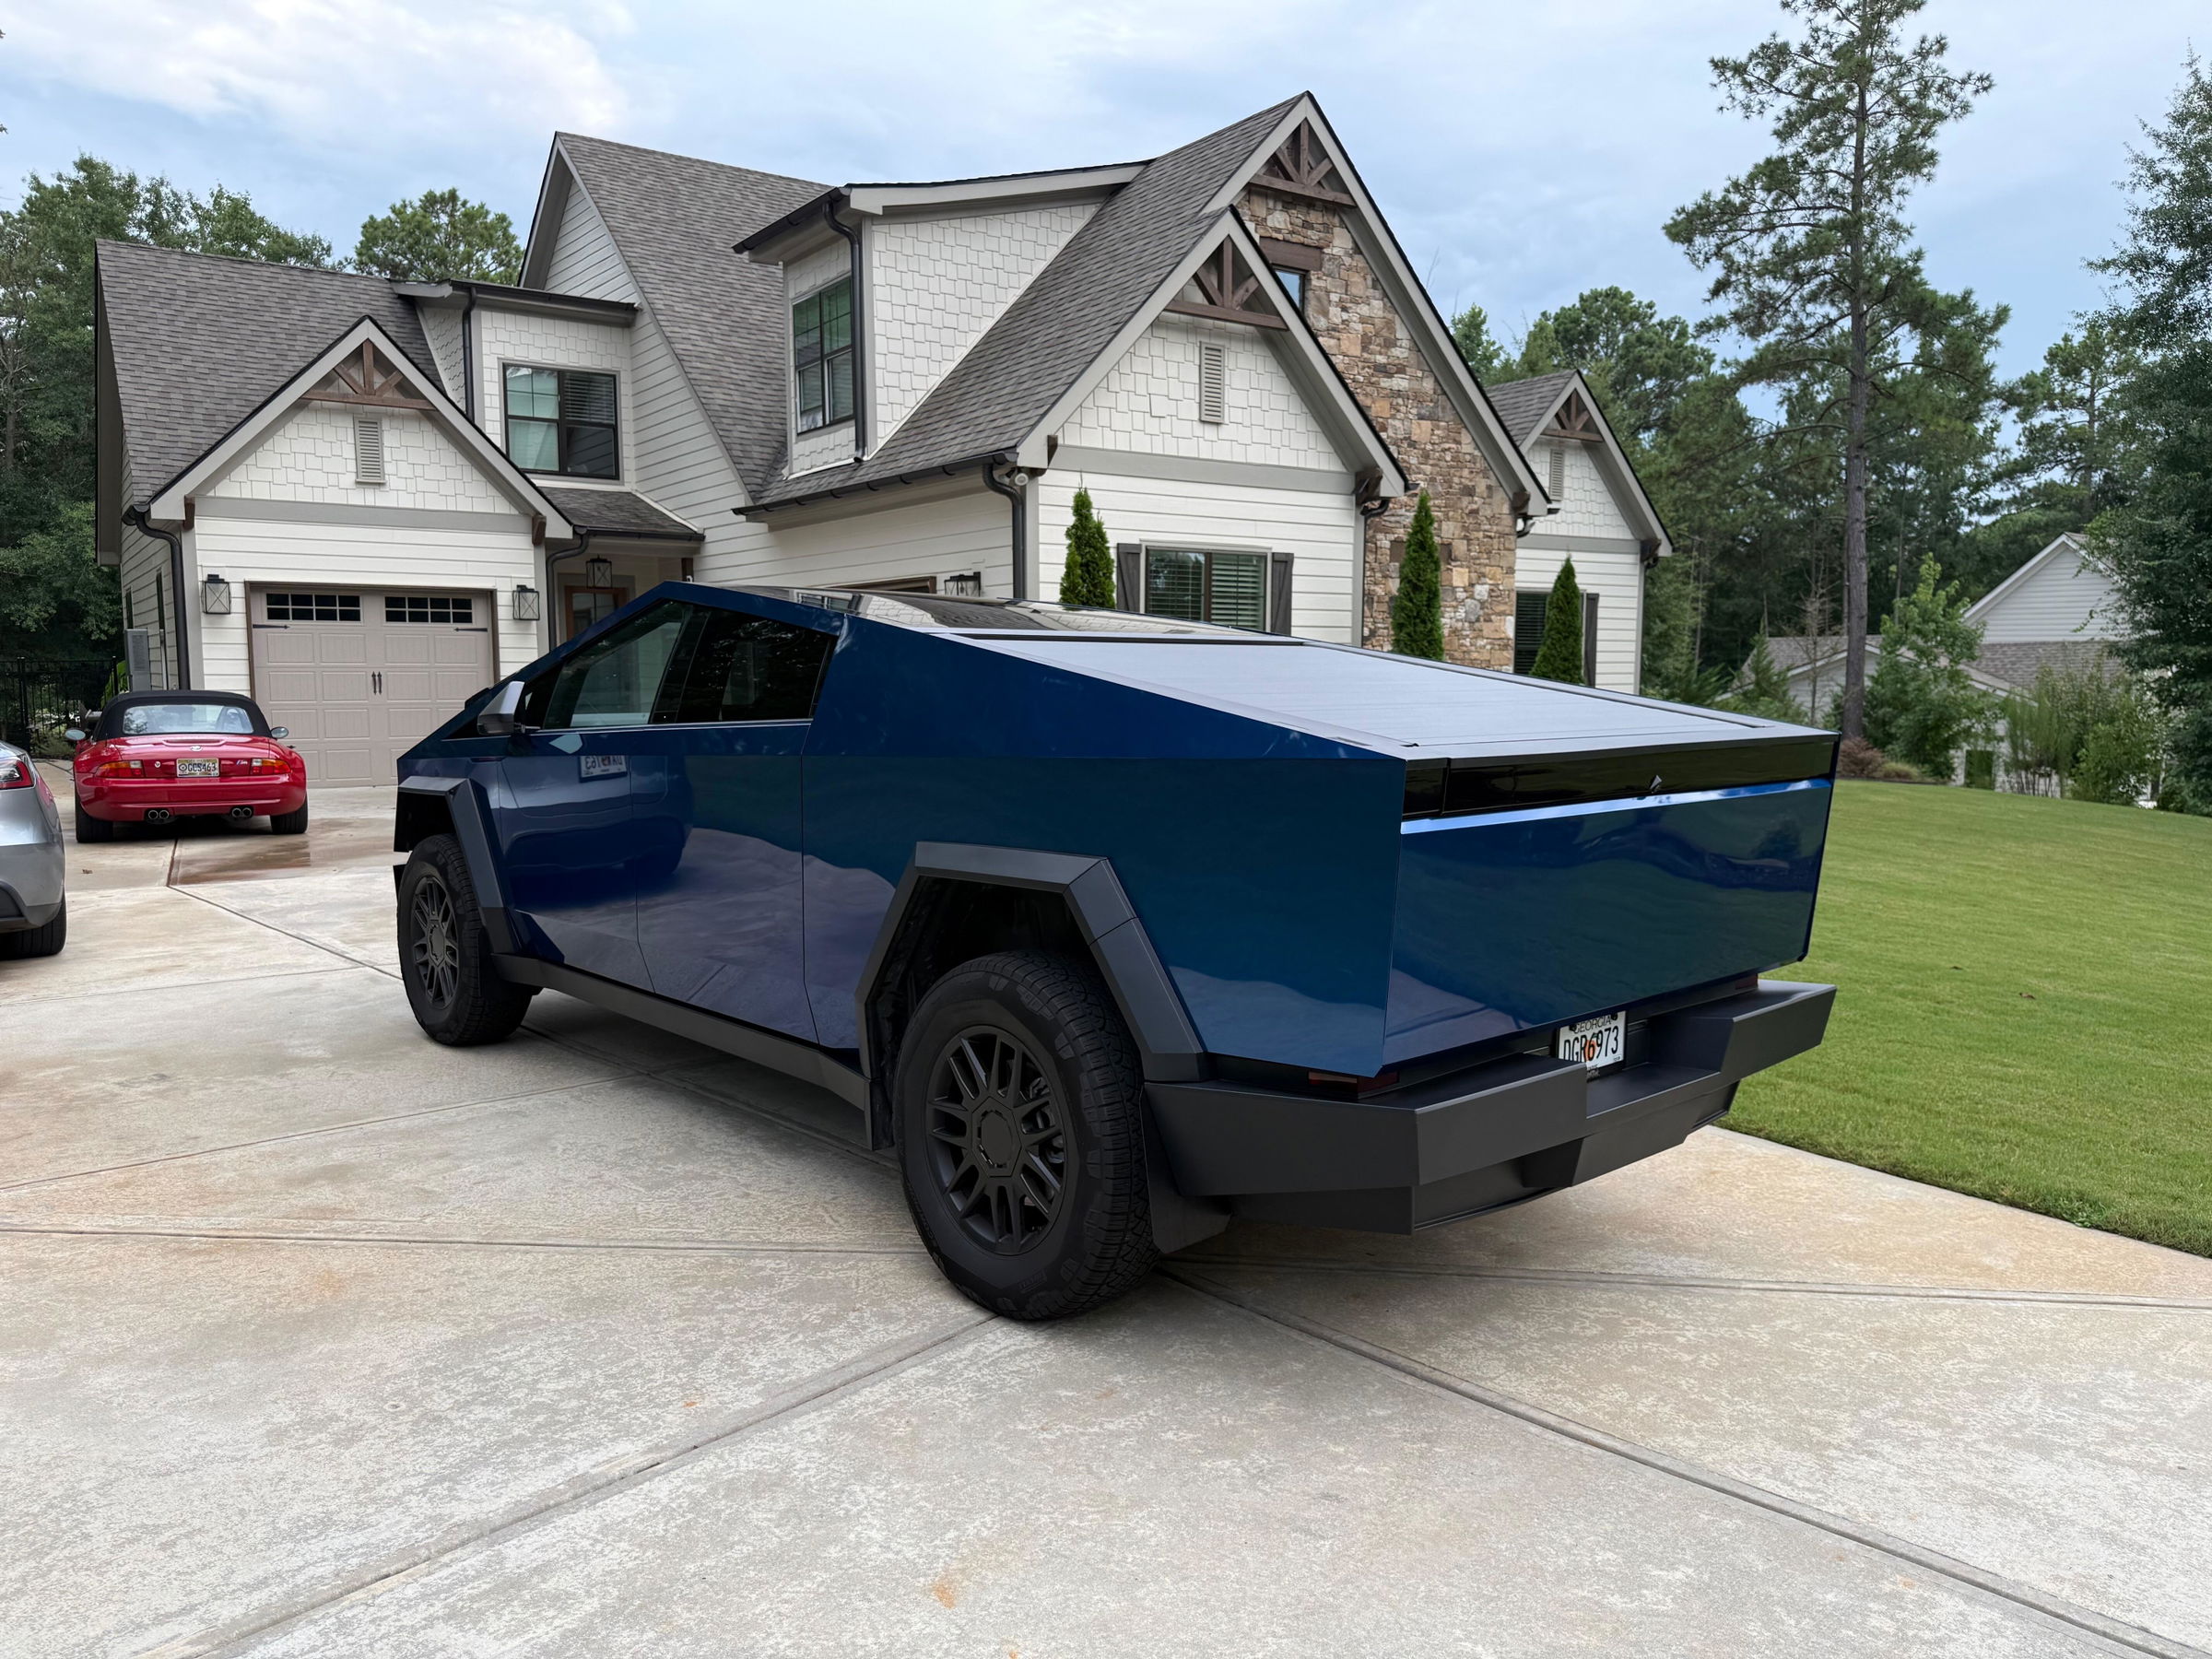
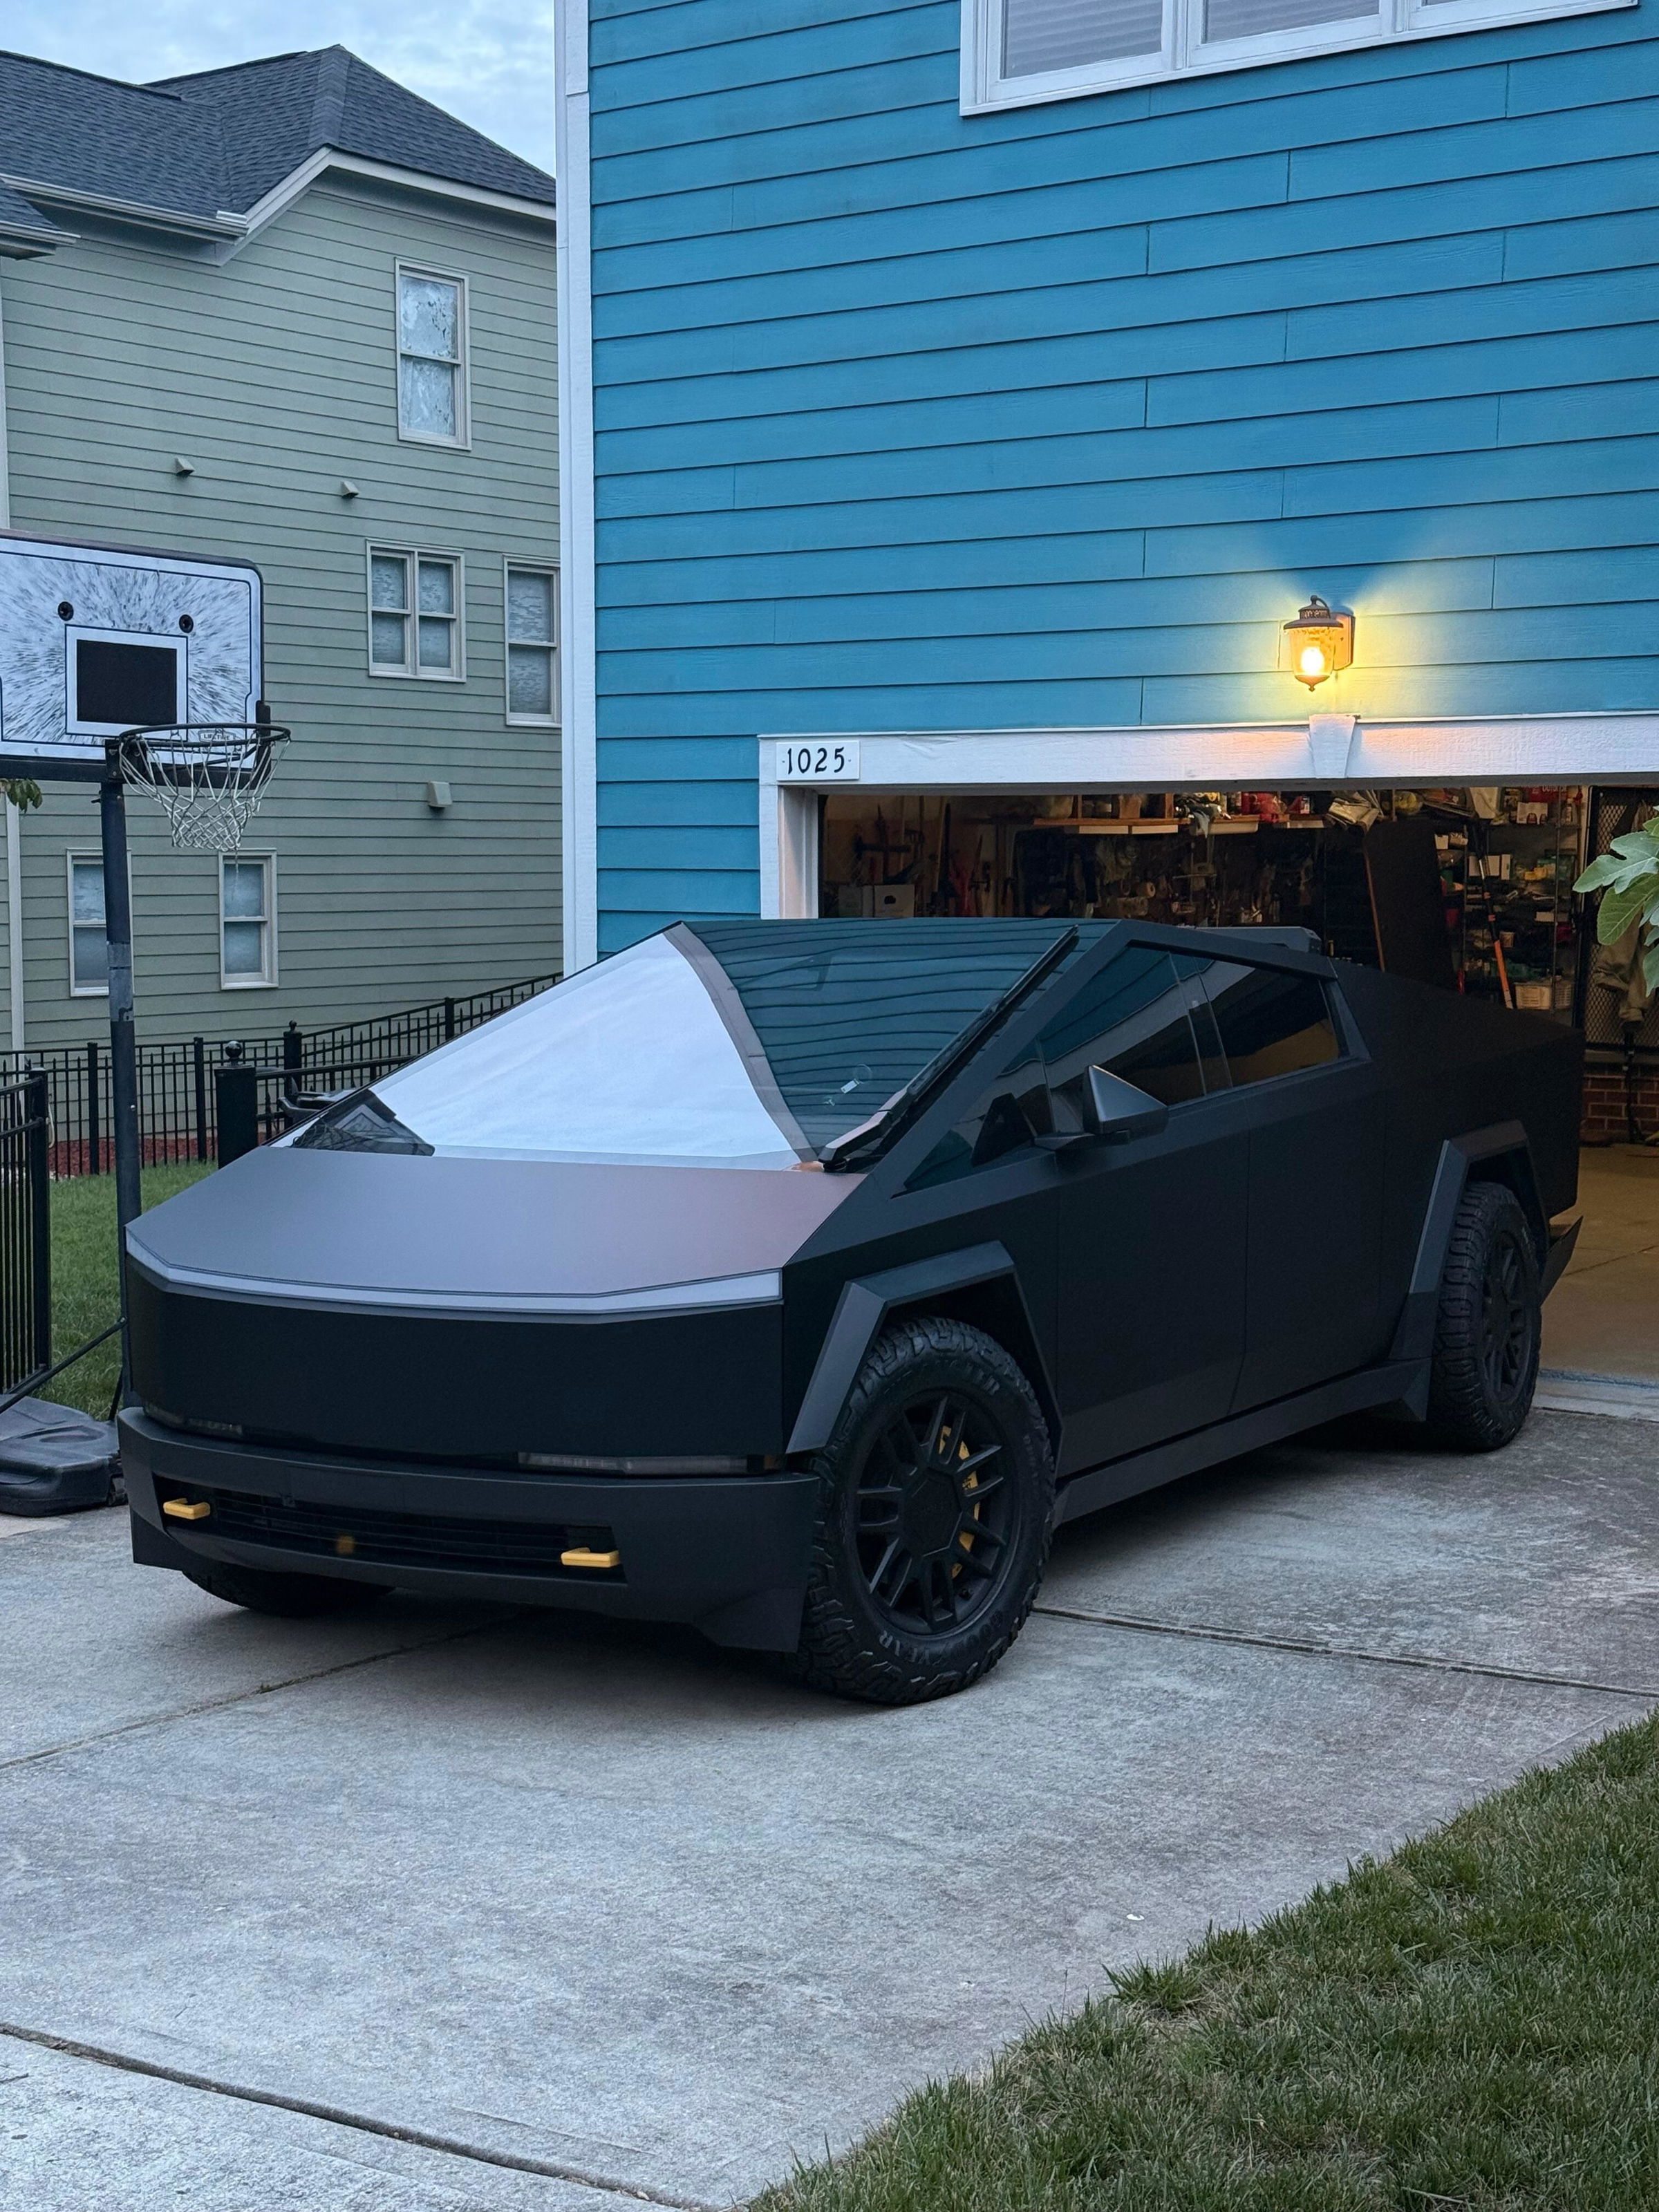
I purchased the Matte Black Phantom Blue PPF wrap for my Cybertruck and completed the installation with my dad. We went very thoroughly, so I budgeted 8-12 hours for 2 days on the weekend, but the end result looks stunning and is well completed. If you don’t have such time on your hands, you could chat with your local install shop to perform the install.
As a first-time installer, I went into the project with a fair amount of excitement—and a healthy amount of uncertainty. Looking back, I can honestly say that choosing TWRAPS was one of the best decisions I made for the project.
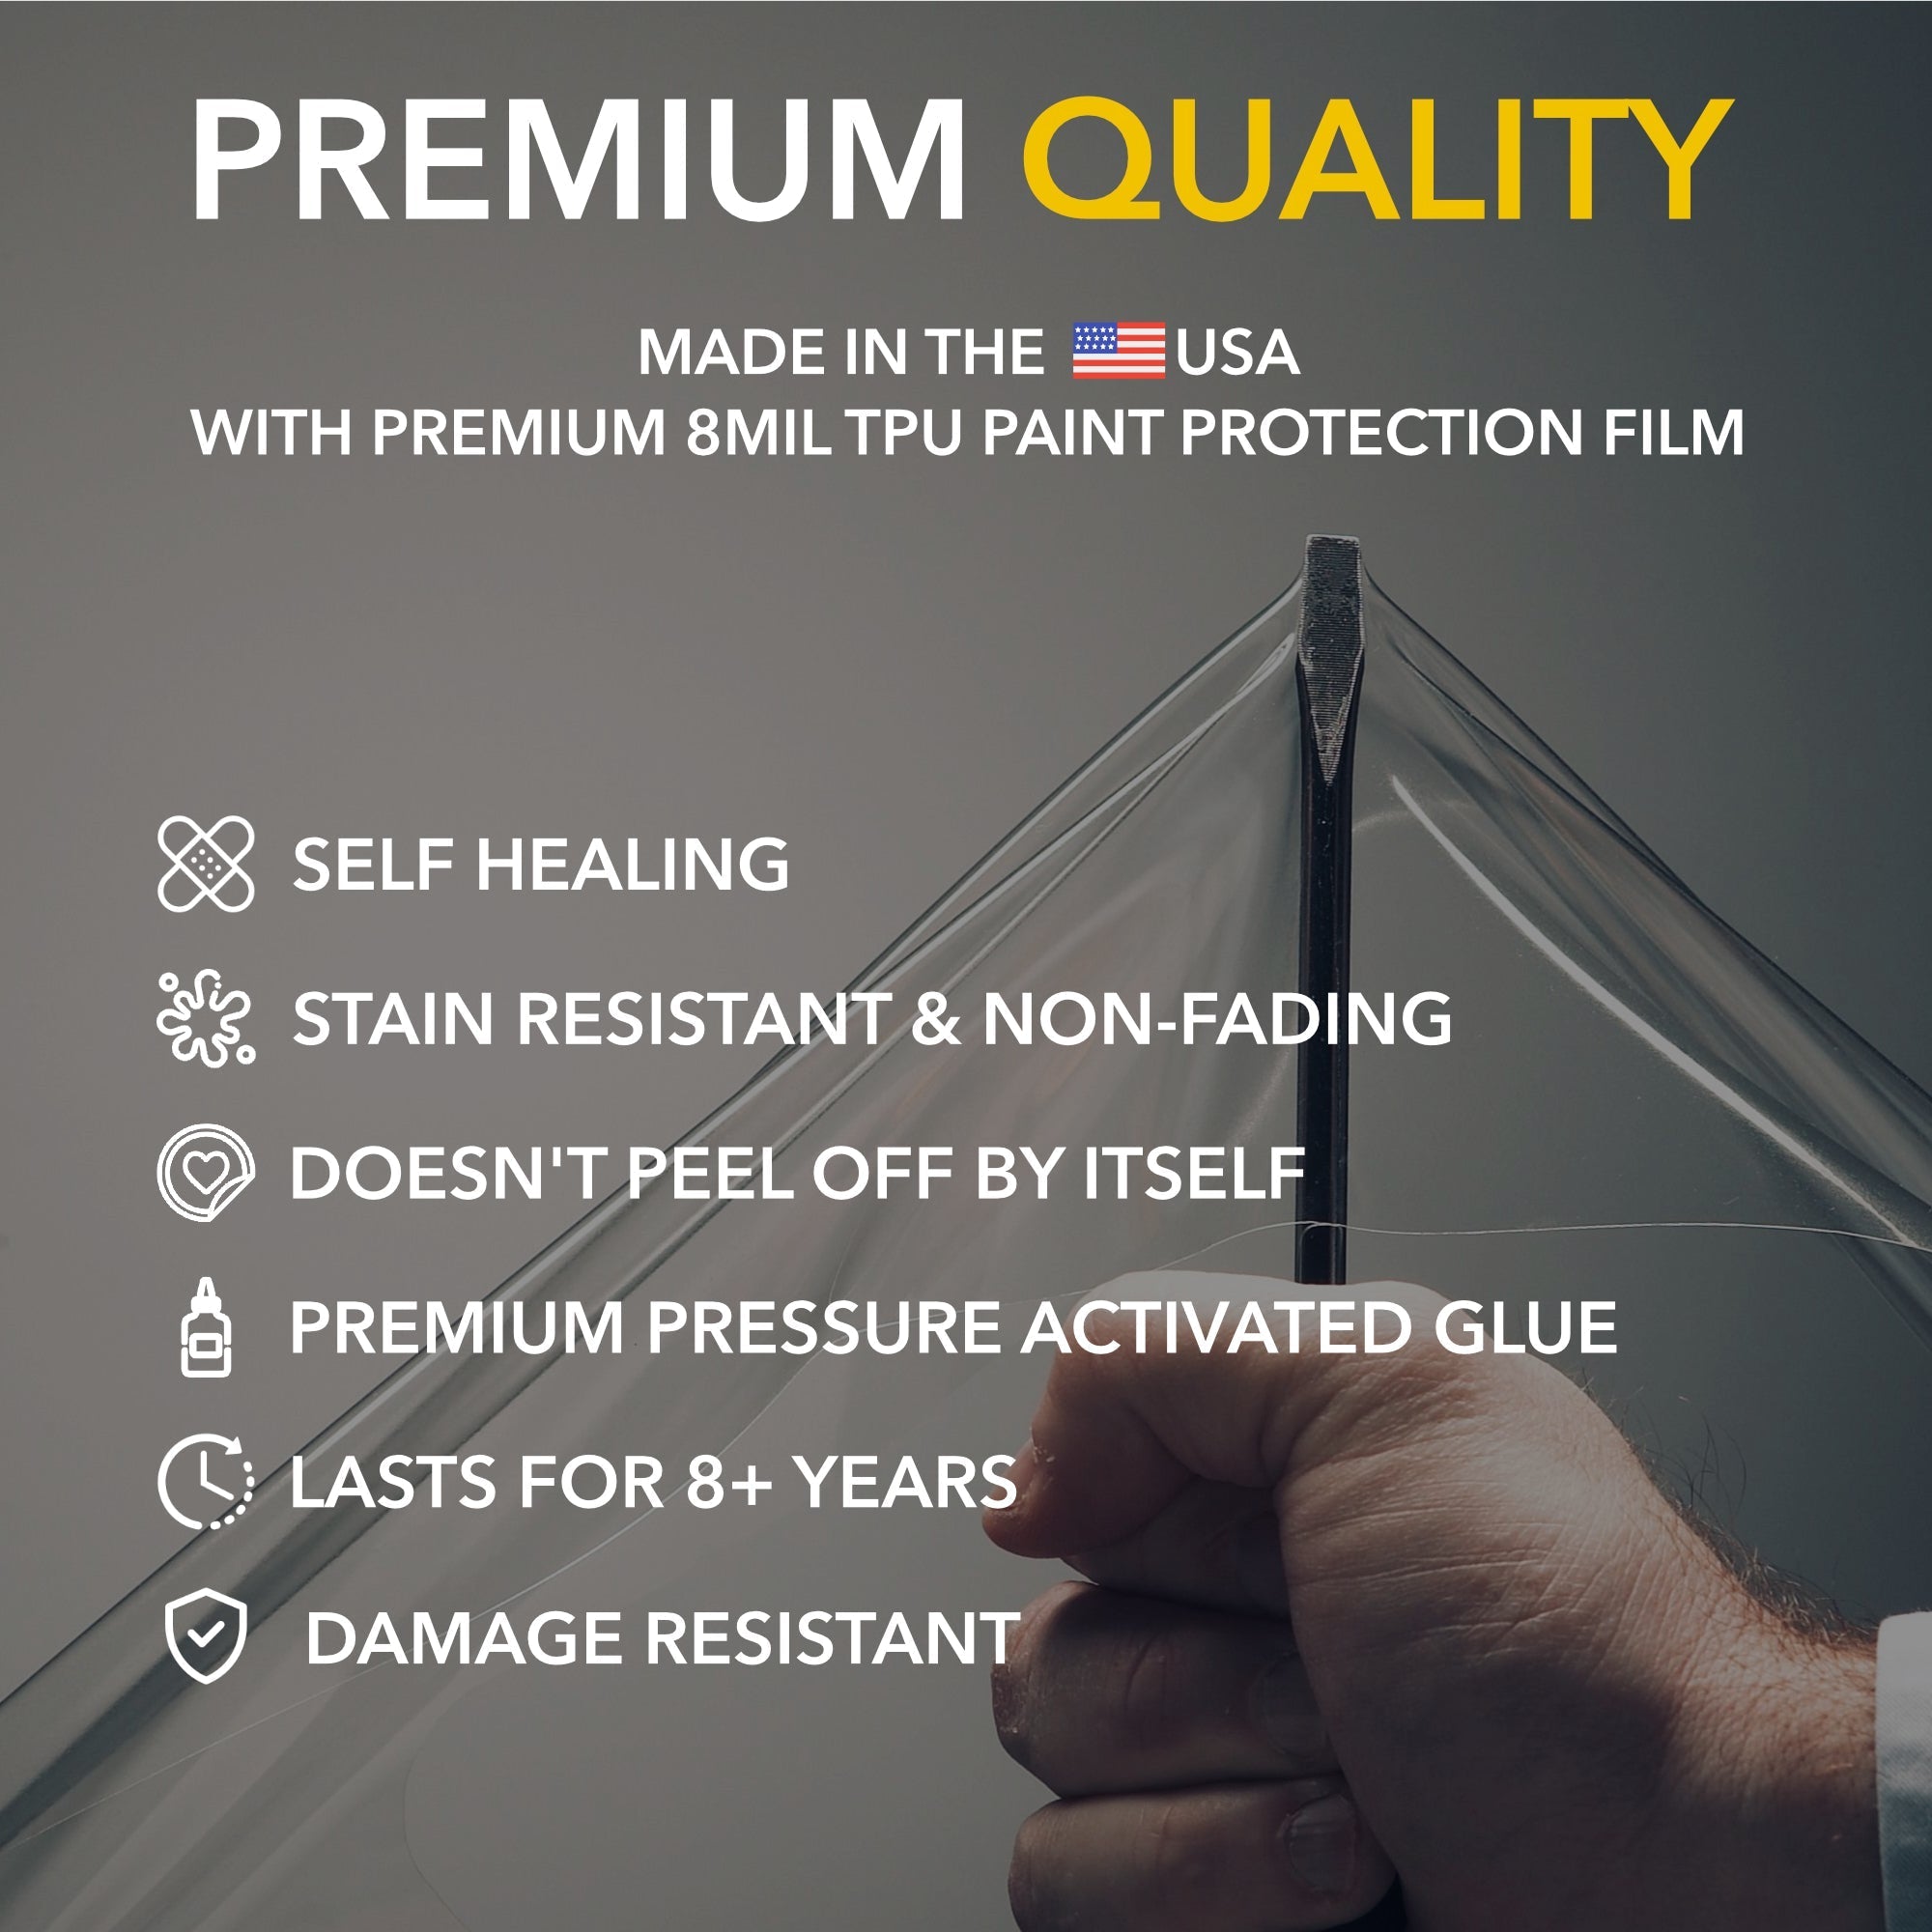
First, the product itself is outstanding. The Matte Black Phantom Blue color looks absolutely incredible in person and constantly gets compliments. The film quality exceeded my expectations, and the adhesive is dialed in perfectly. Iliya explained that they spent significant time testing and refining it, and it shows. It’s strong enough to provide confidence in long-term durability, yet forgiving enough to correct minor mistakes after the installation.
What truly sets TWRAPS apart, however, is their customer service.
The YouTube installation videos and the guides are clear, detailed, and easy to follow. But even more impressive was the level of personal support I received throughout the entire process. From the moment I placed my order through post-installation follow-up, Iliya was always available to answer questions, provide guidance, and help troubleshoot the occasional issue. That level of responsiveness and commitment is almost unheard of today.
As someone doing their first PPF installation, having that kind of support removed virtually all of the risk and uncertainty from the experience. I never felt like I was on my own.
Great product, phenomenal documentation, and truly world-class customer service. TWRAPS is a small U.S.-based business that clearly takes immense pride in both its products and its customers.
Thank you, Iliya and the entire TWRAPS team. I couldn’t be happier with the result, and I recommend them without hesitation to anyone considering a Cybertruck wrap.
Looks Great!
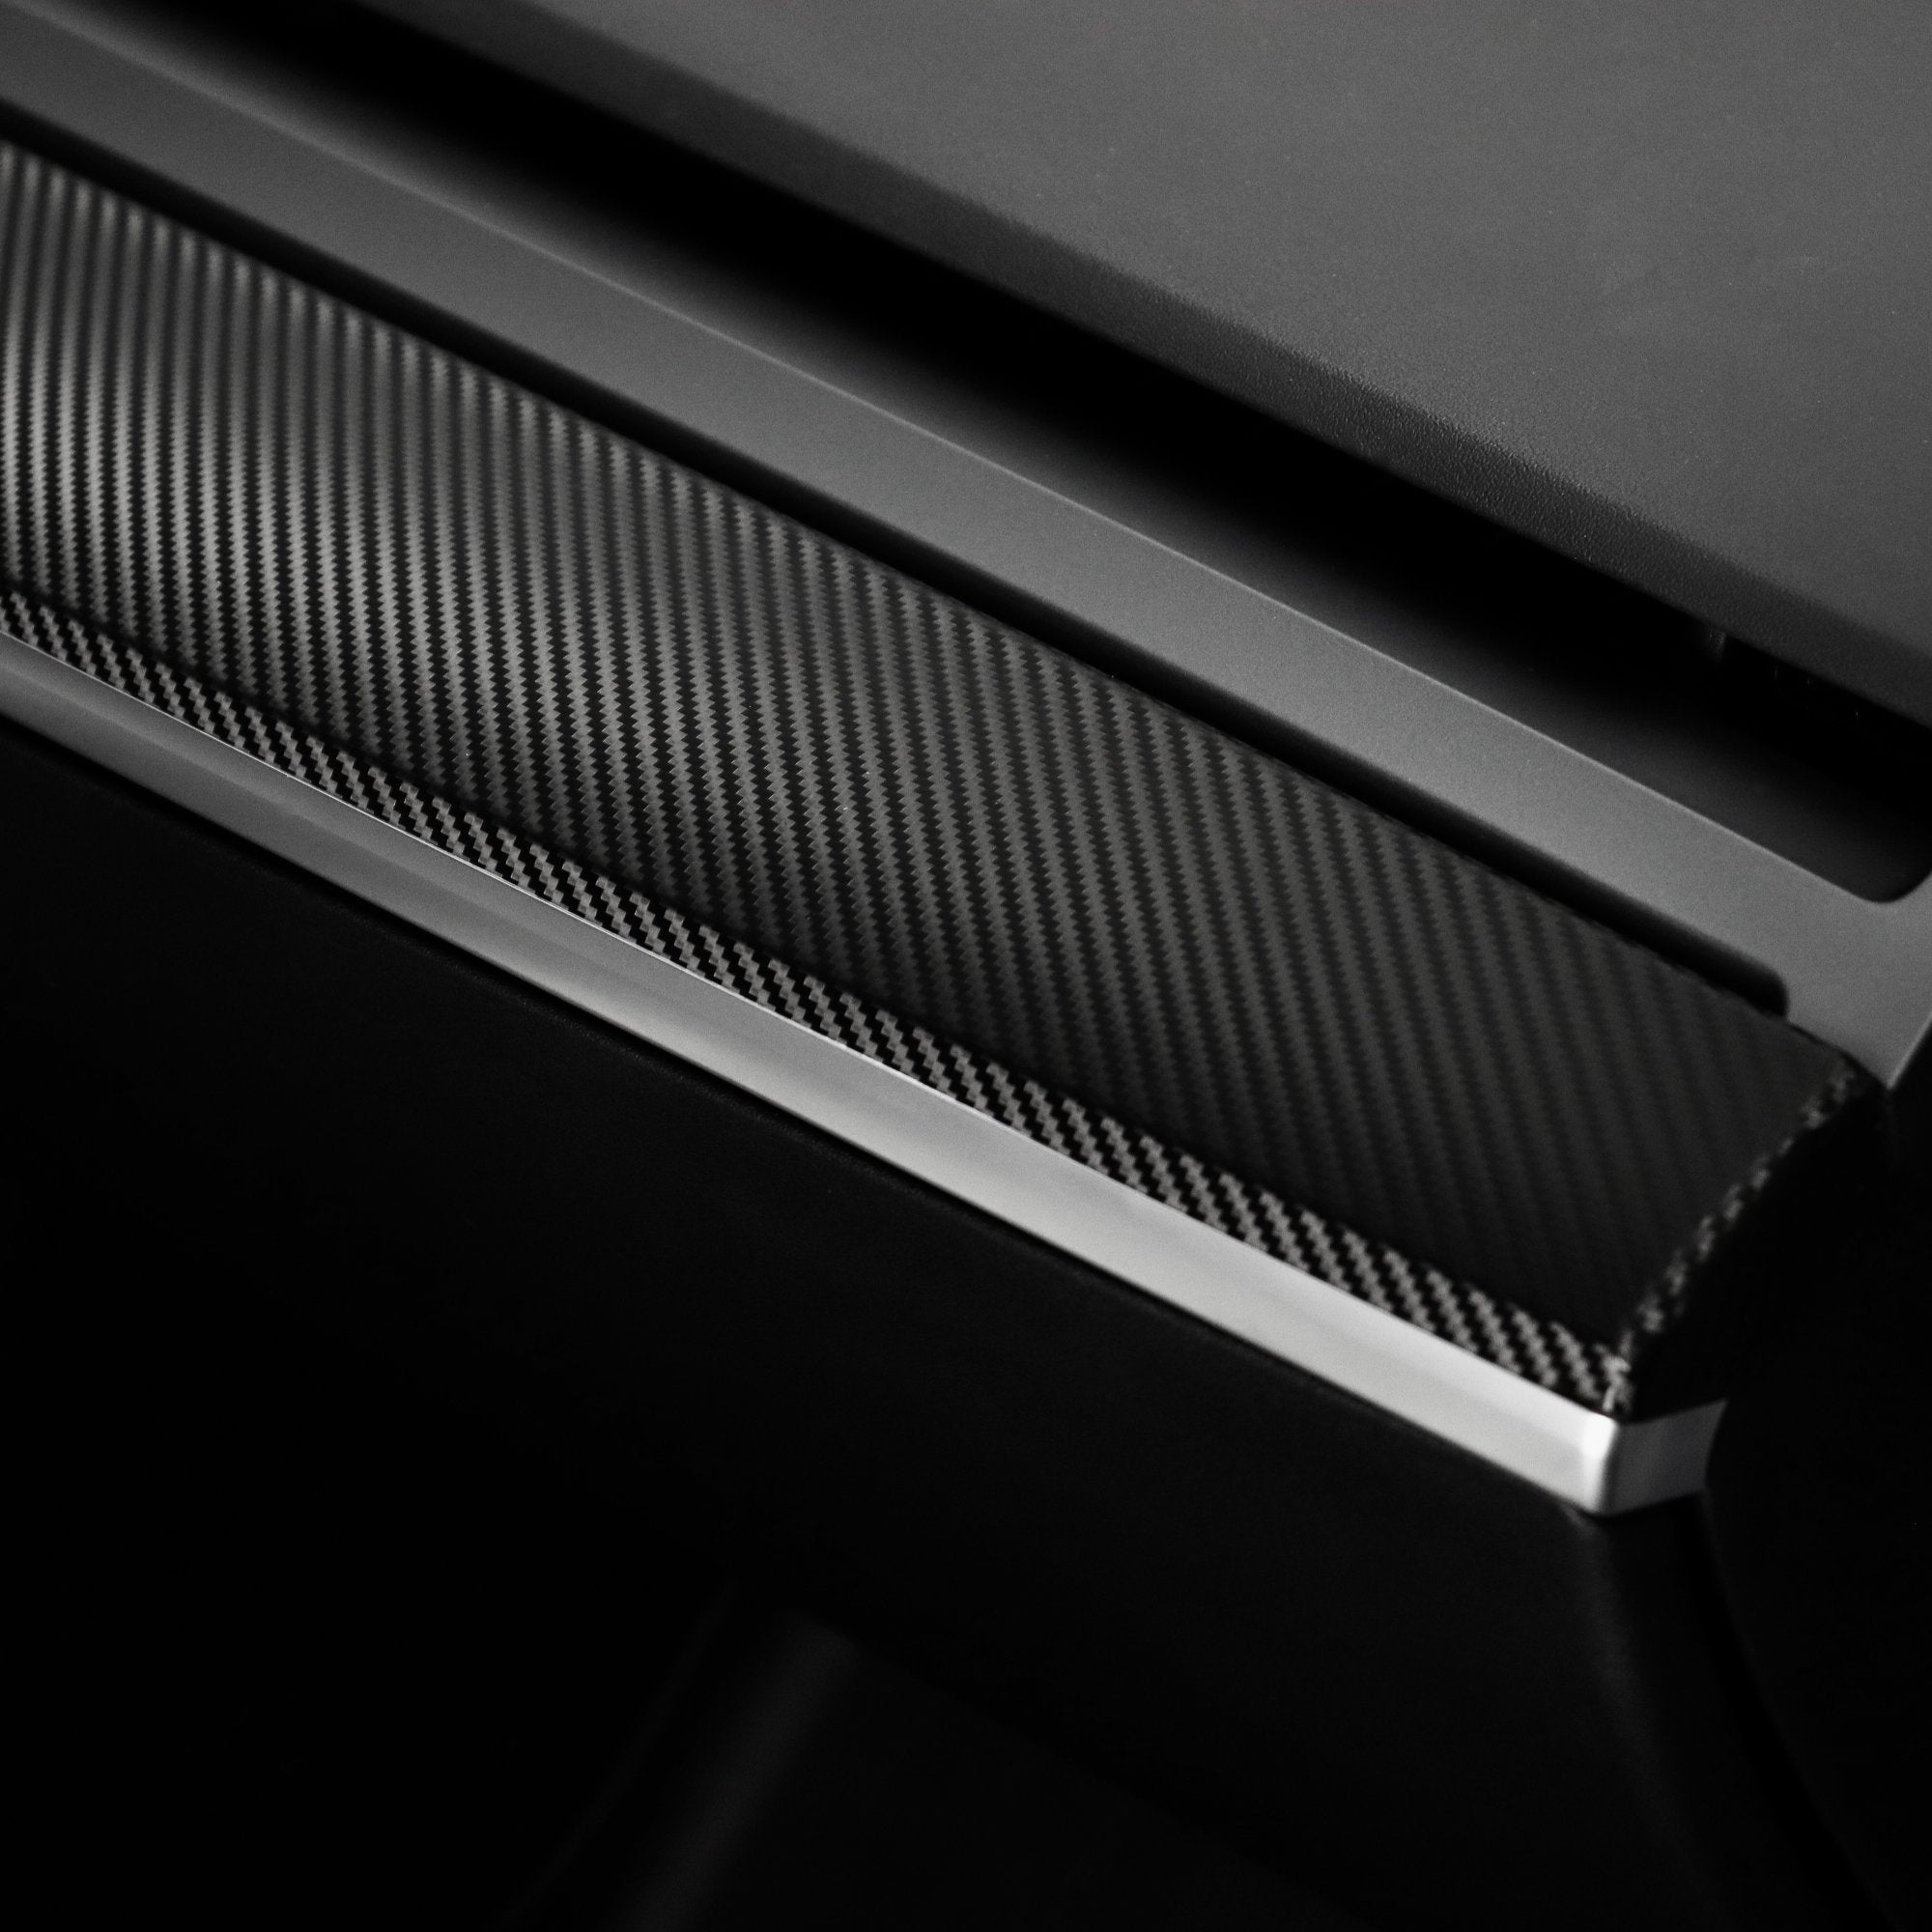
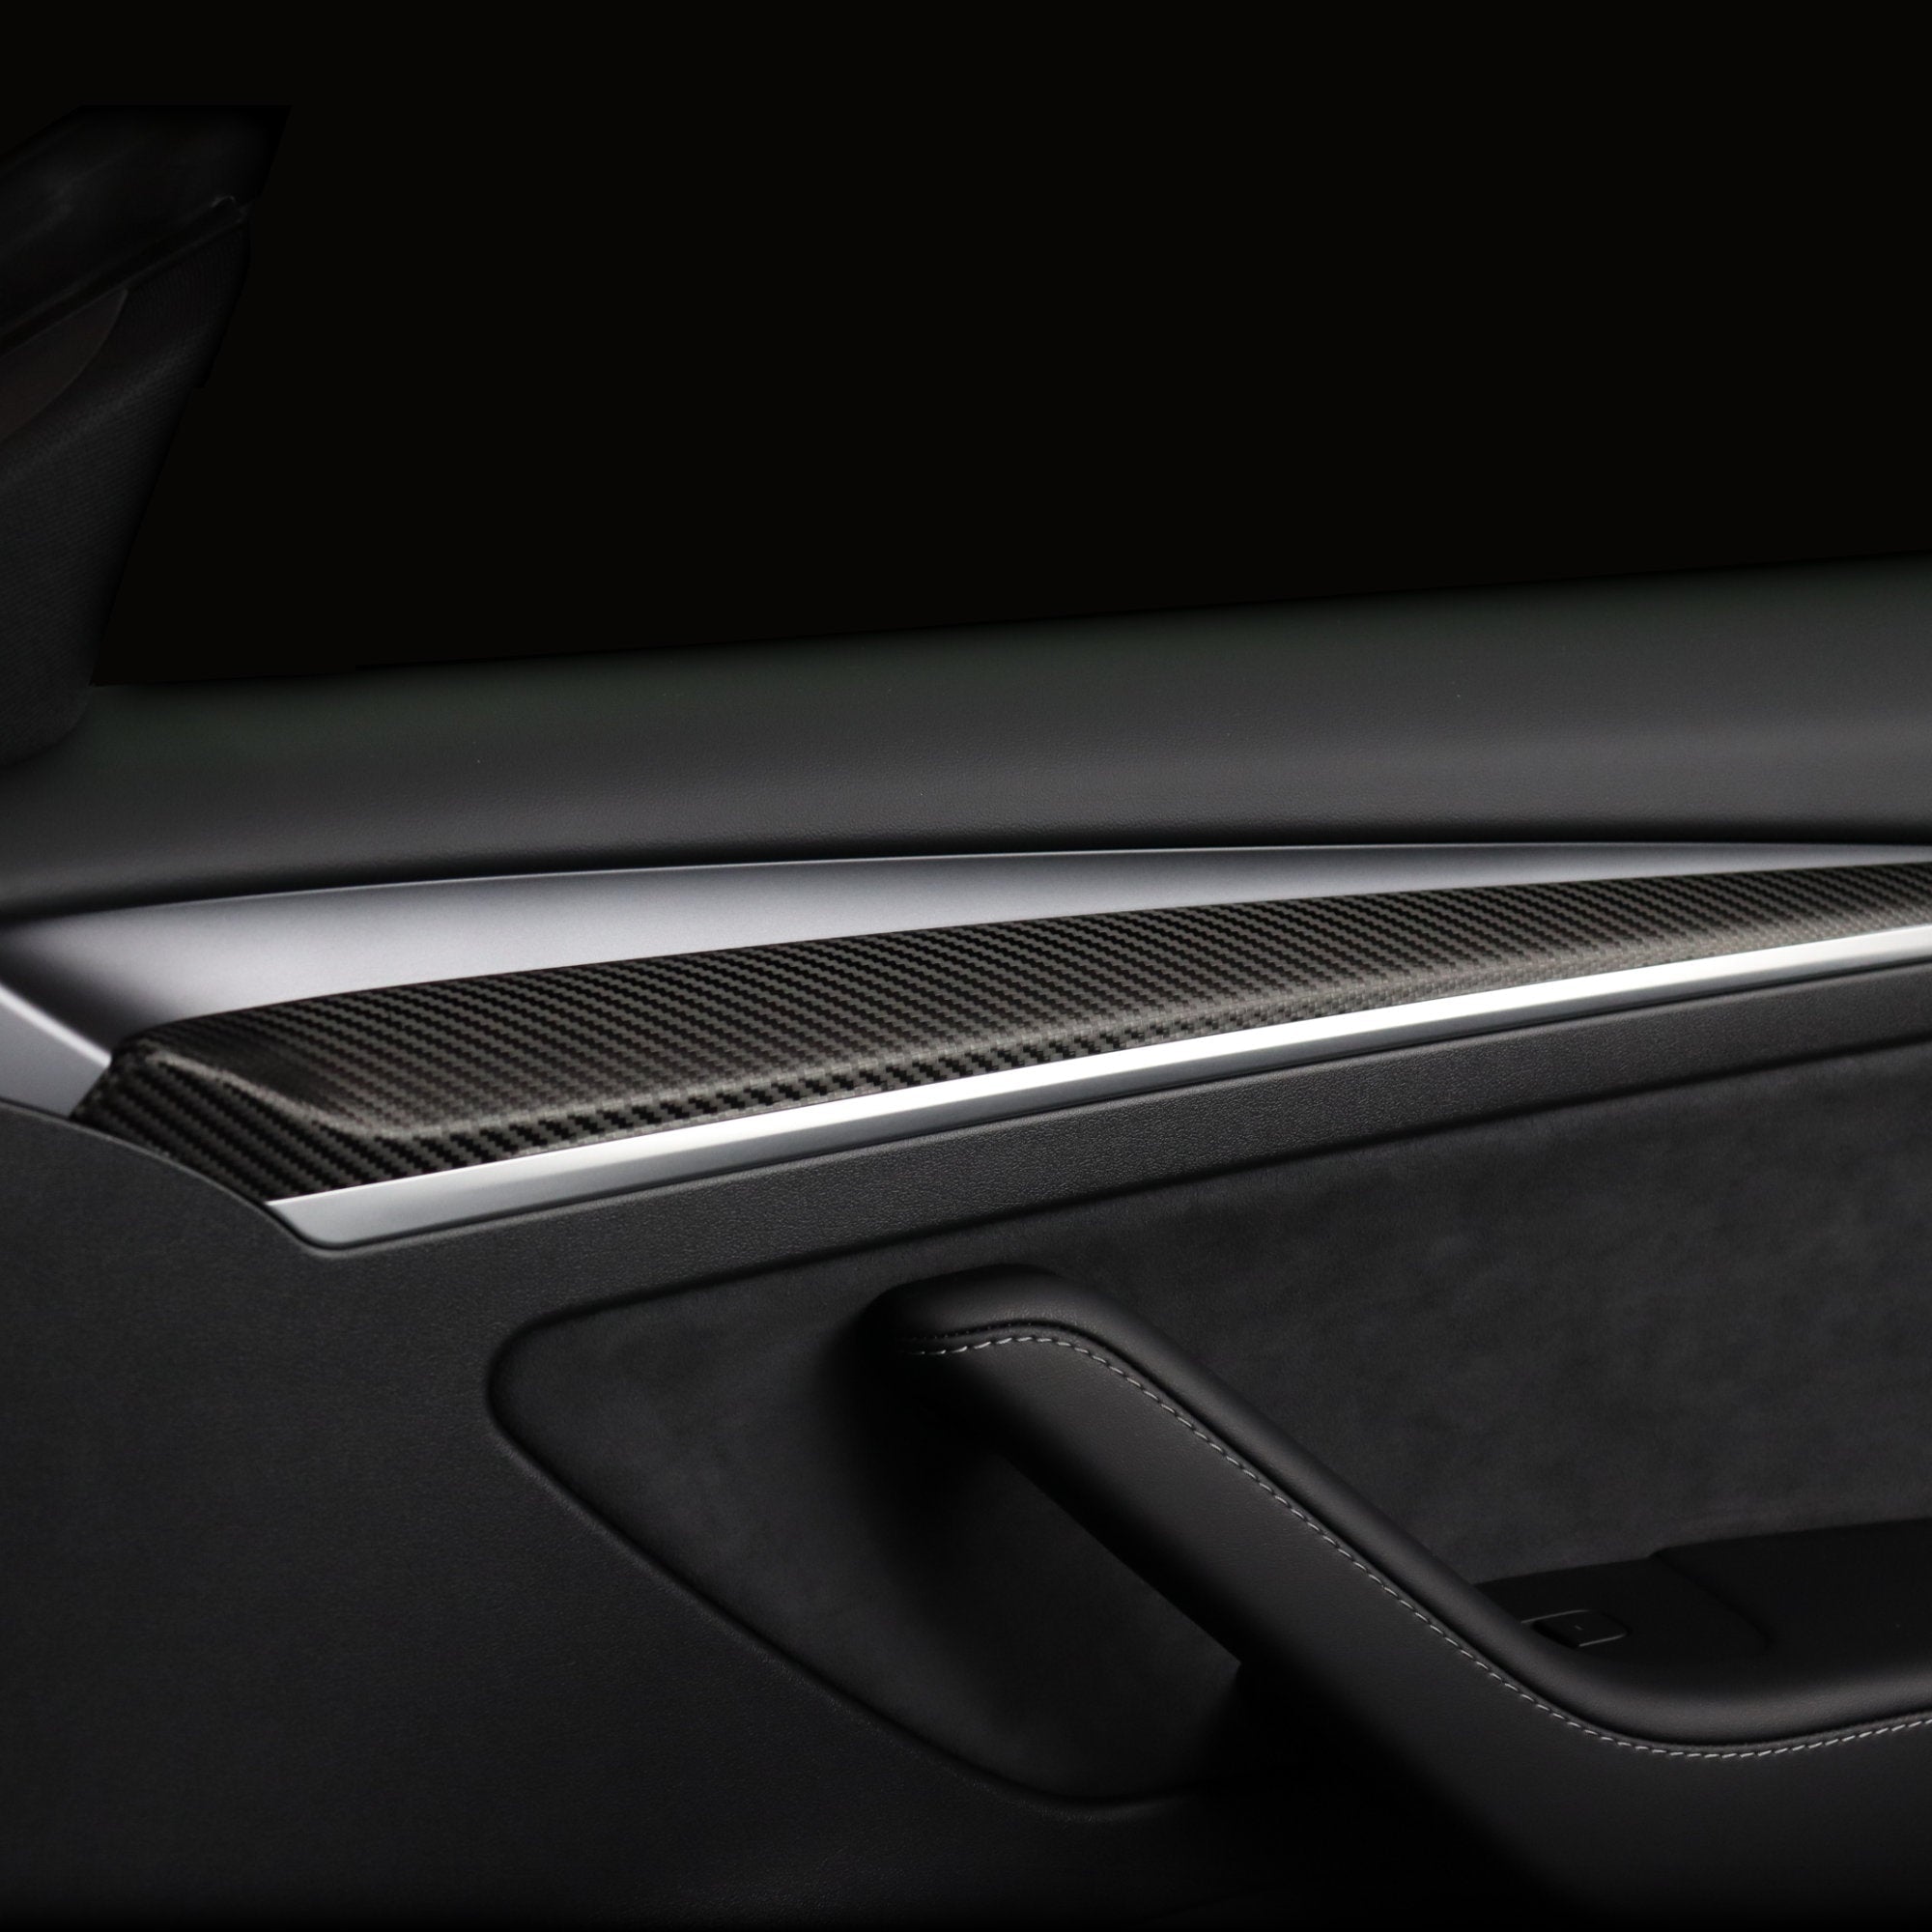
The carbon fiber look is spot on with my Plaid interior having some accents already. Perfect fit and easy to install if you are handy

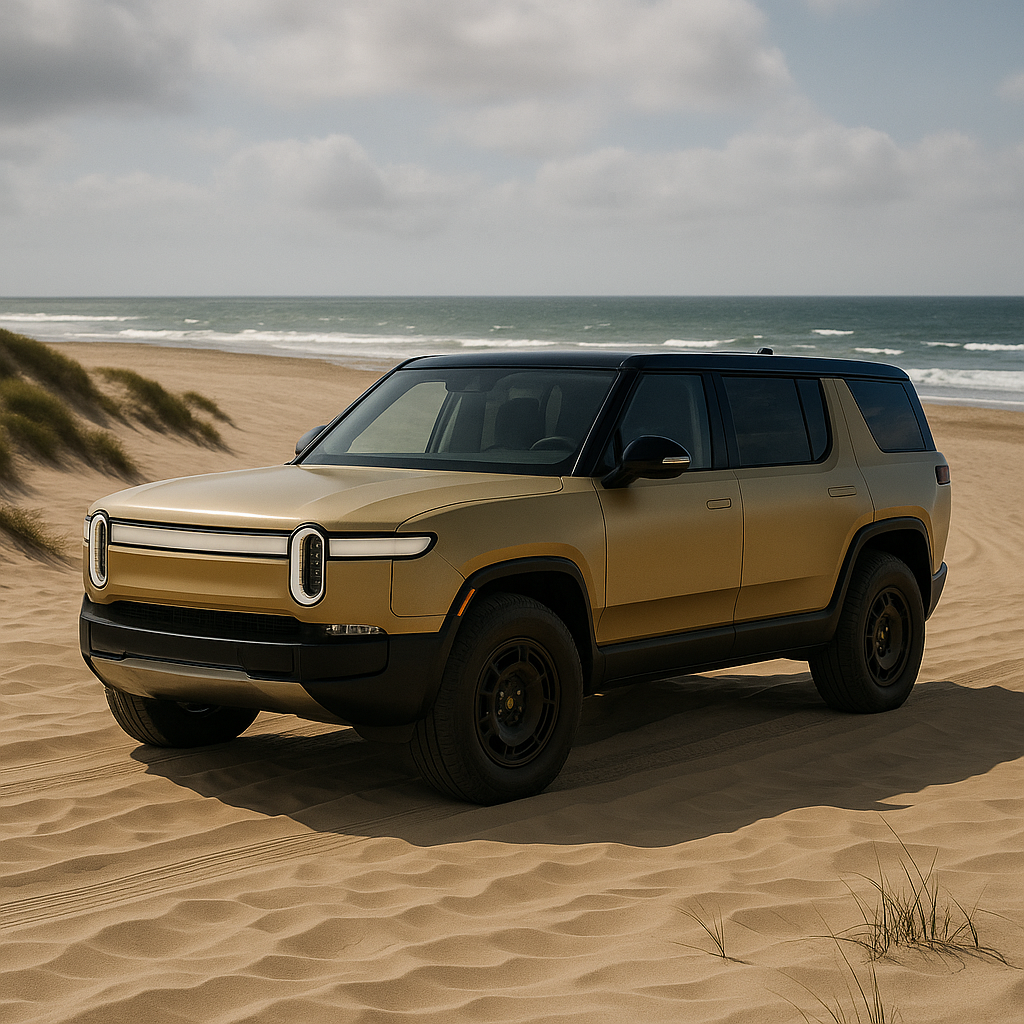
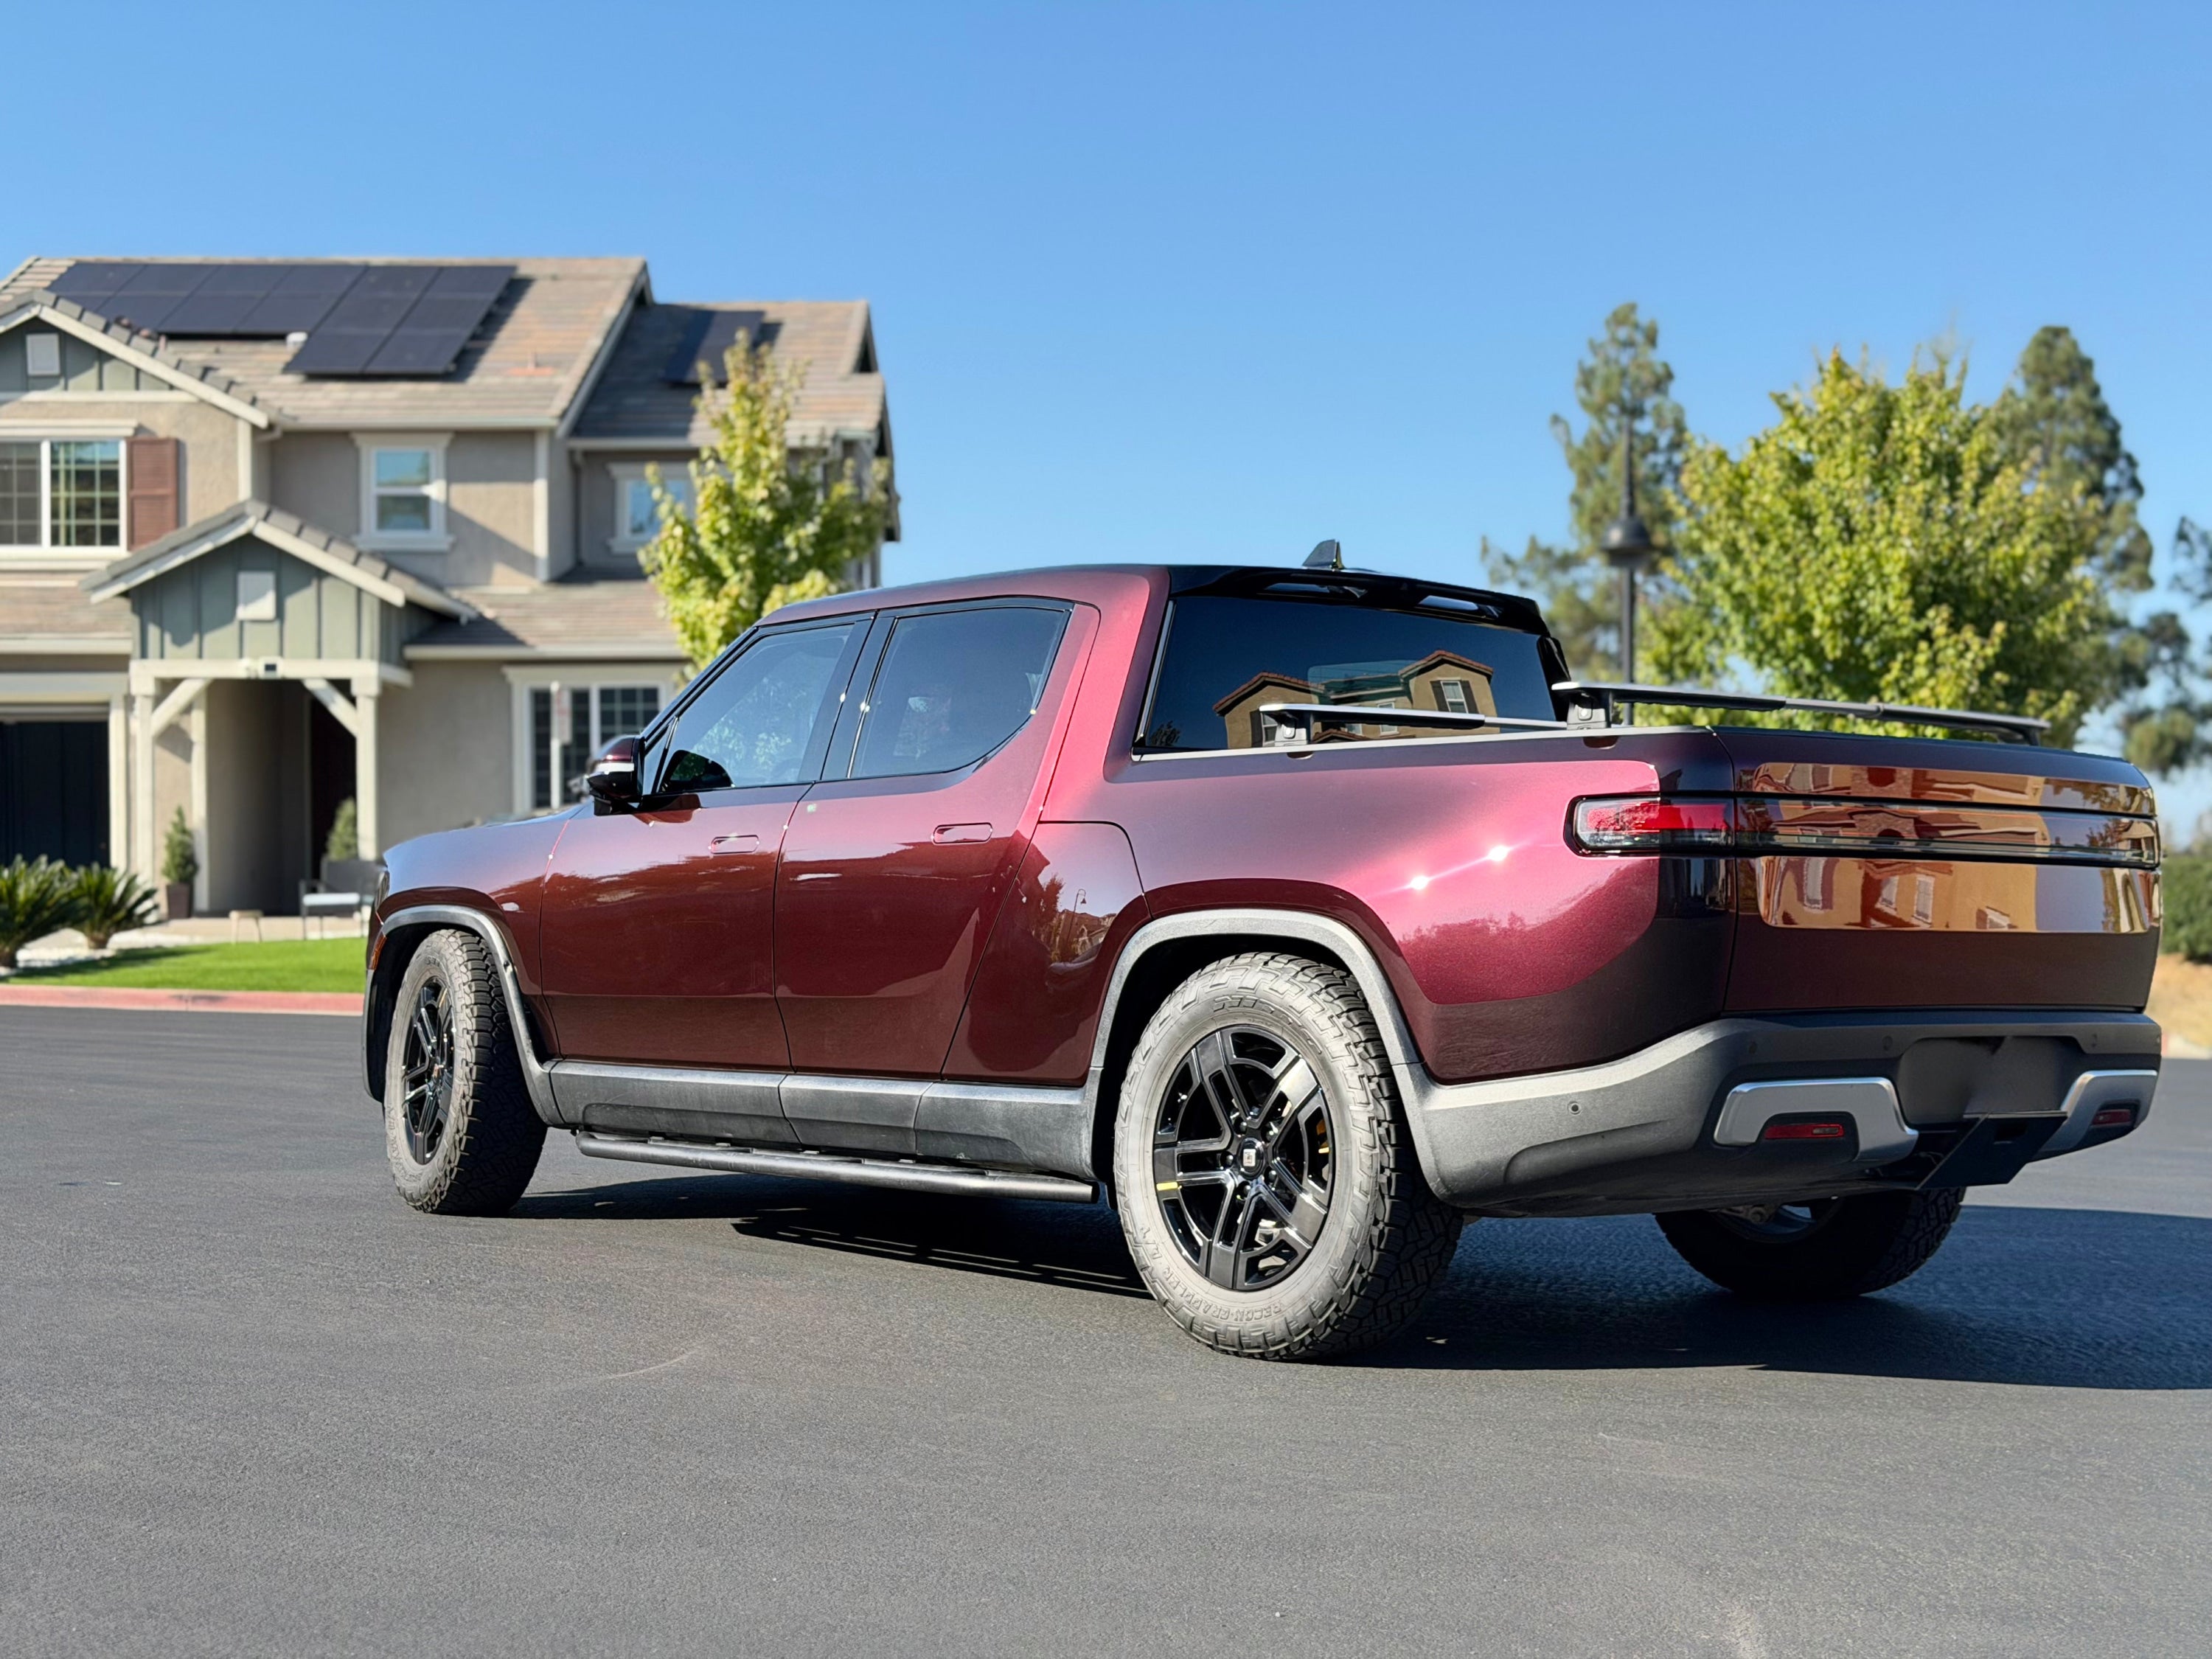
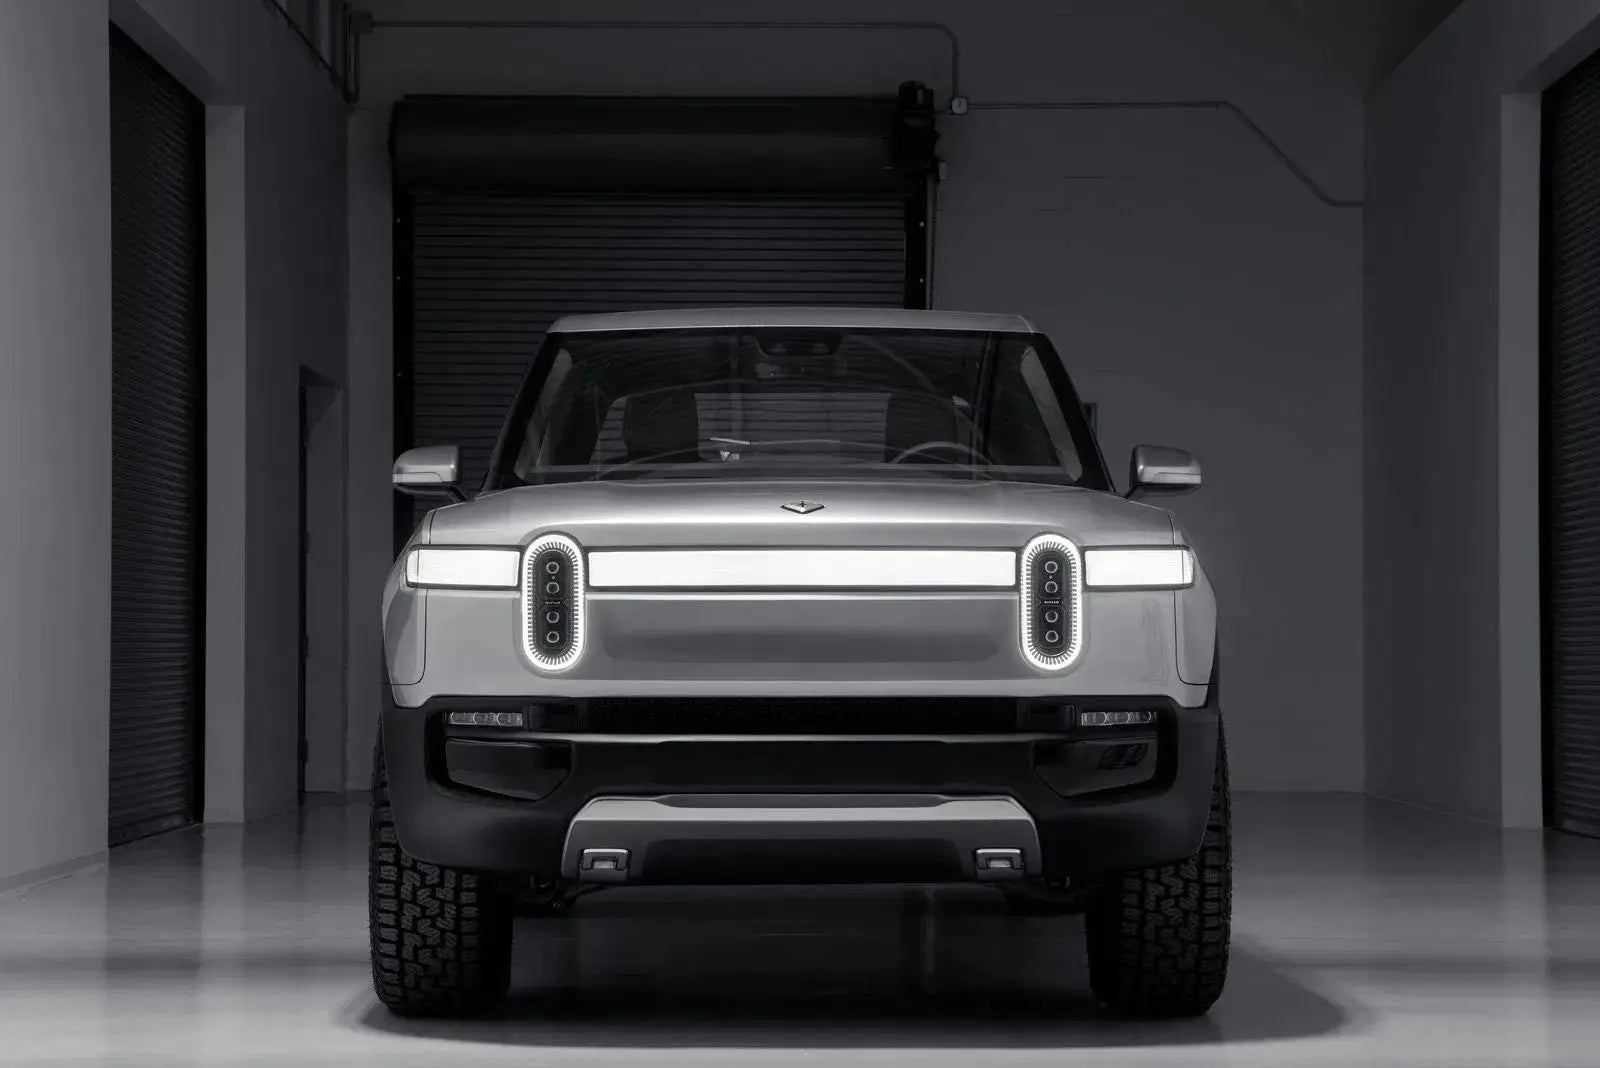
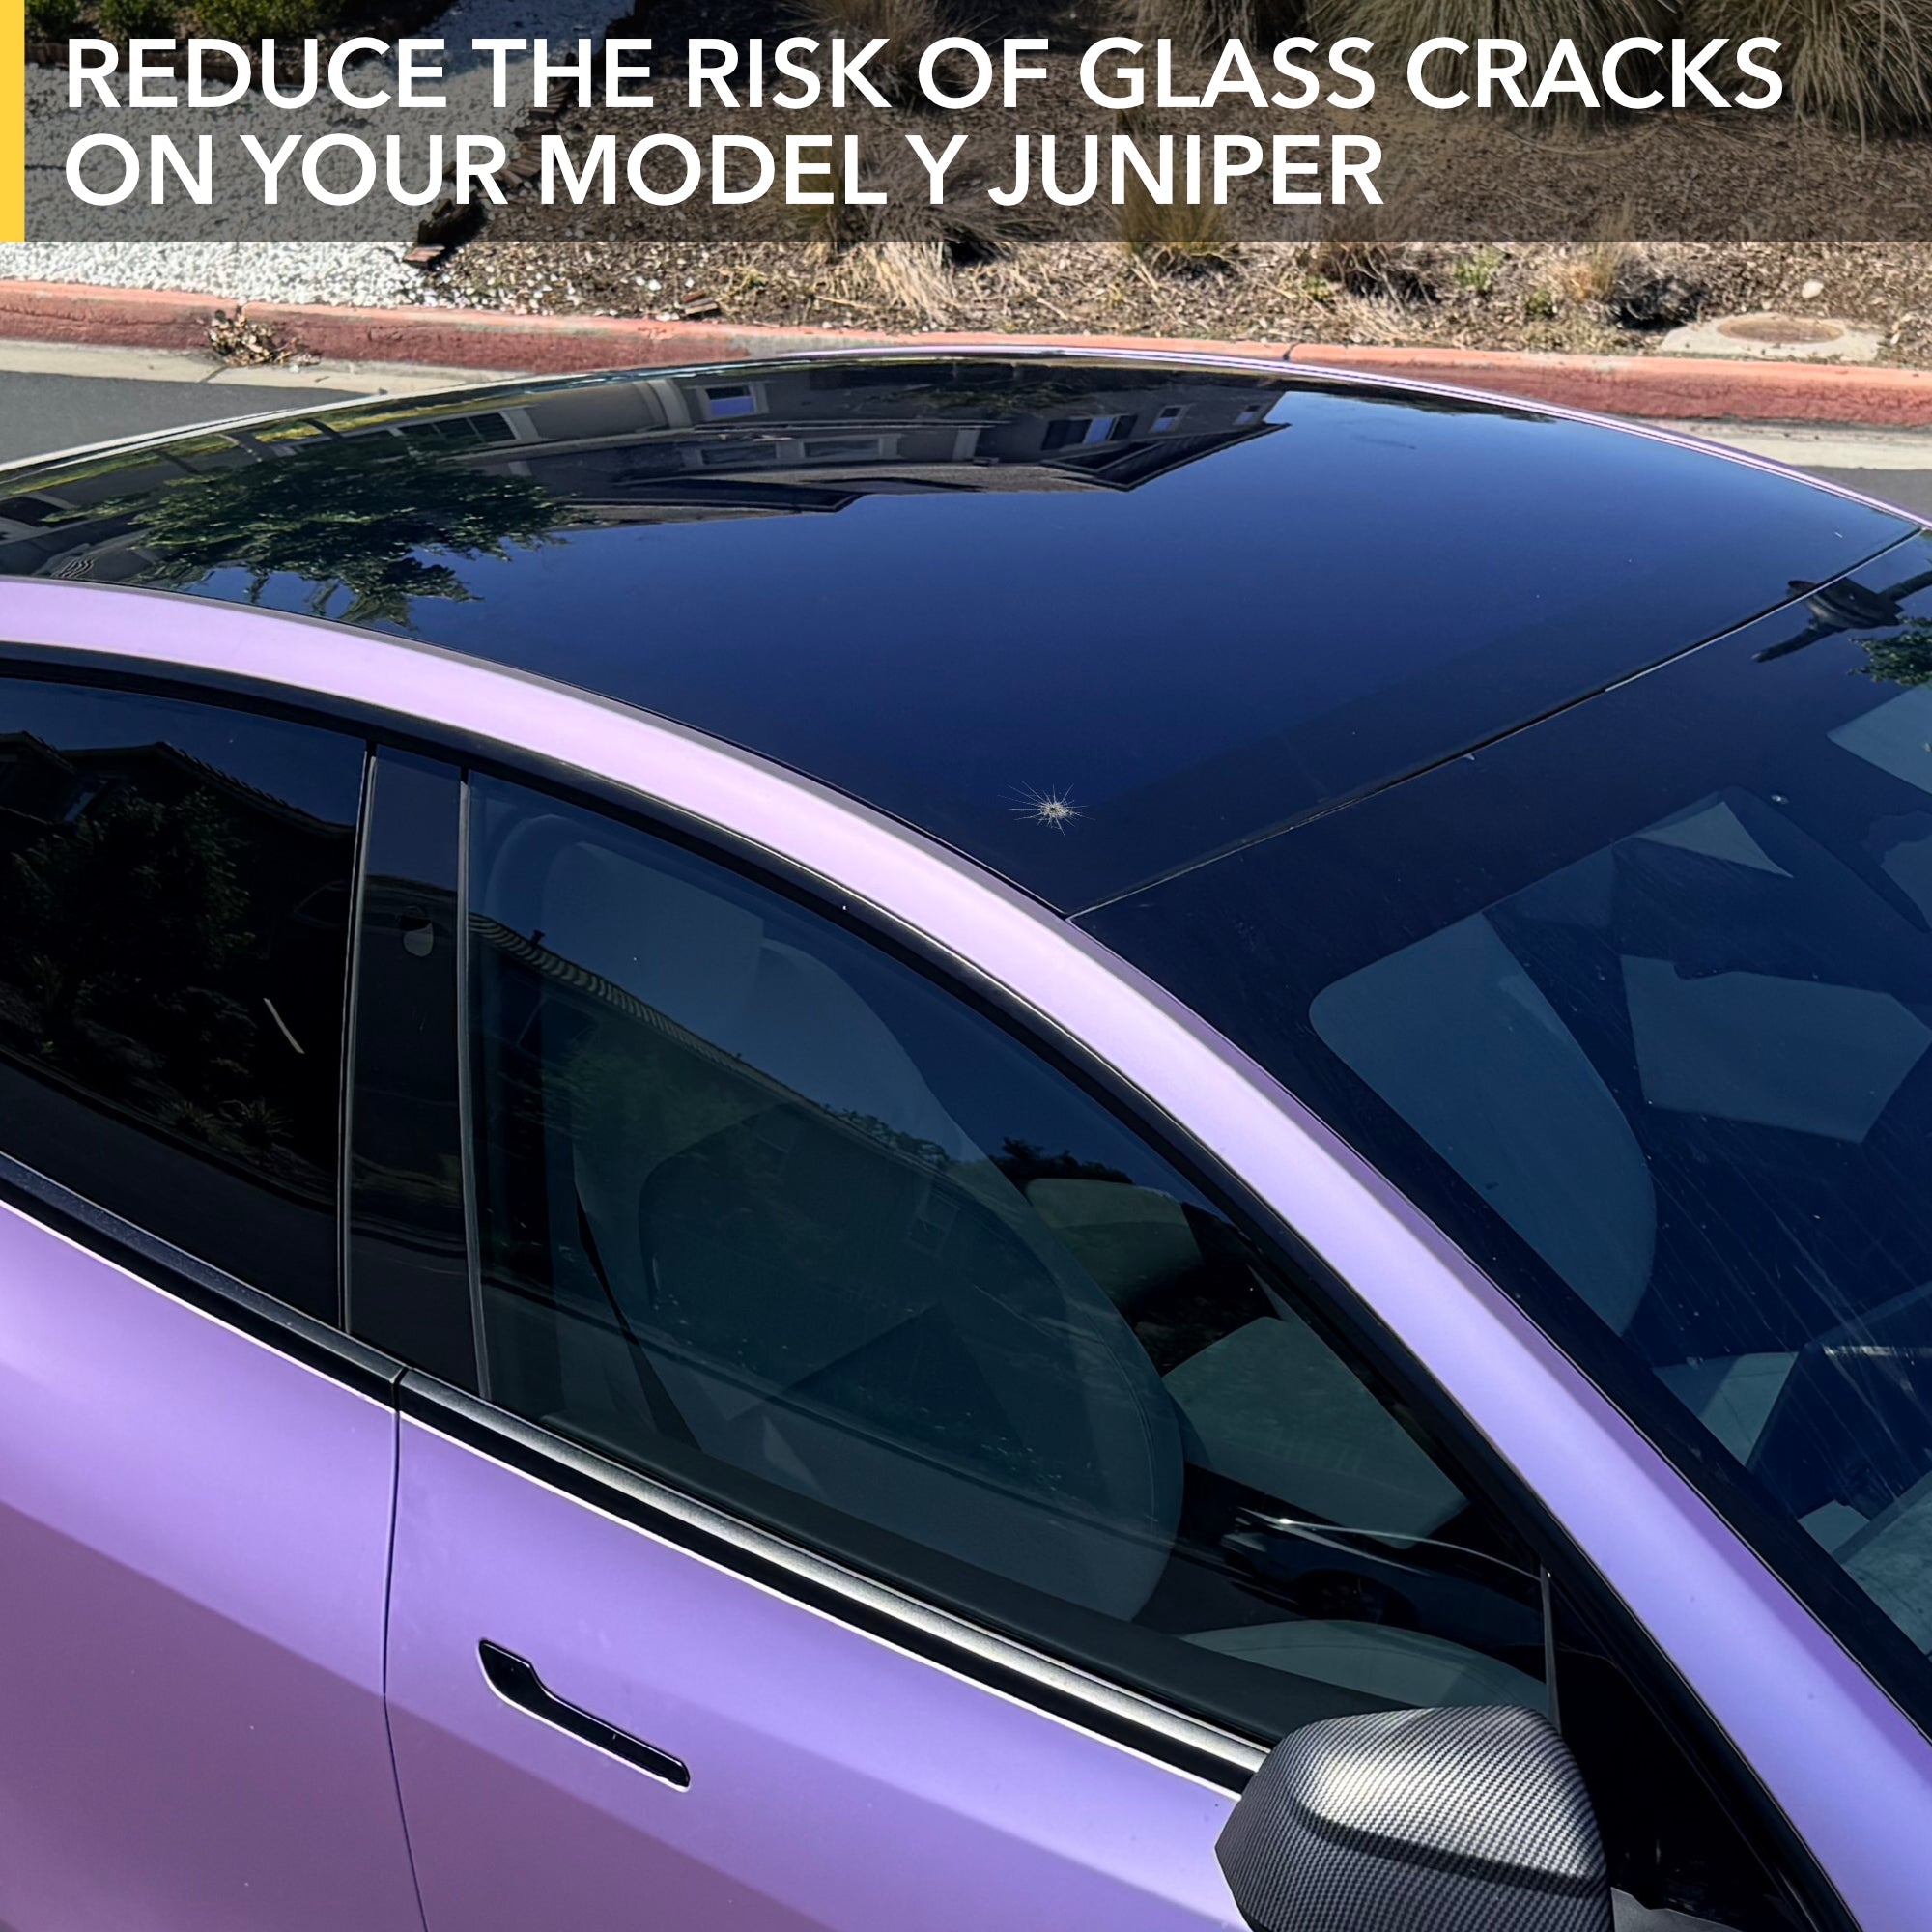
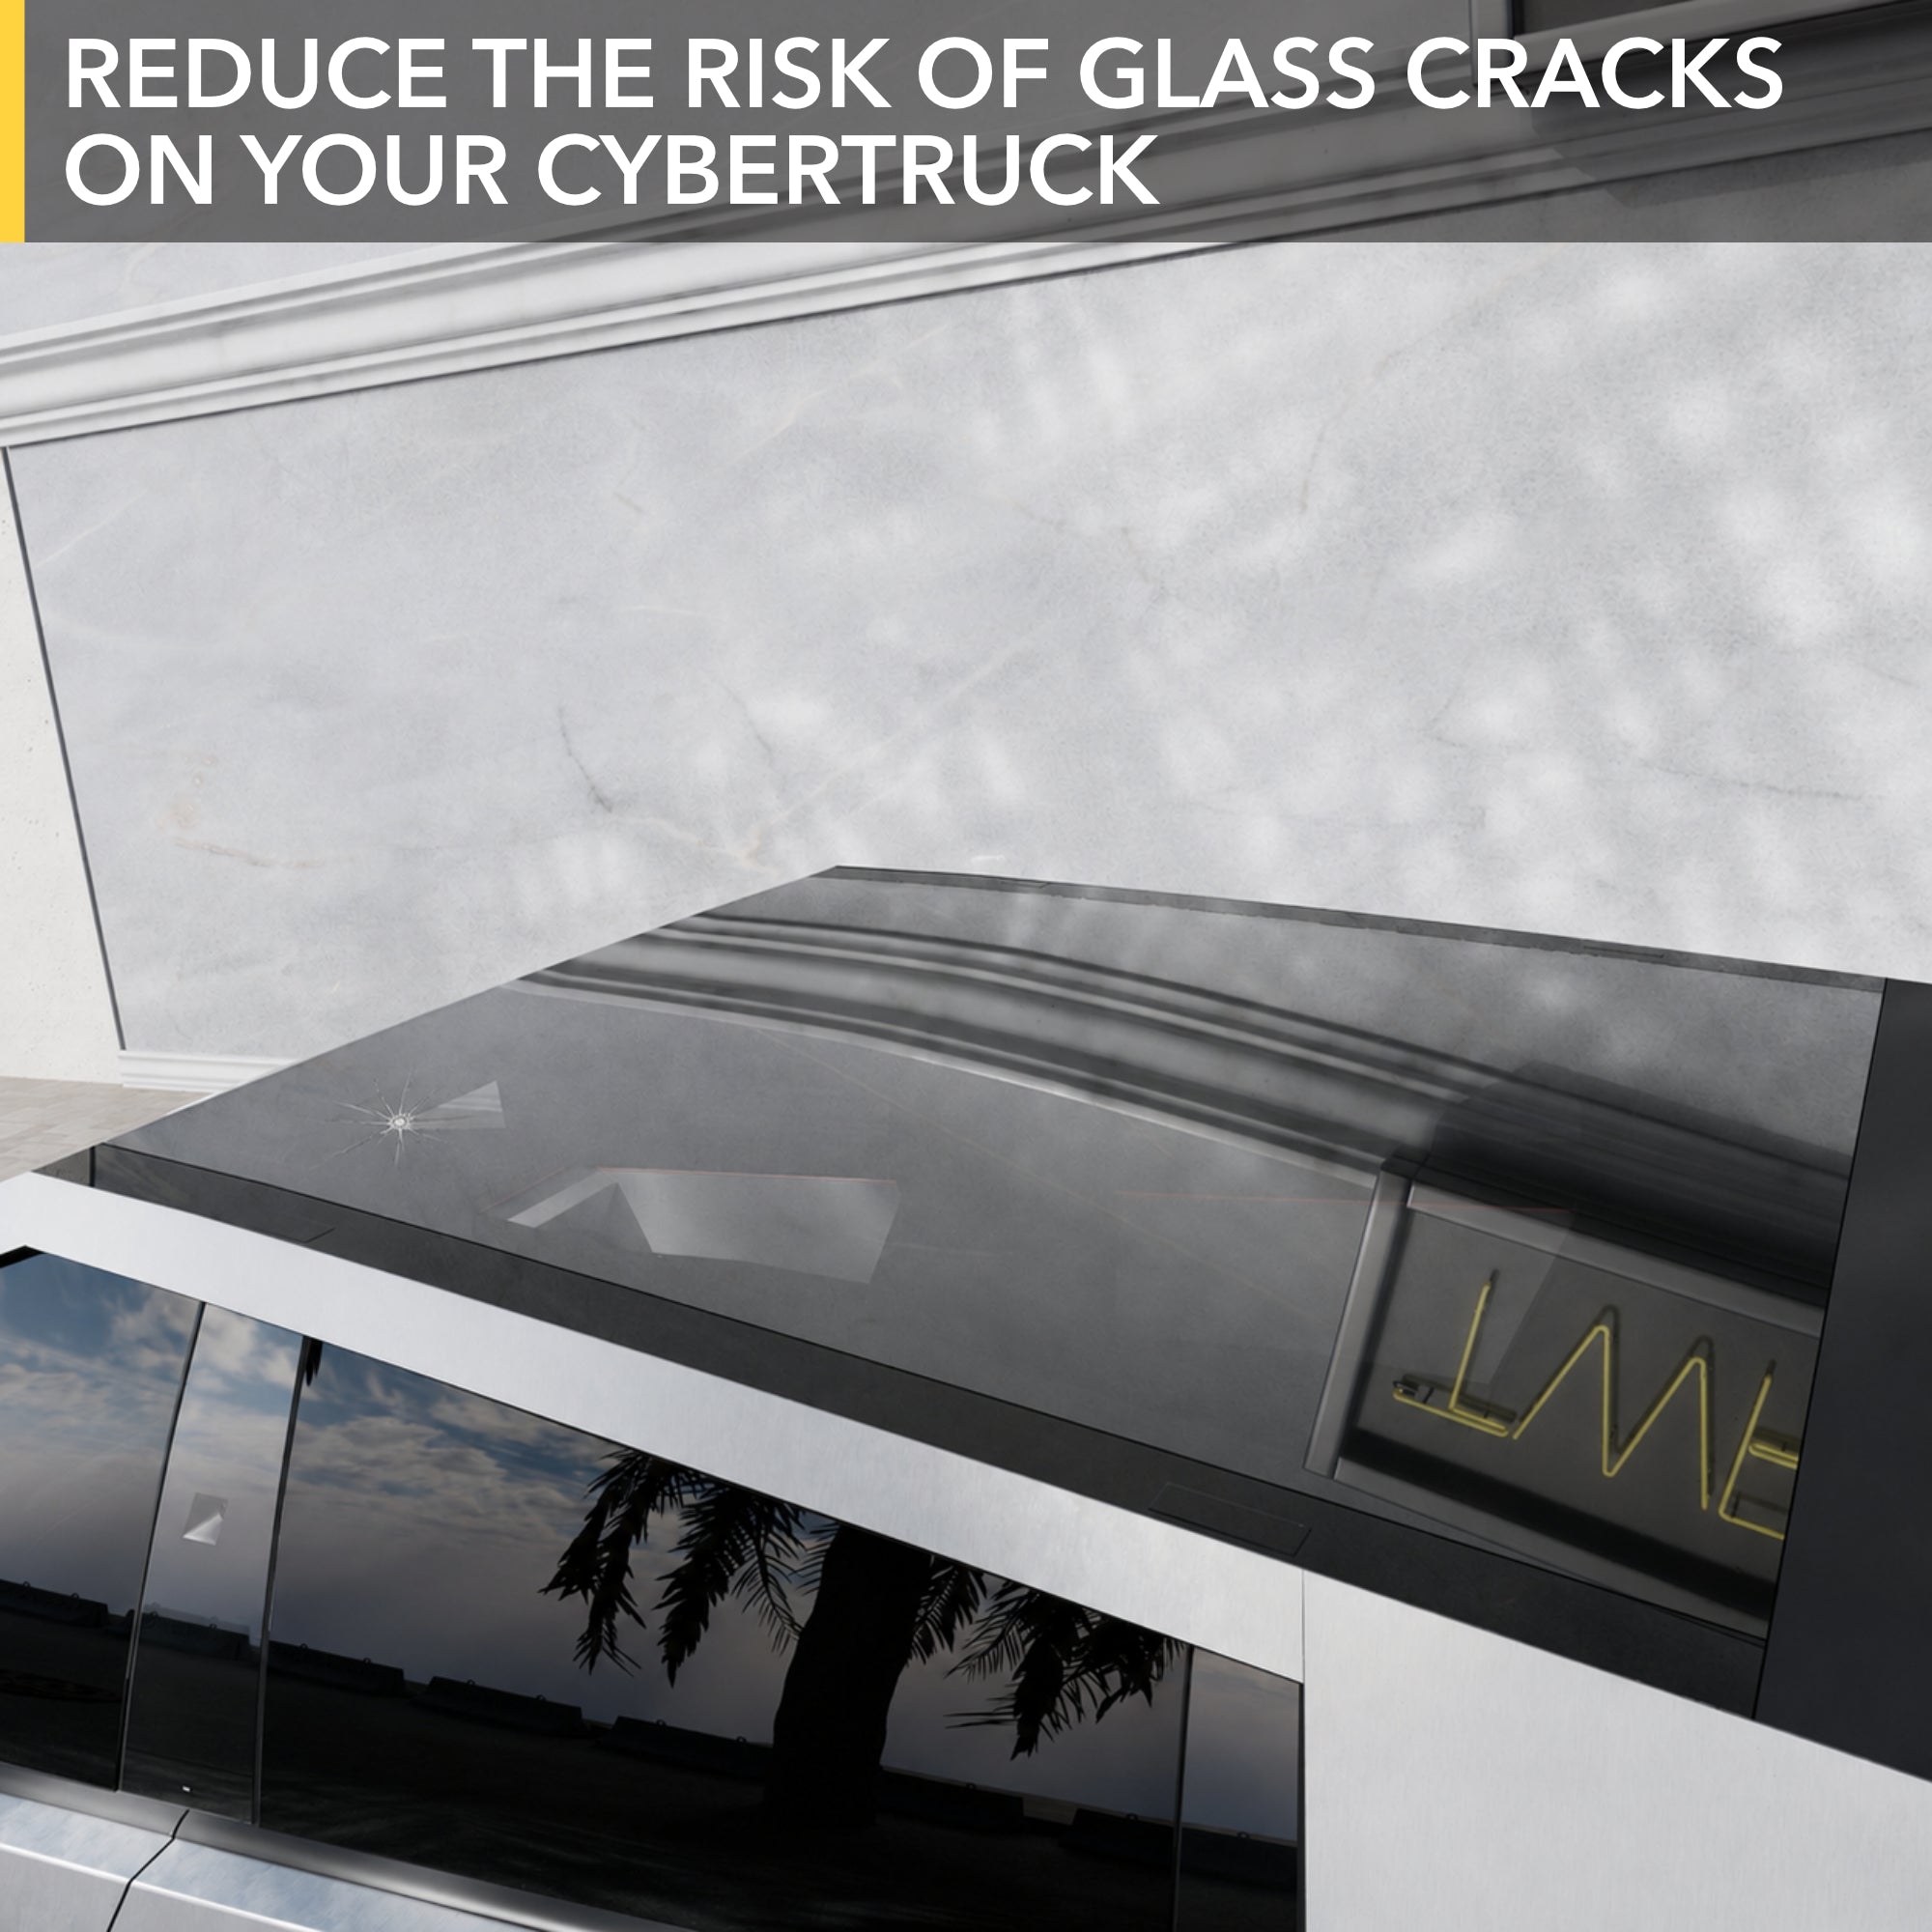
In February, my Rivian R1T windshield caught a rock from a passing dump truck on the highway. I had already been planning to install protective film on the windshield but sadly didn’t get to it before this incident. As soon as I had the windshield replacement scheduled, I ordered the UV and IR protective film from TWRAPS along with the DIY protection in case I messed up the installation.
I decided to order the same film for the rear window of my R1T and I used that experience to help guide me when installing the larger windshield protective film.
I watched the TWRAPS videos multiple times when researching products as well as before and while installing the protective film. I definitely encourage you to watch the videos multiple times and follow the sequence as described and shown in the videos.
Installing the smaller rear window film first gave me the confidence that I could install the windshield film without much difficulty.
Be sure to thoroughly, thoroughly clean the glass first and be prepared to evaluate how well it’s laying multiple times during installation to be sure specks of dust are not caught between the film and the windshield. I found that I had to lift the film and apply a lot more soapy water to flush out the small specks of dust during the installation.
The rear window film leaves some gaps uncovered, up to about 1/2 cm especially in the middle of both sides. Since I don’t expect
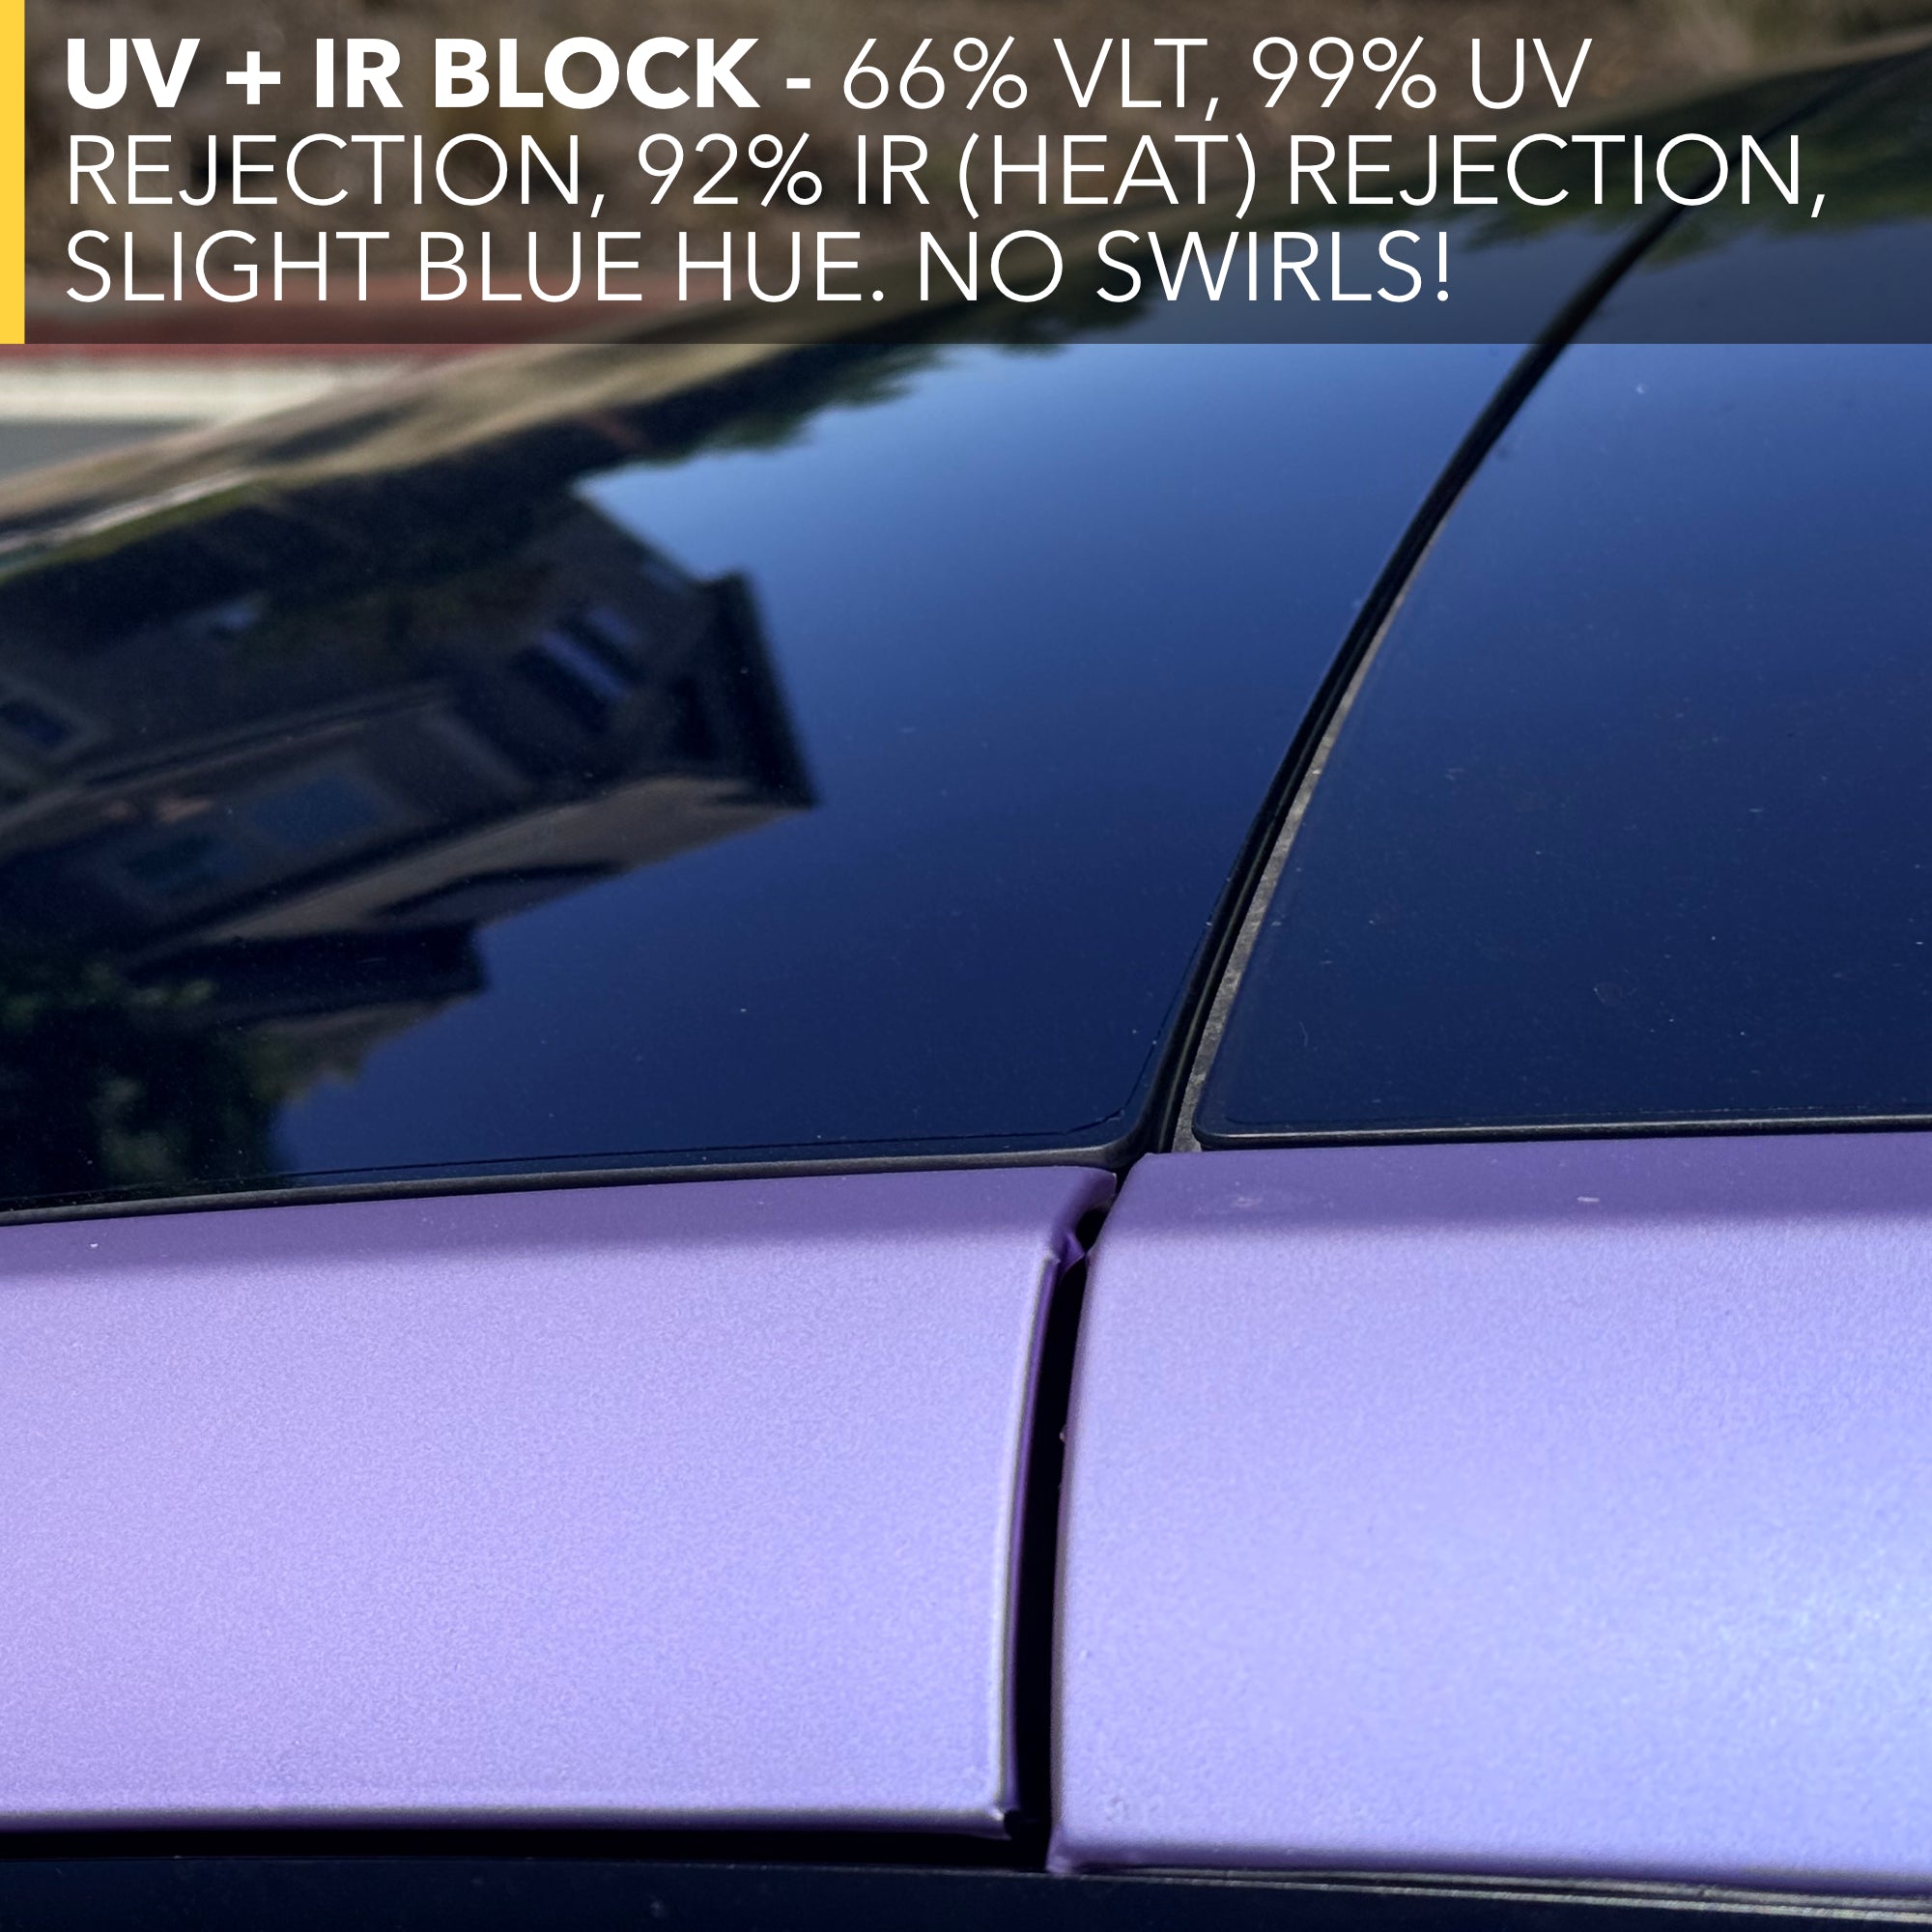
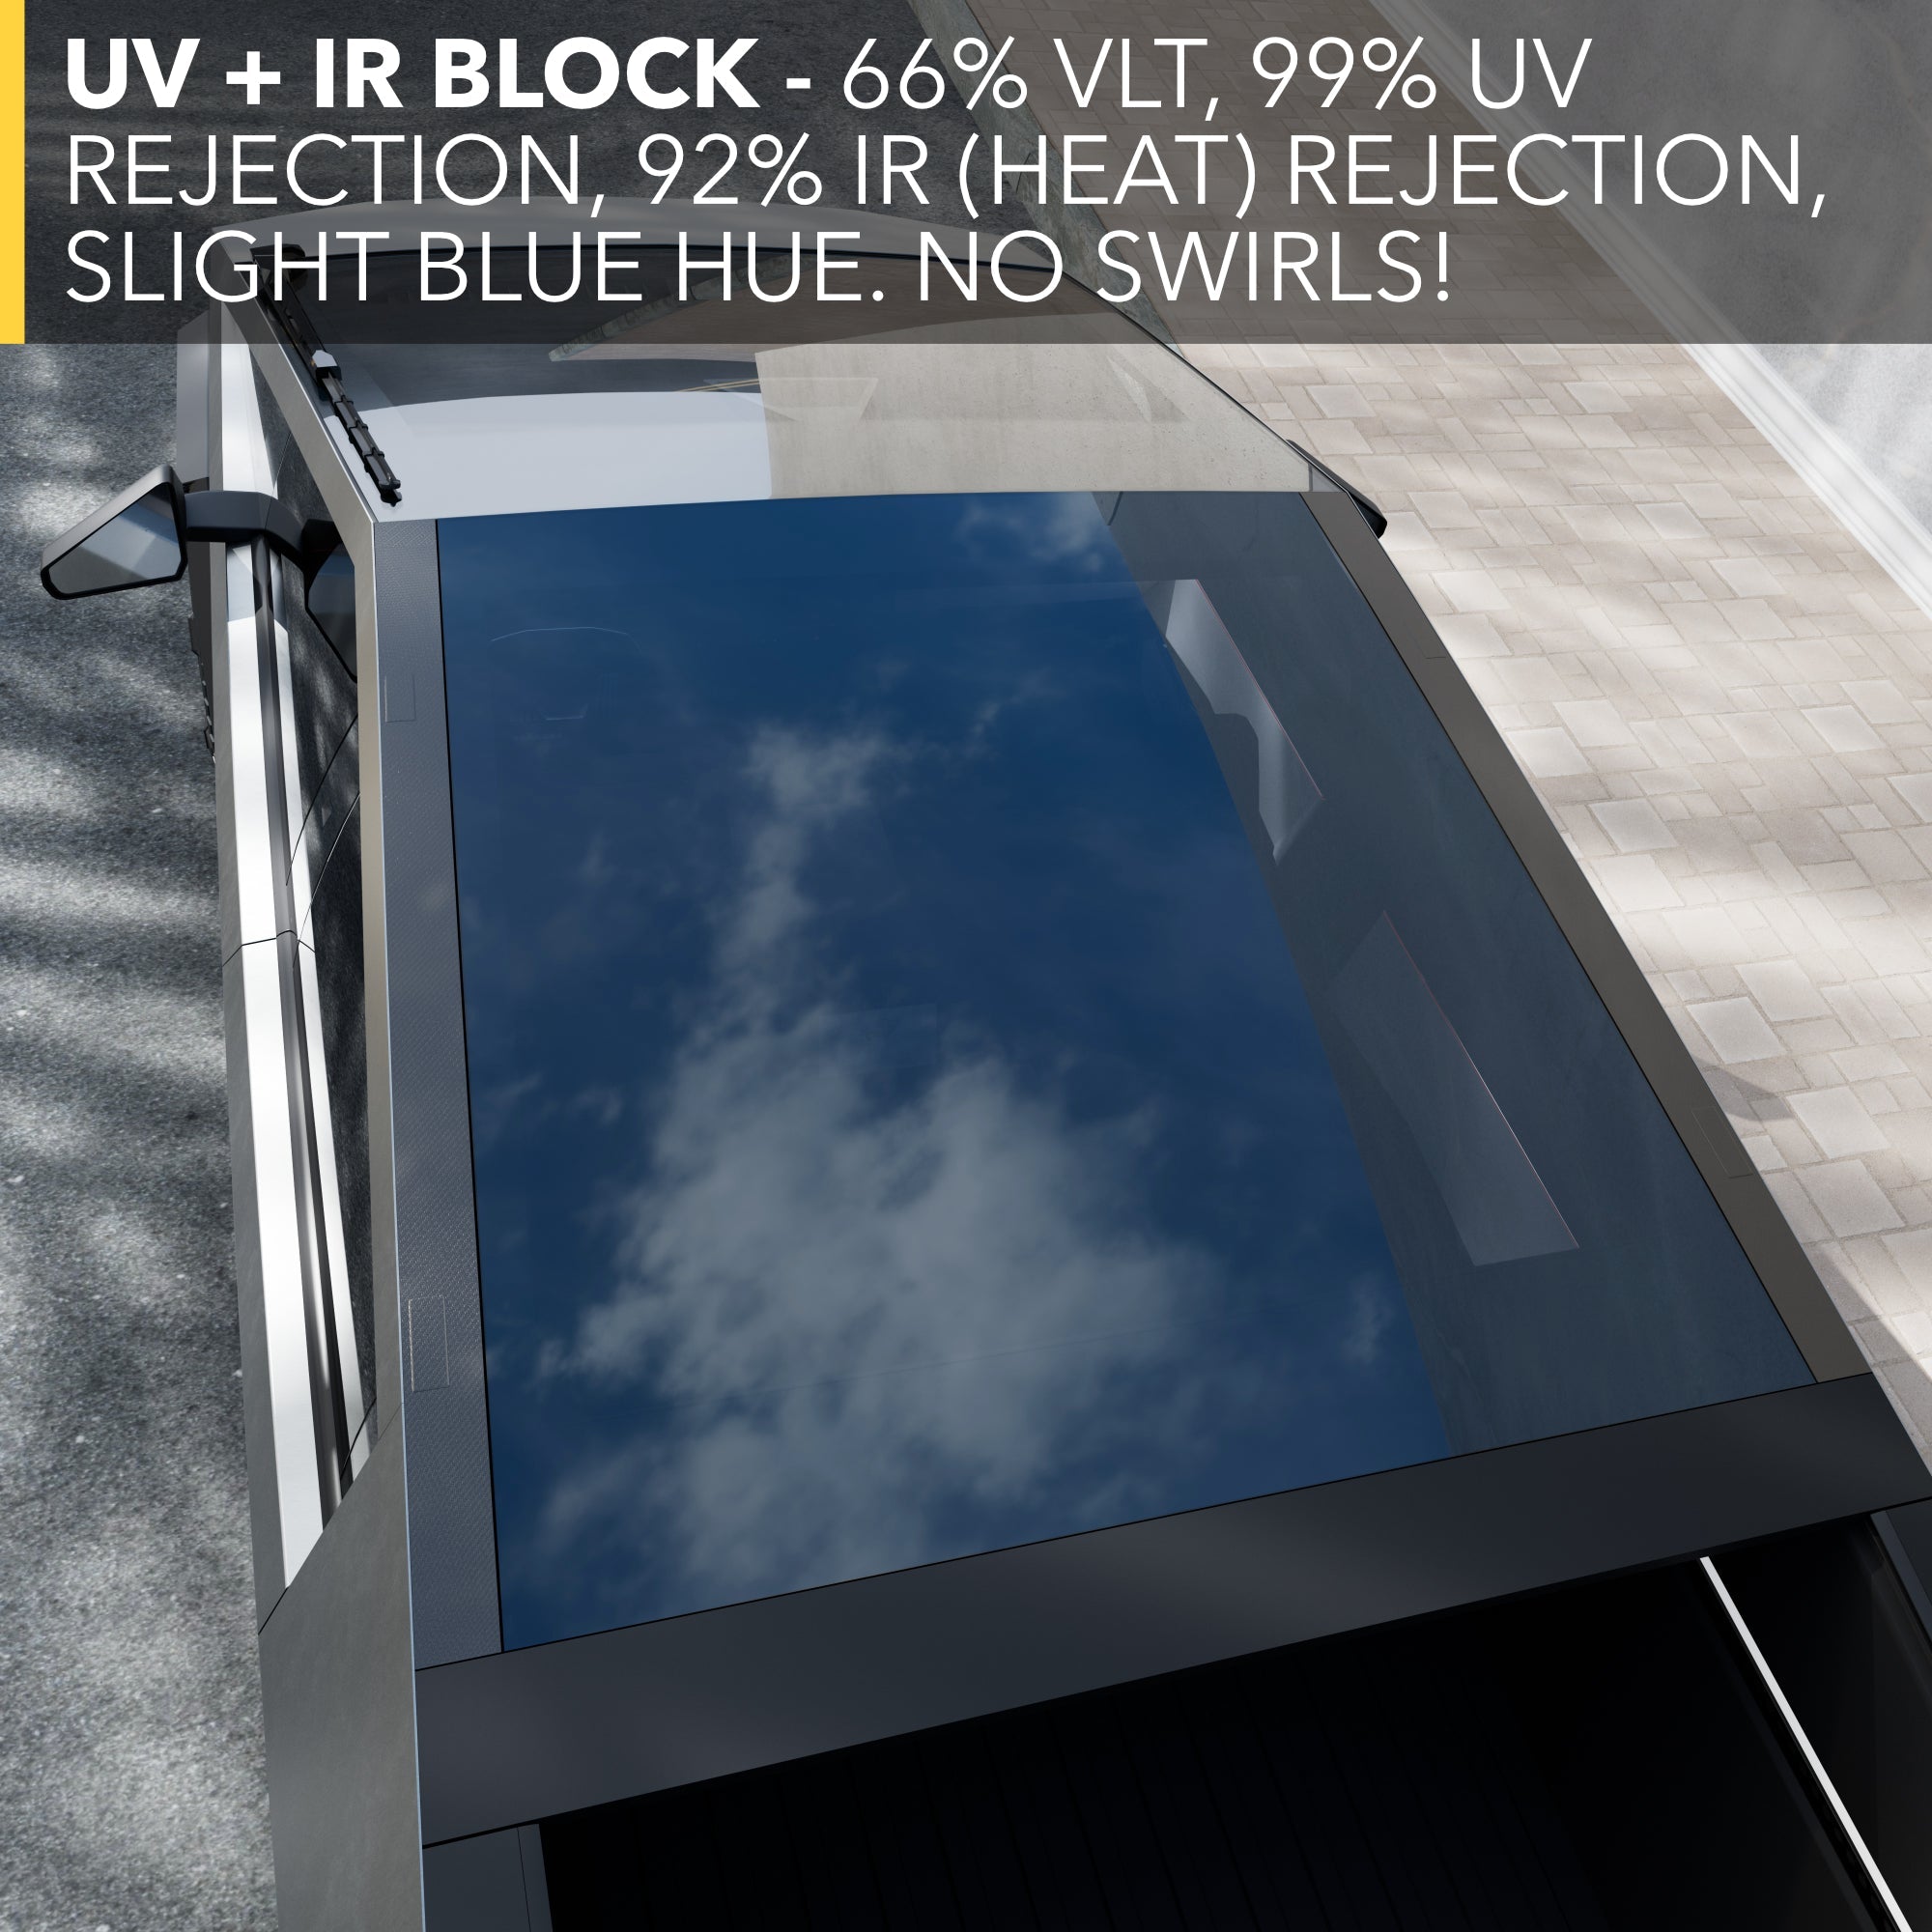
any rock impacts on the rear glass this shouldn’t make a difference. Also, all of the glass that you can see through is definitely covered so the IR transmissions are cut by the film.
The windshield protective film is an entirely different story. It is cut so precisely that it is very hard to distinguish for the edge of the film is in relationship to the edge of the glass. I feel quite confident that I covered the entire windshield and hopefully am protected from rock strikes damaging the windshield in the future.
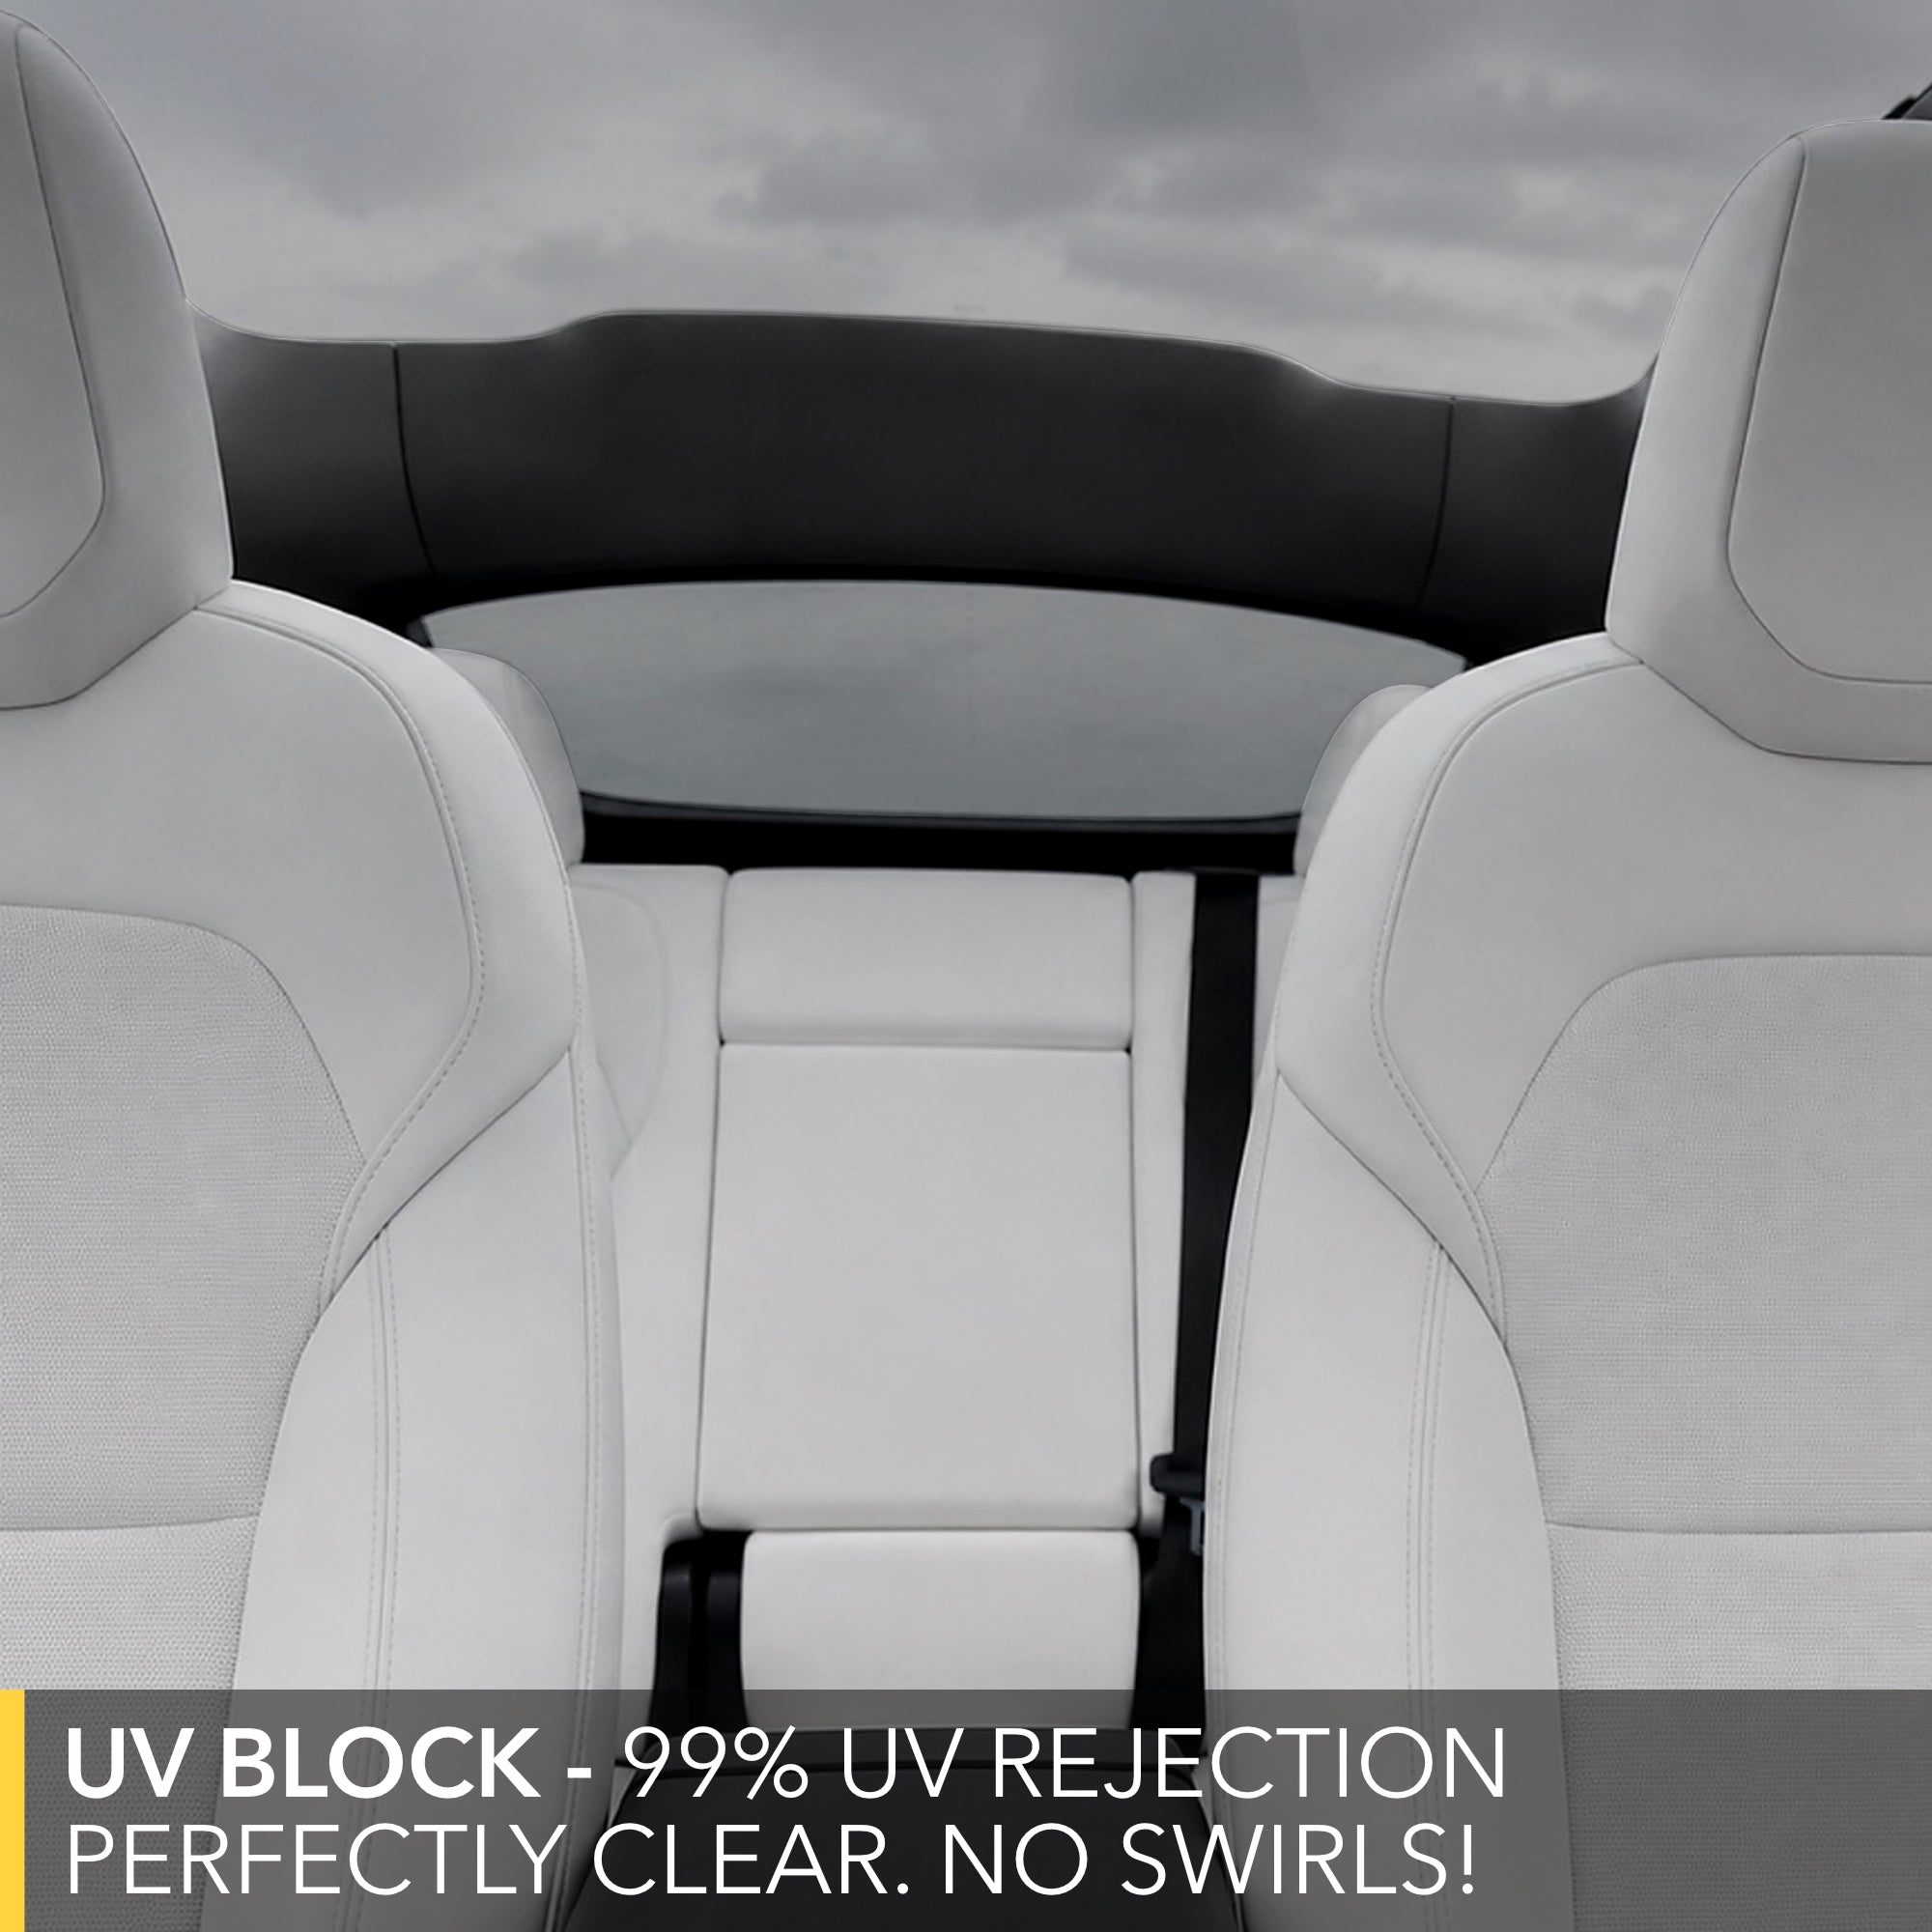
I’m so impressed with the rear window film and the windshield film that I also intend to get the UV and IR protective film for my glass roof with the hopes that it will help reduce heat transmission while the vehicle is in the sun.
Thank you, TWRAPS!
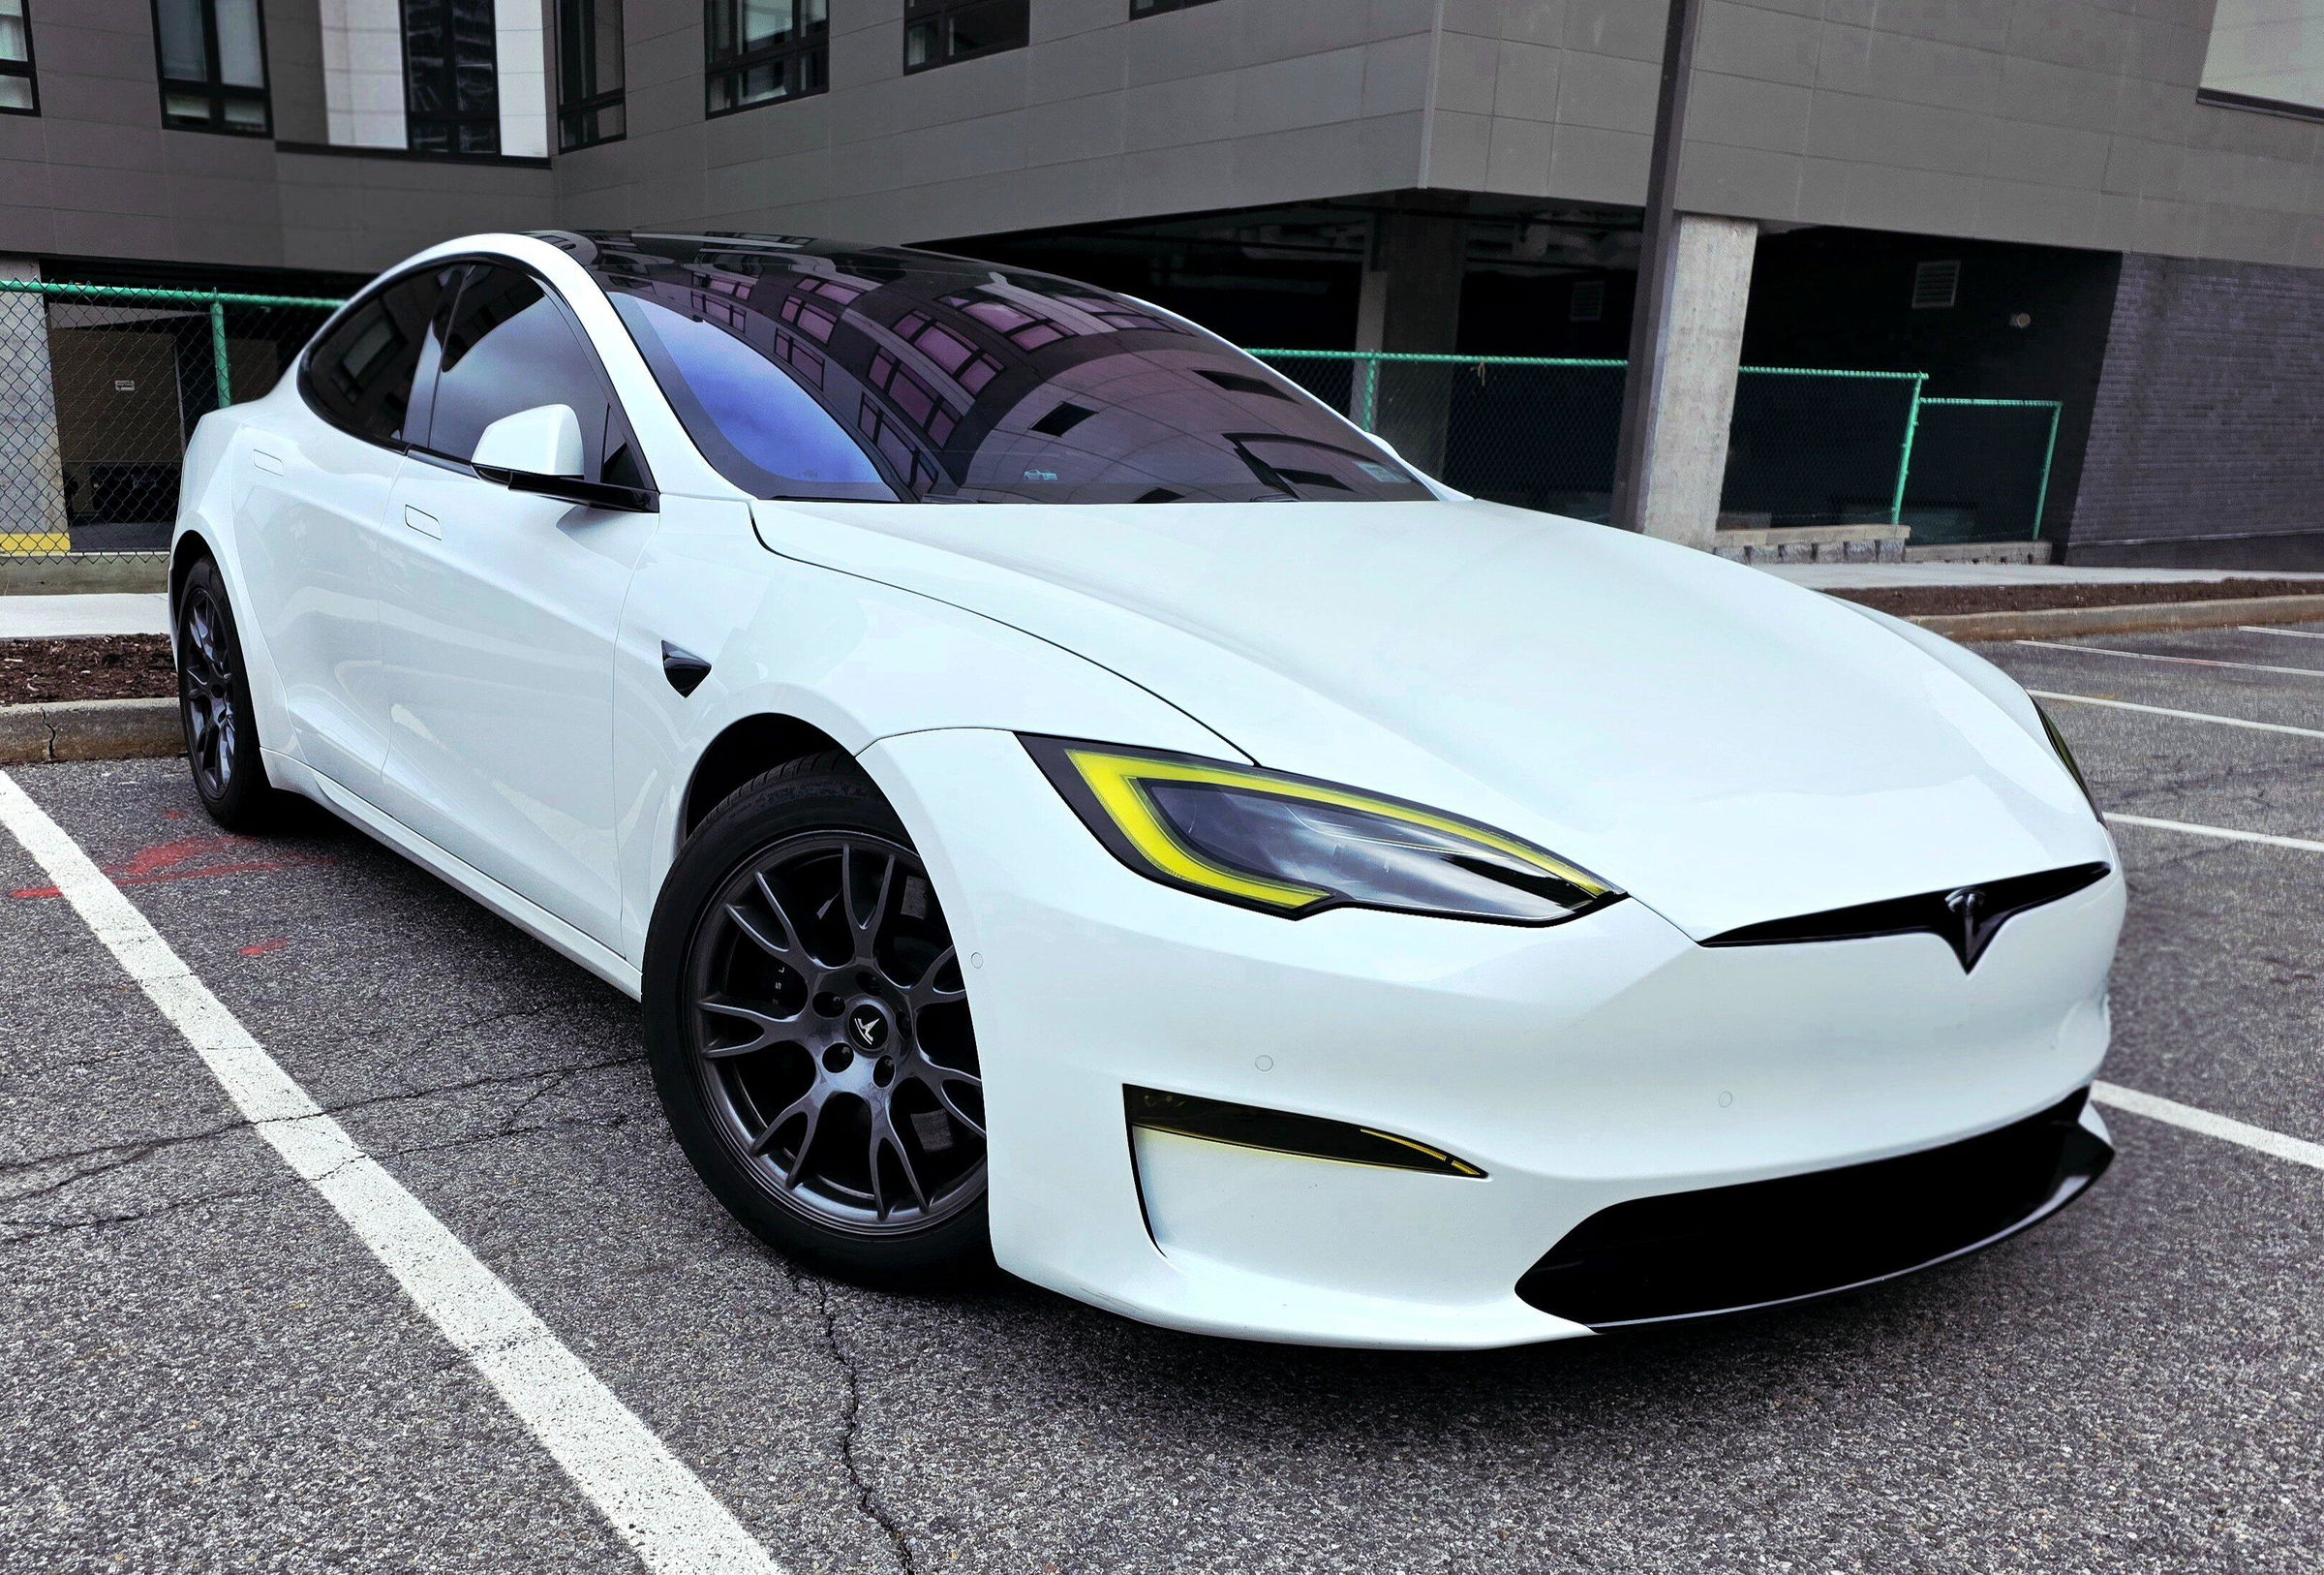
Can’t say enough about how great these look on my headlights. Did the taillights about a year ago. Matched them both with Dark Smoke. No loss of visibility driving at night either.
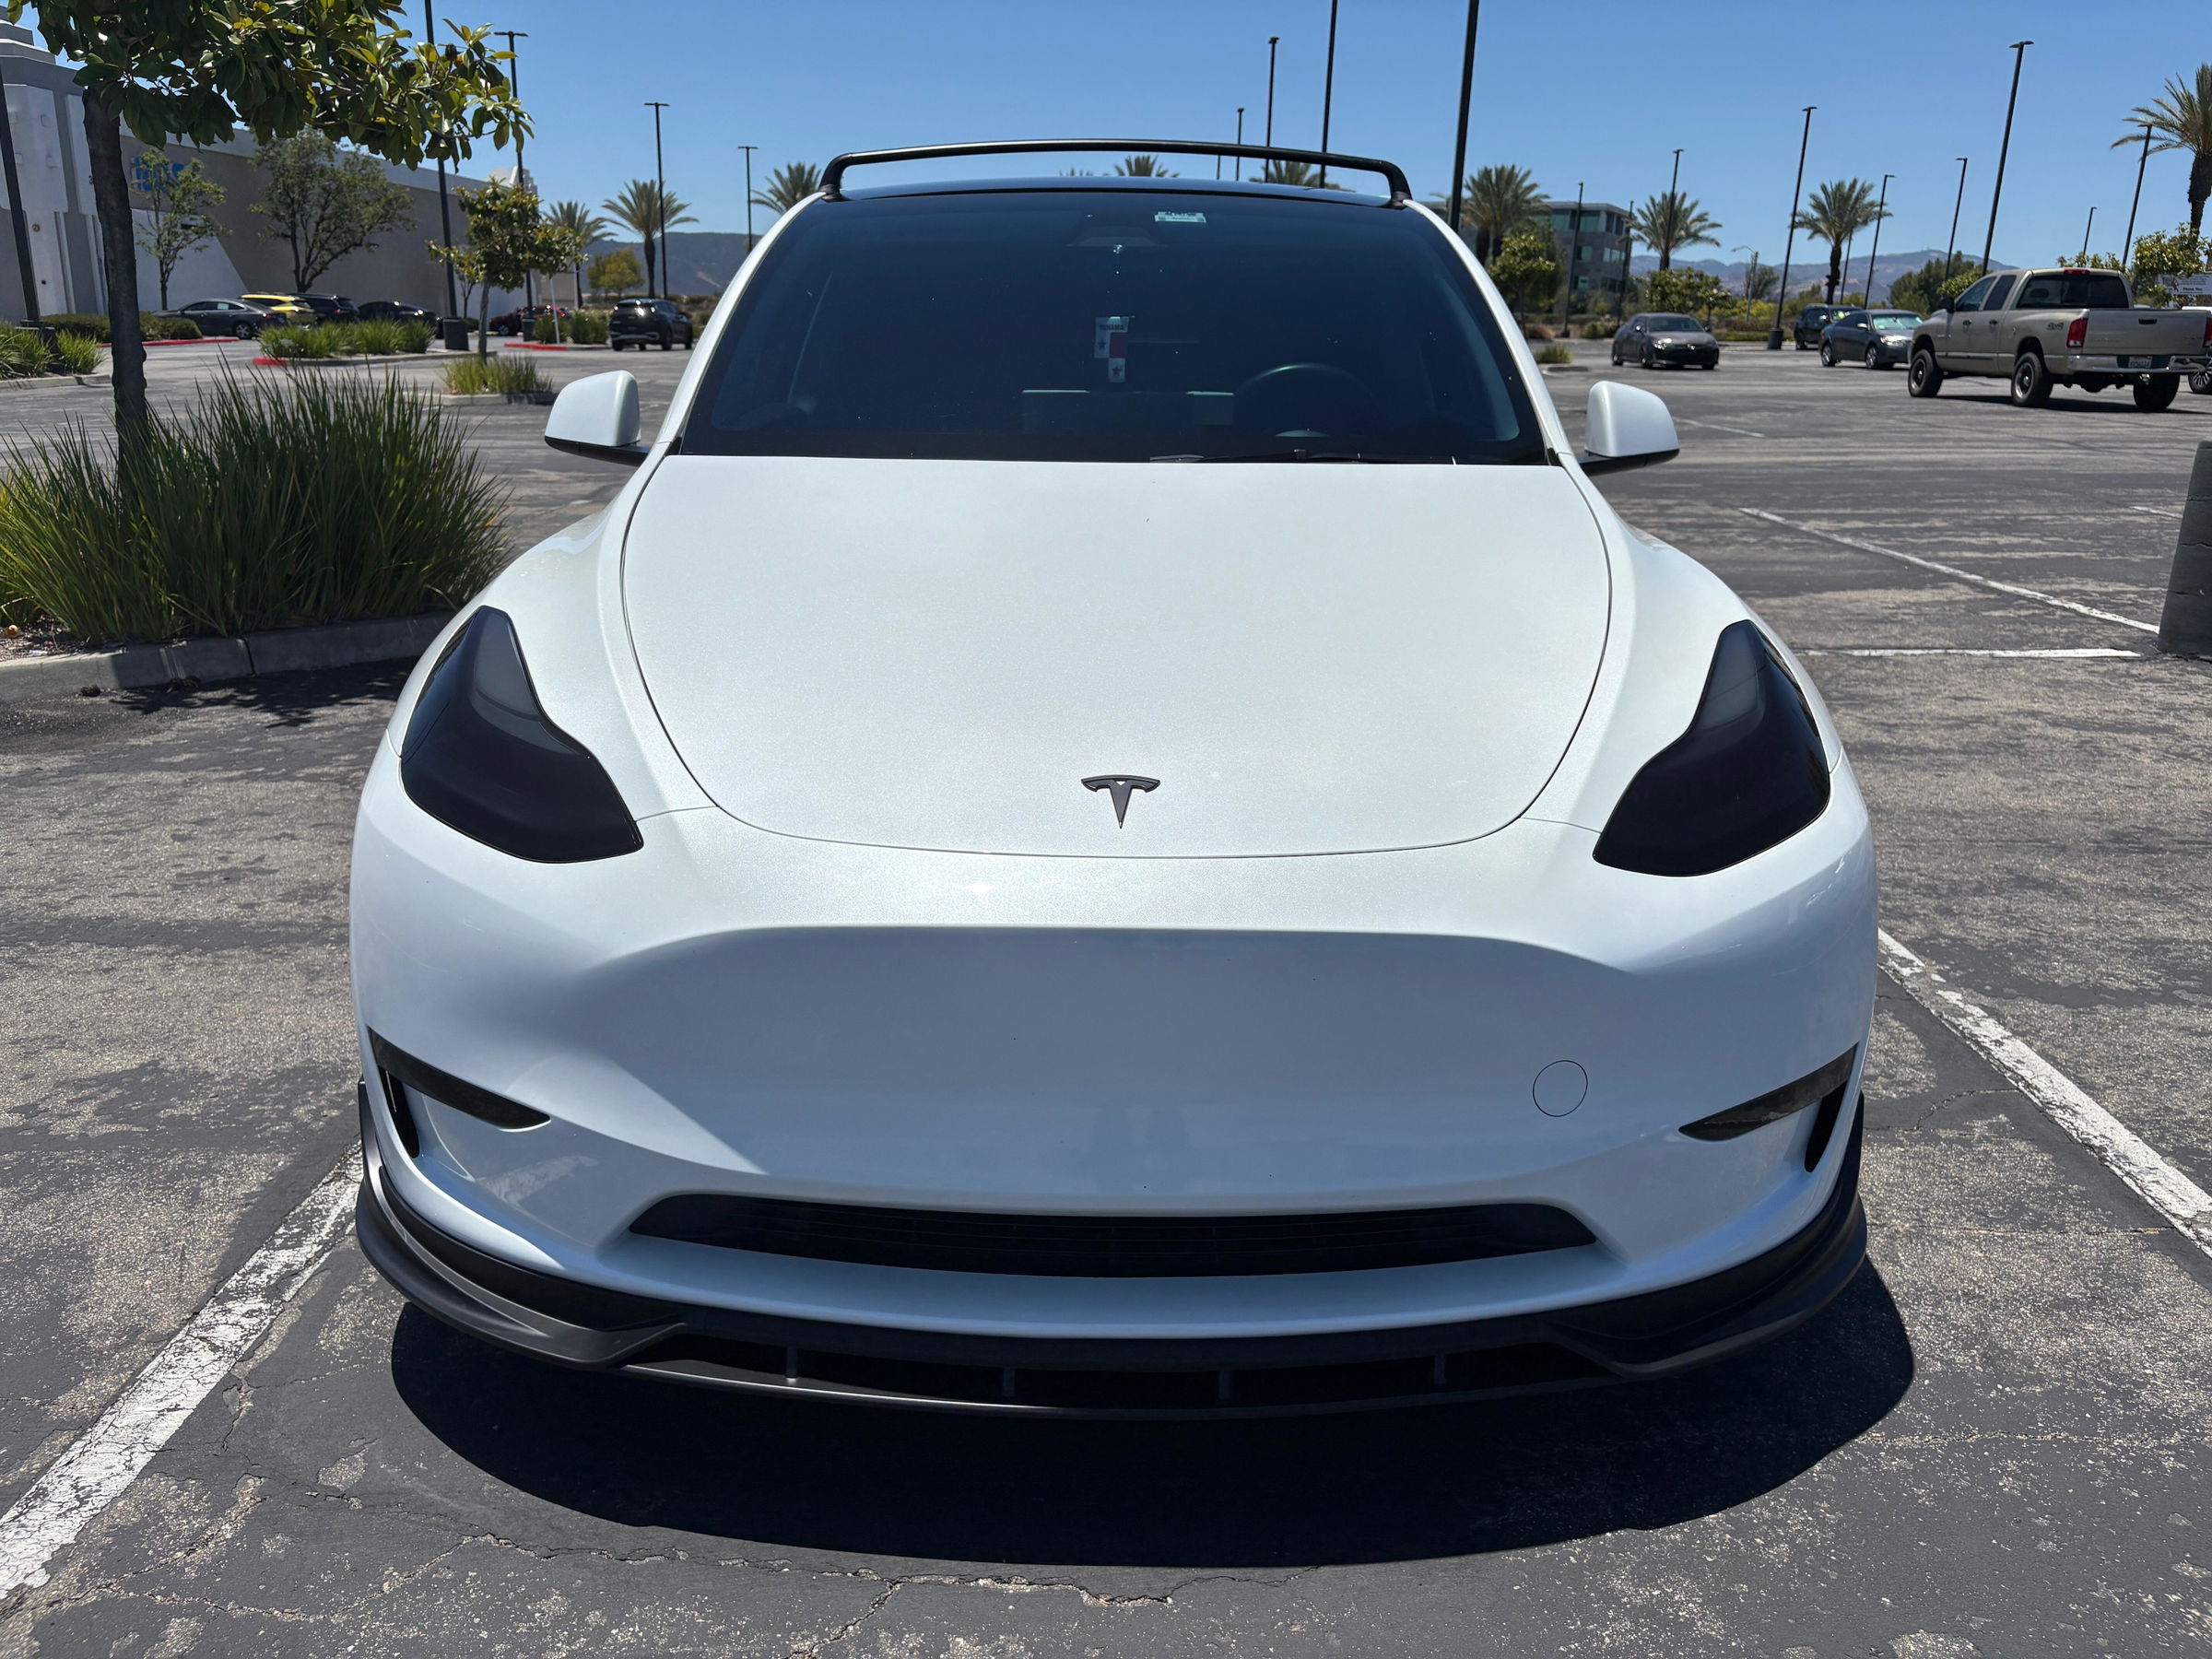
Great product, take your time installing it, make sure area is clean and you are patient. I went with the gloss black. I like the look on white as it makes the front end a bit more aggressive.
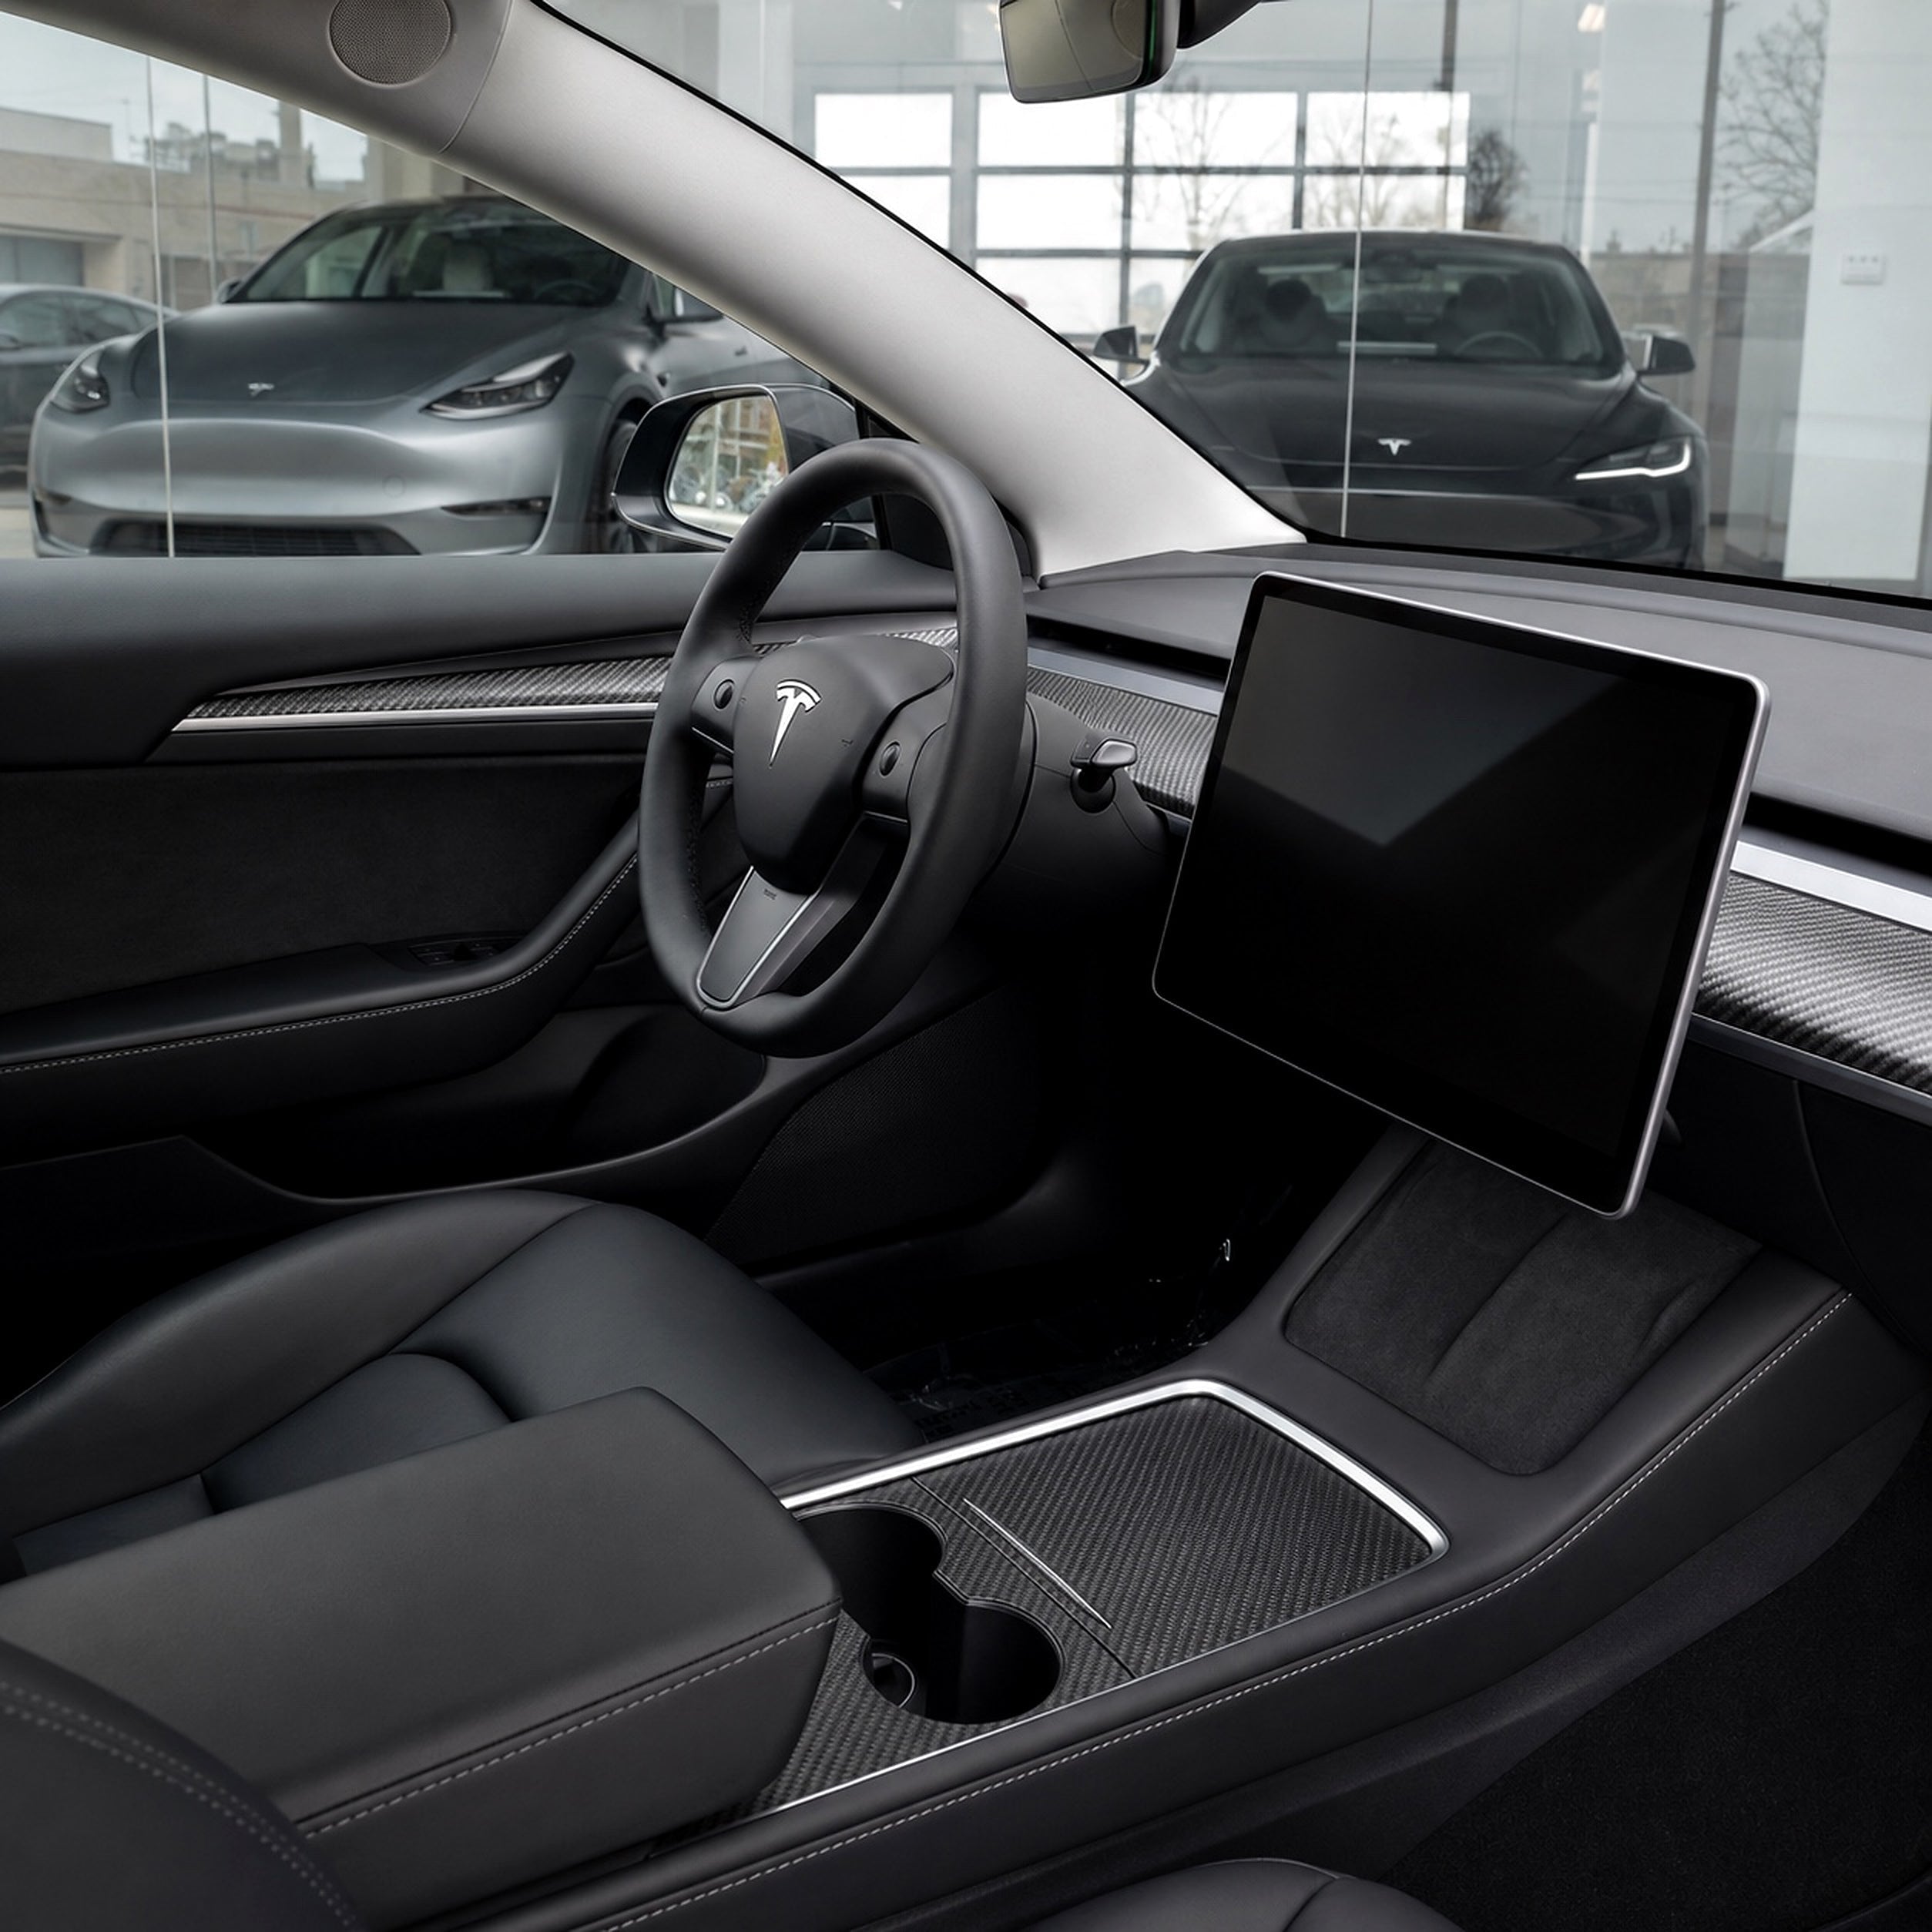
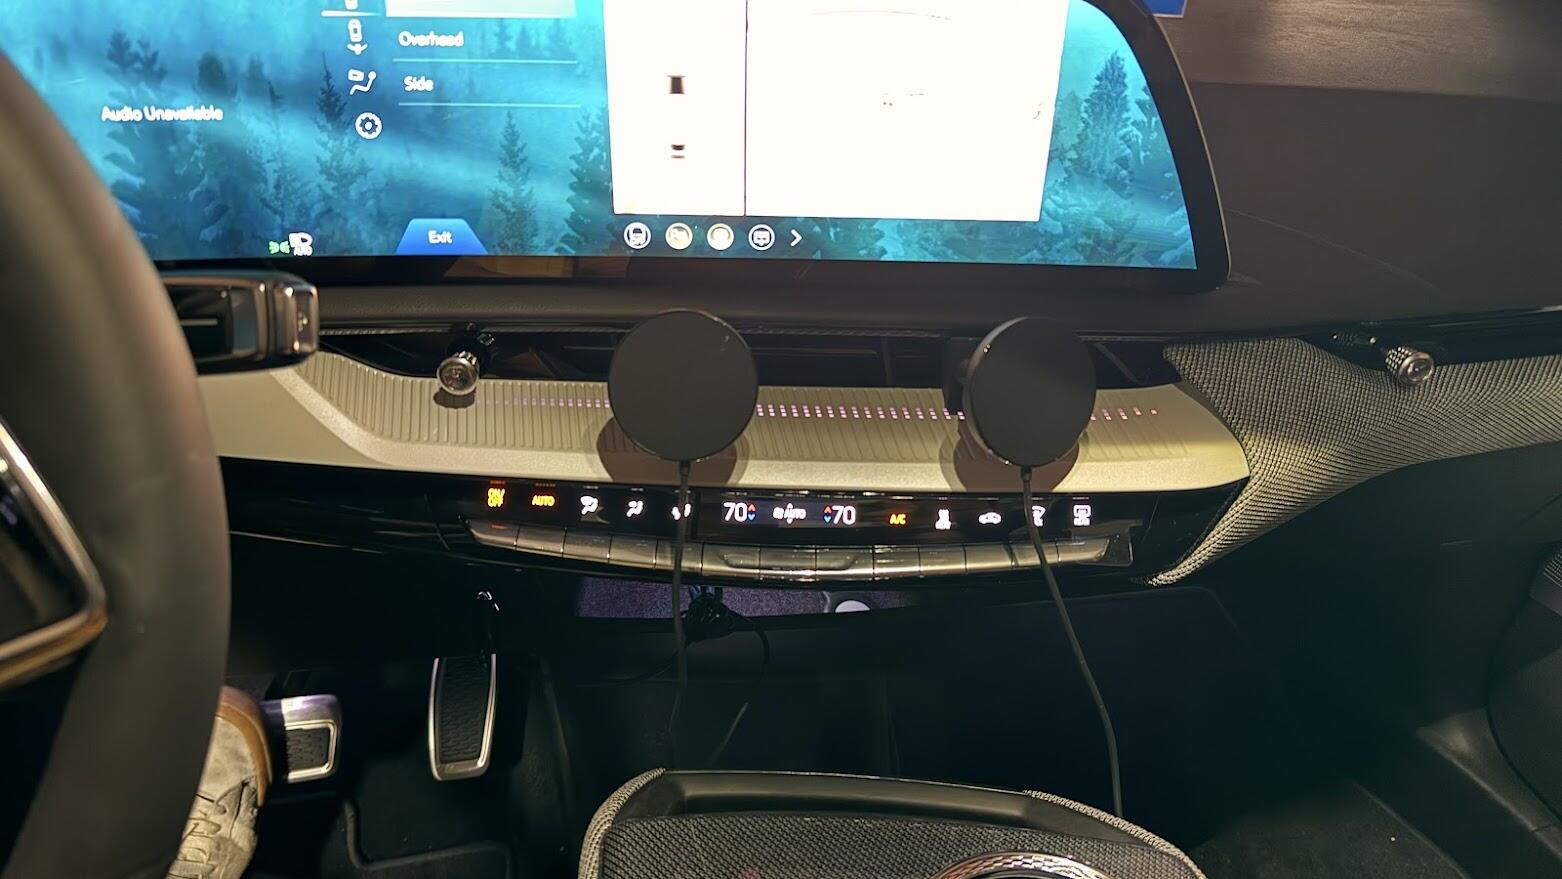
For those who do not want to mount their phone next to the big screen, this phone mount is perfect on the left side of the dash. Easy to install
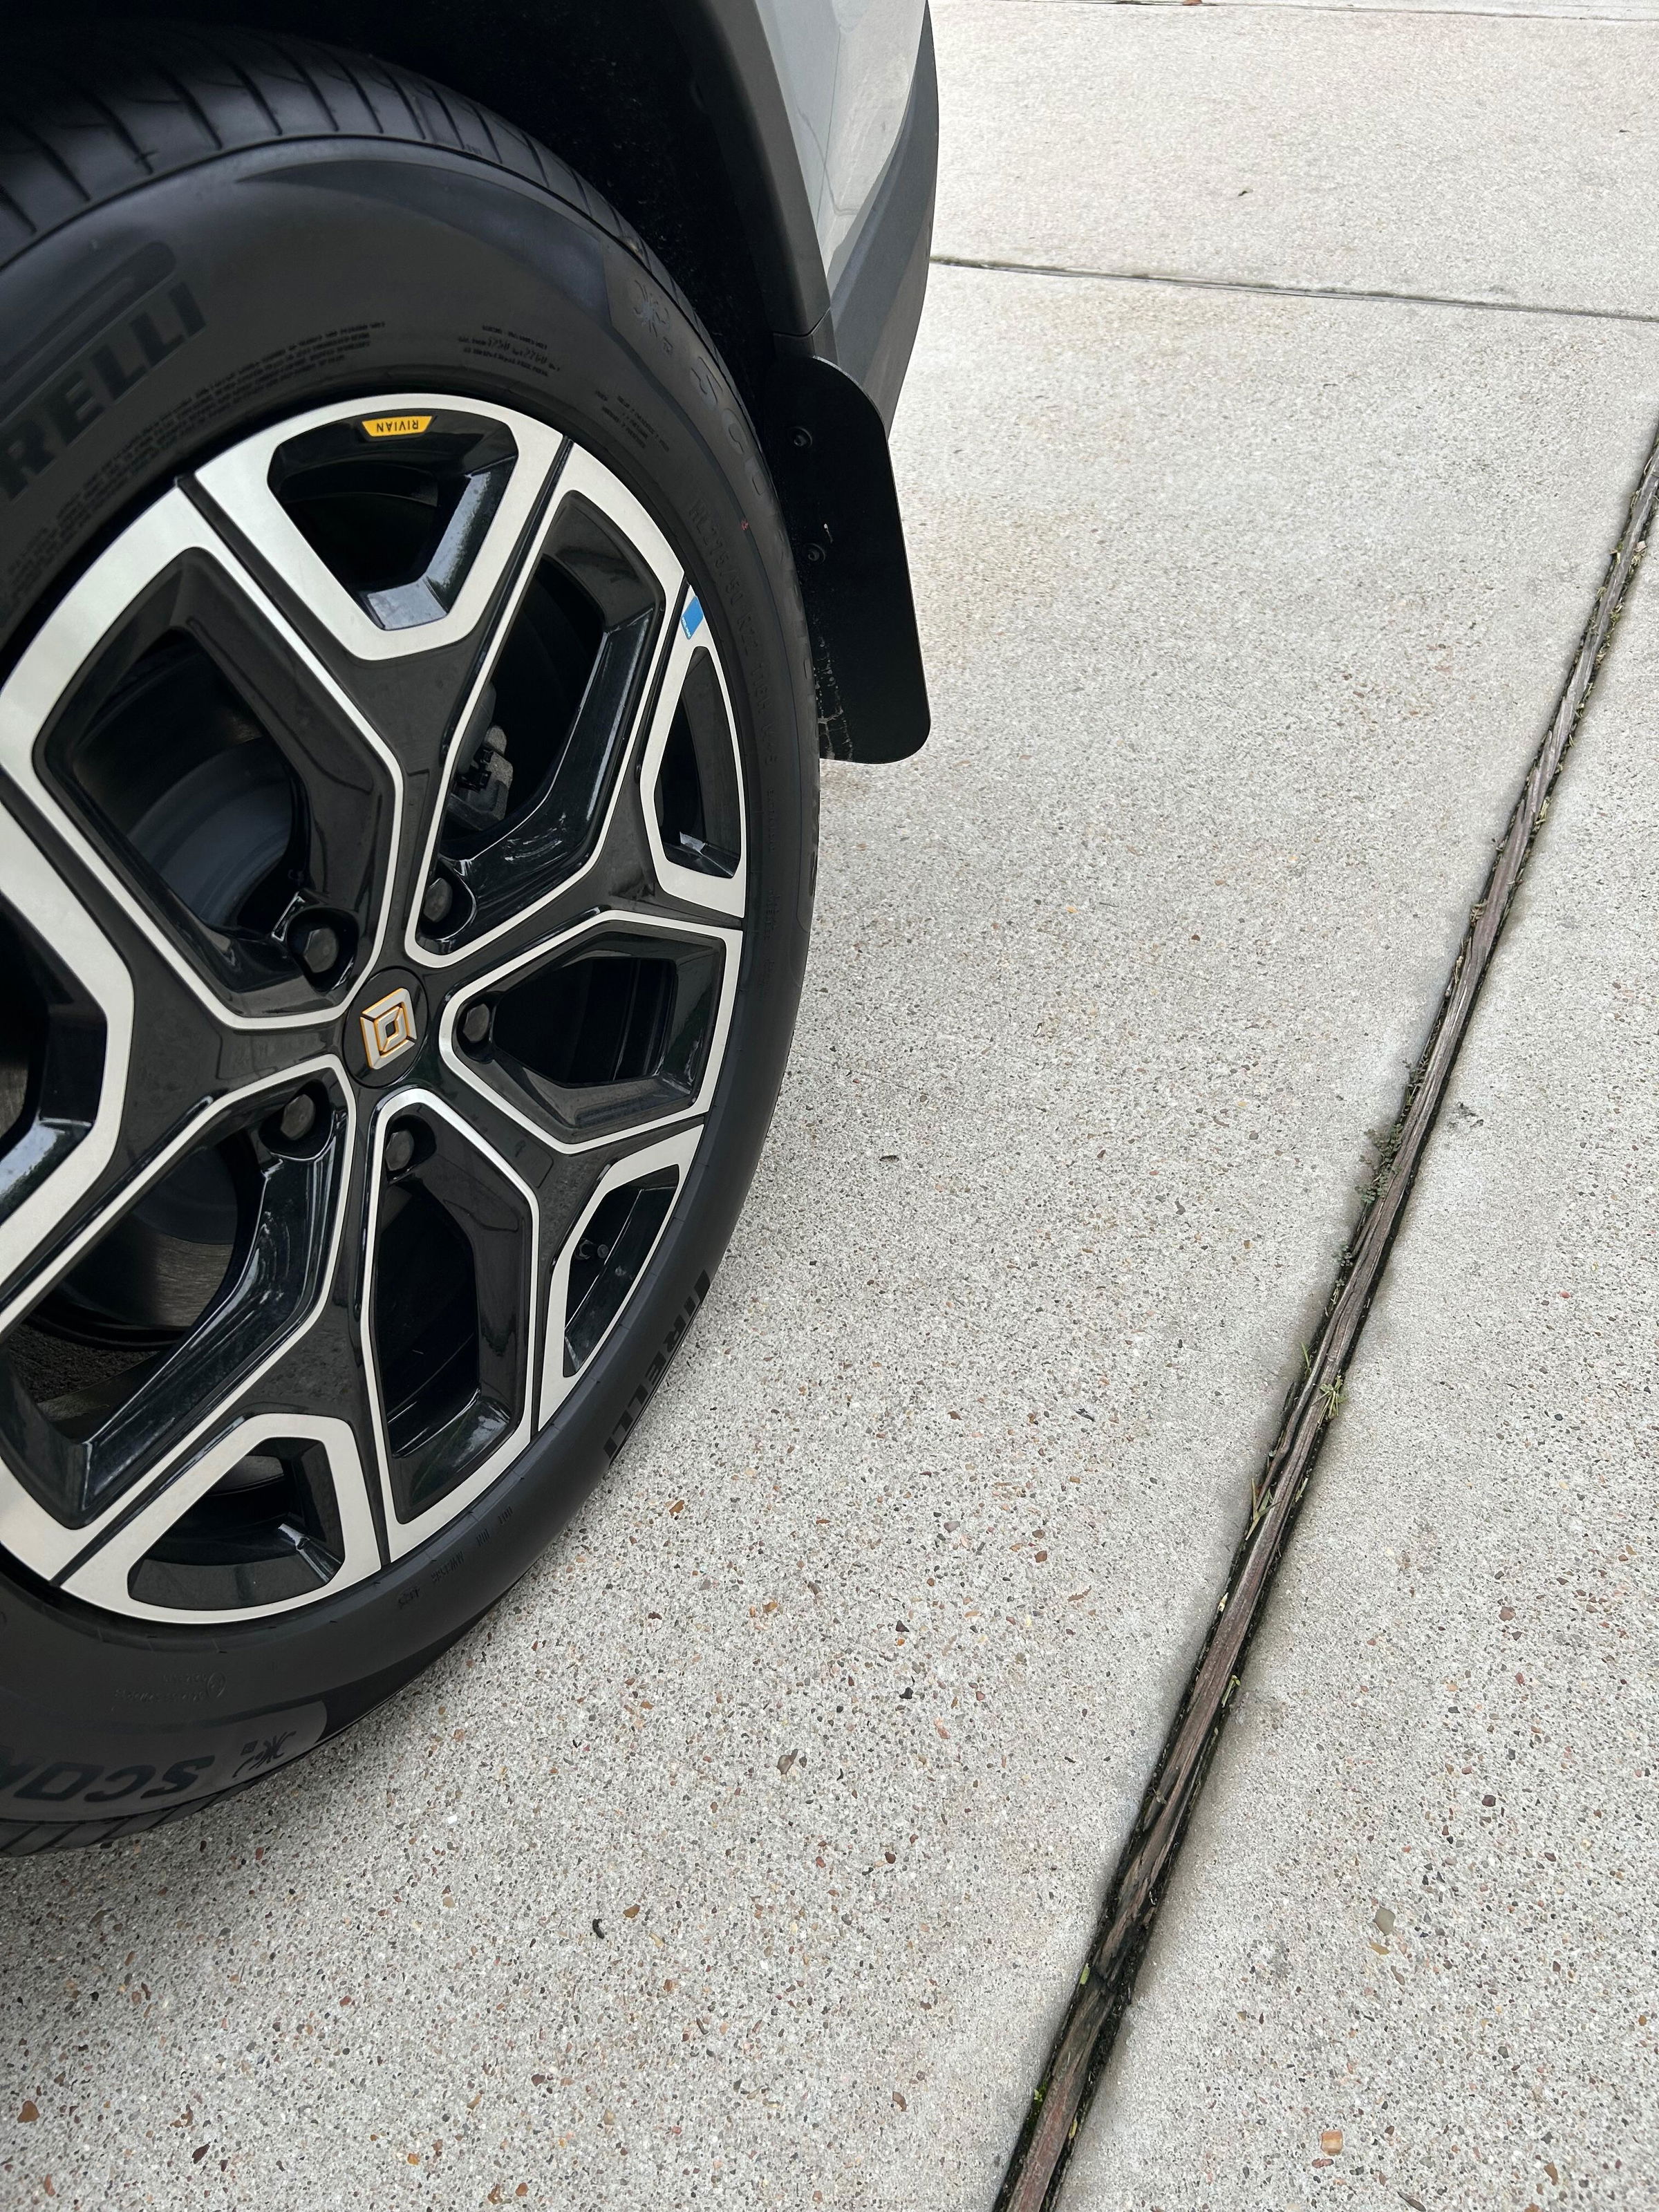
The mudflaps fit great no issues whatsoever. Thank you very much for a great product.
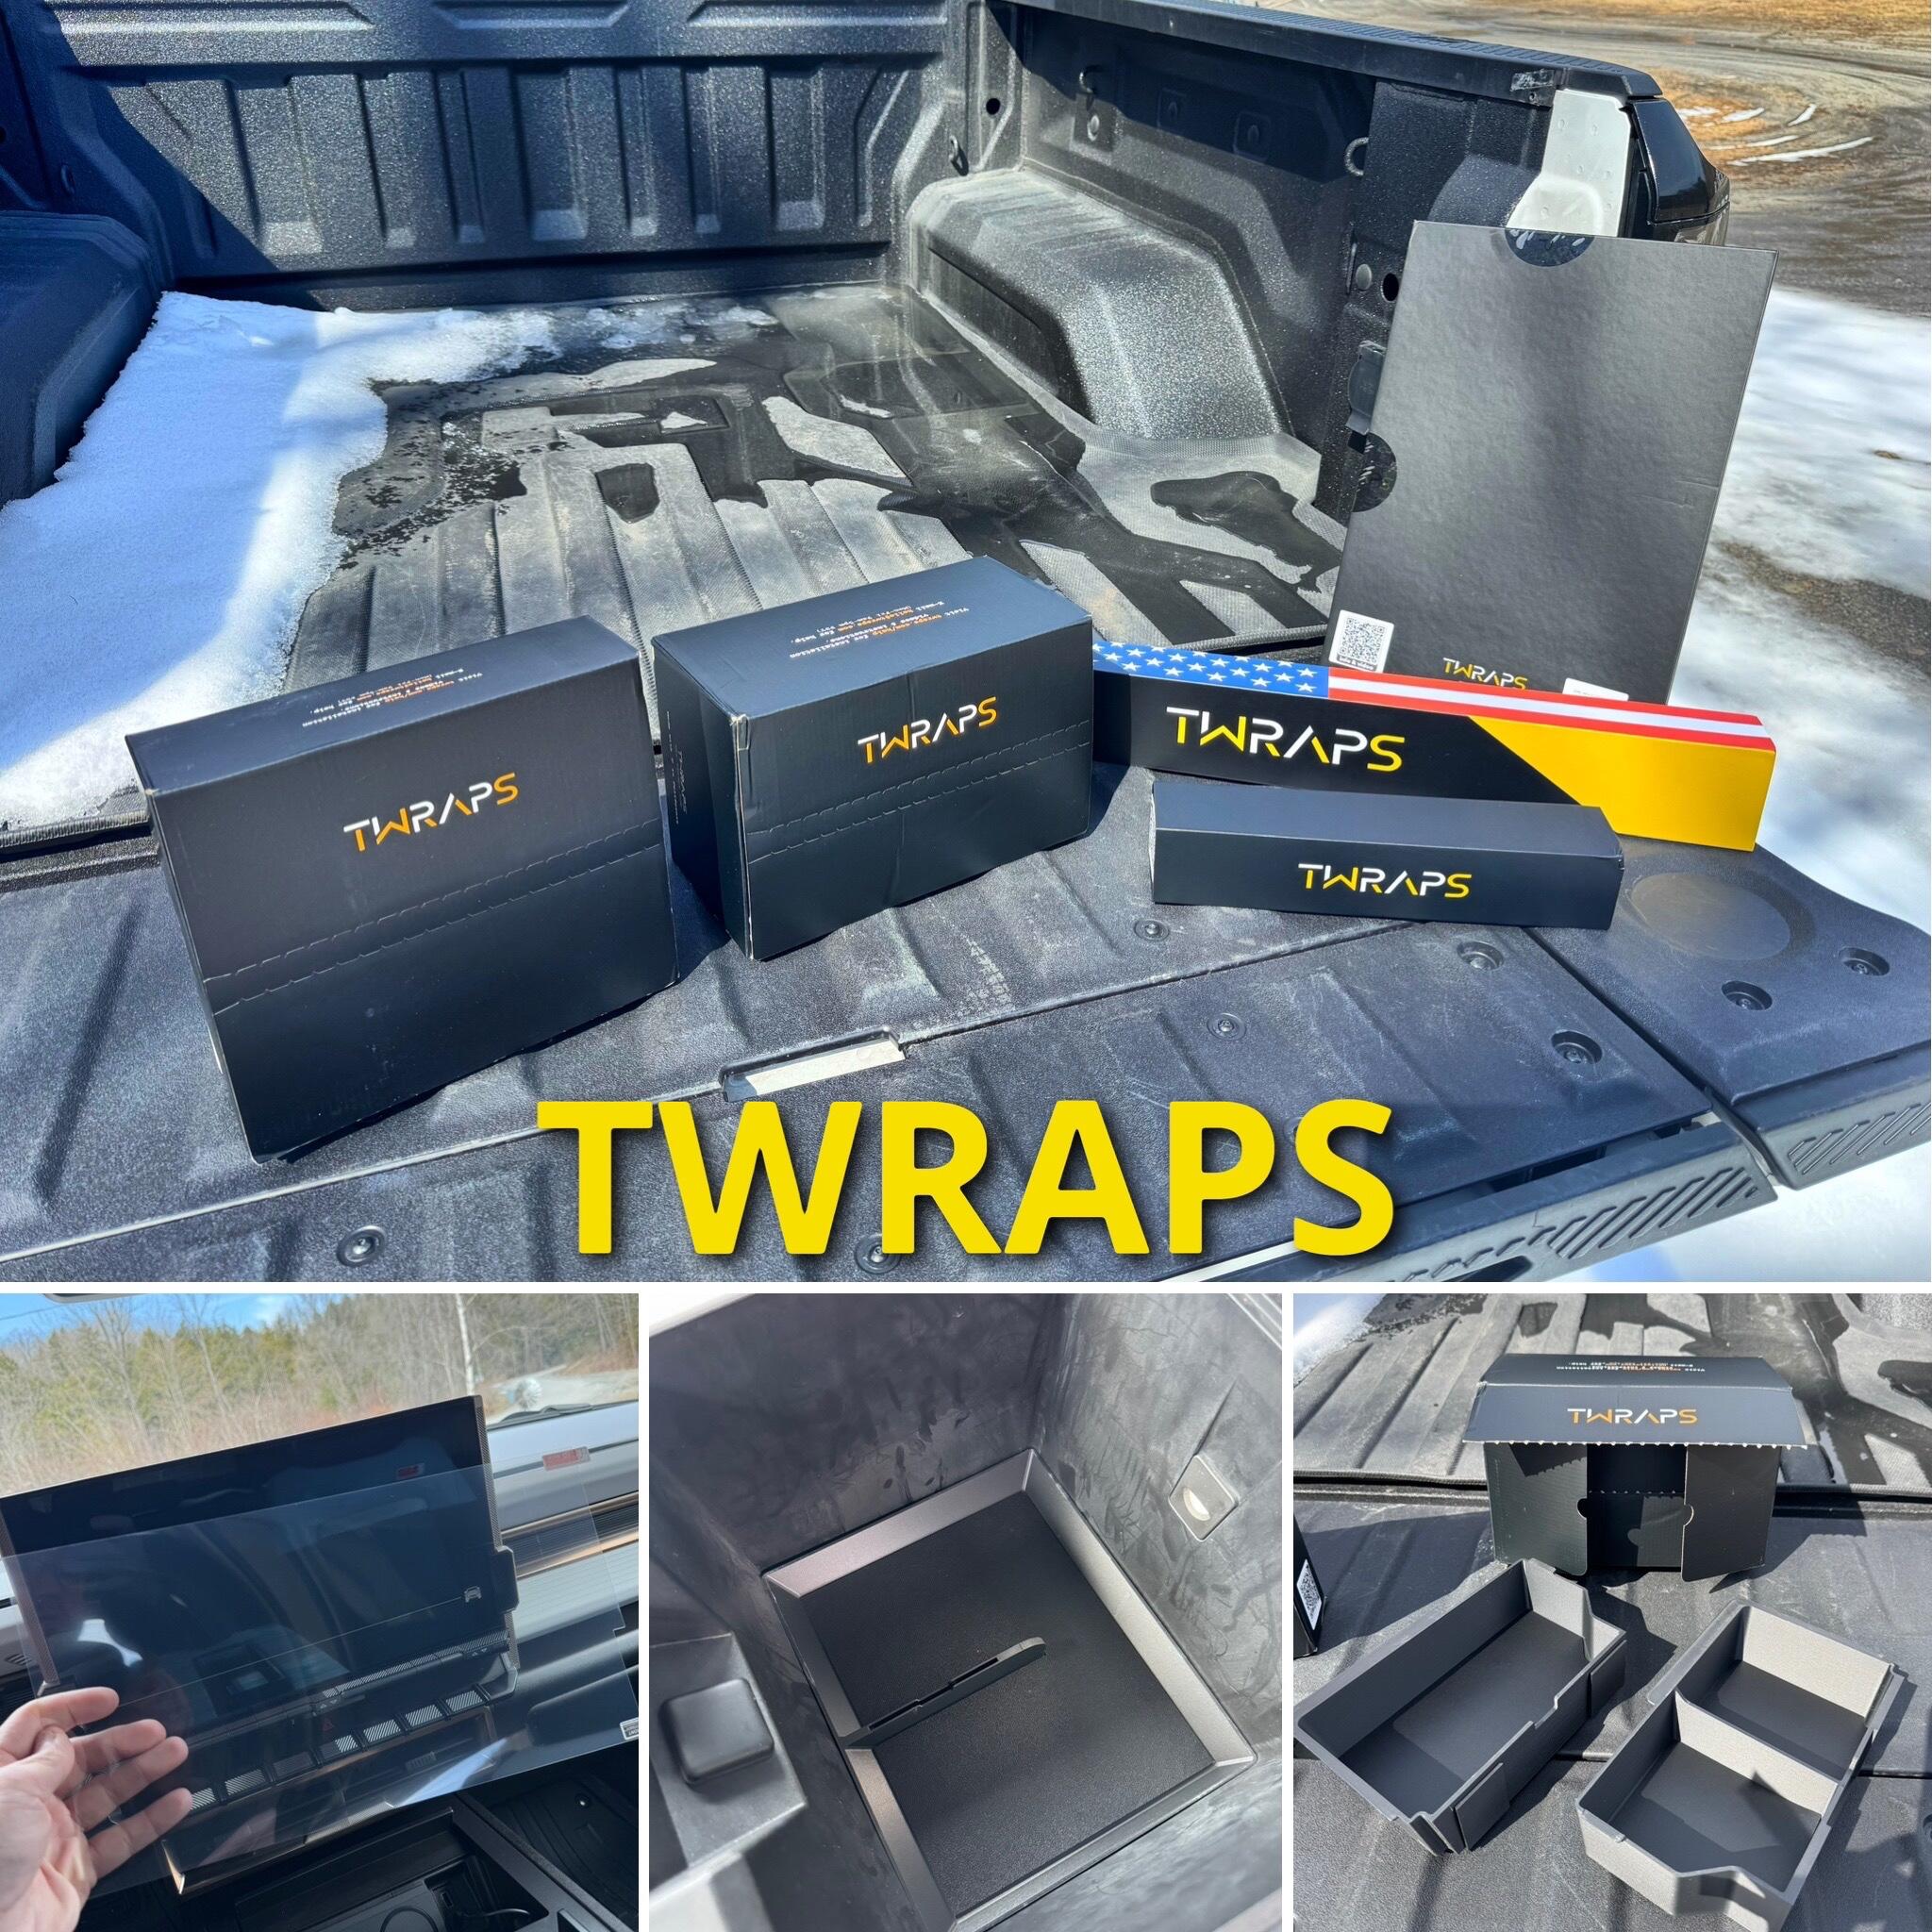
Perfect fit and so much better tham my OEM tray. So happy with it. Great price too!
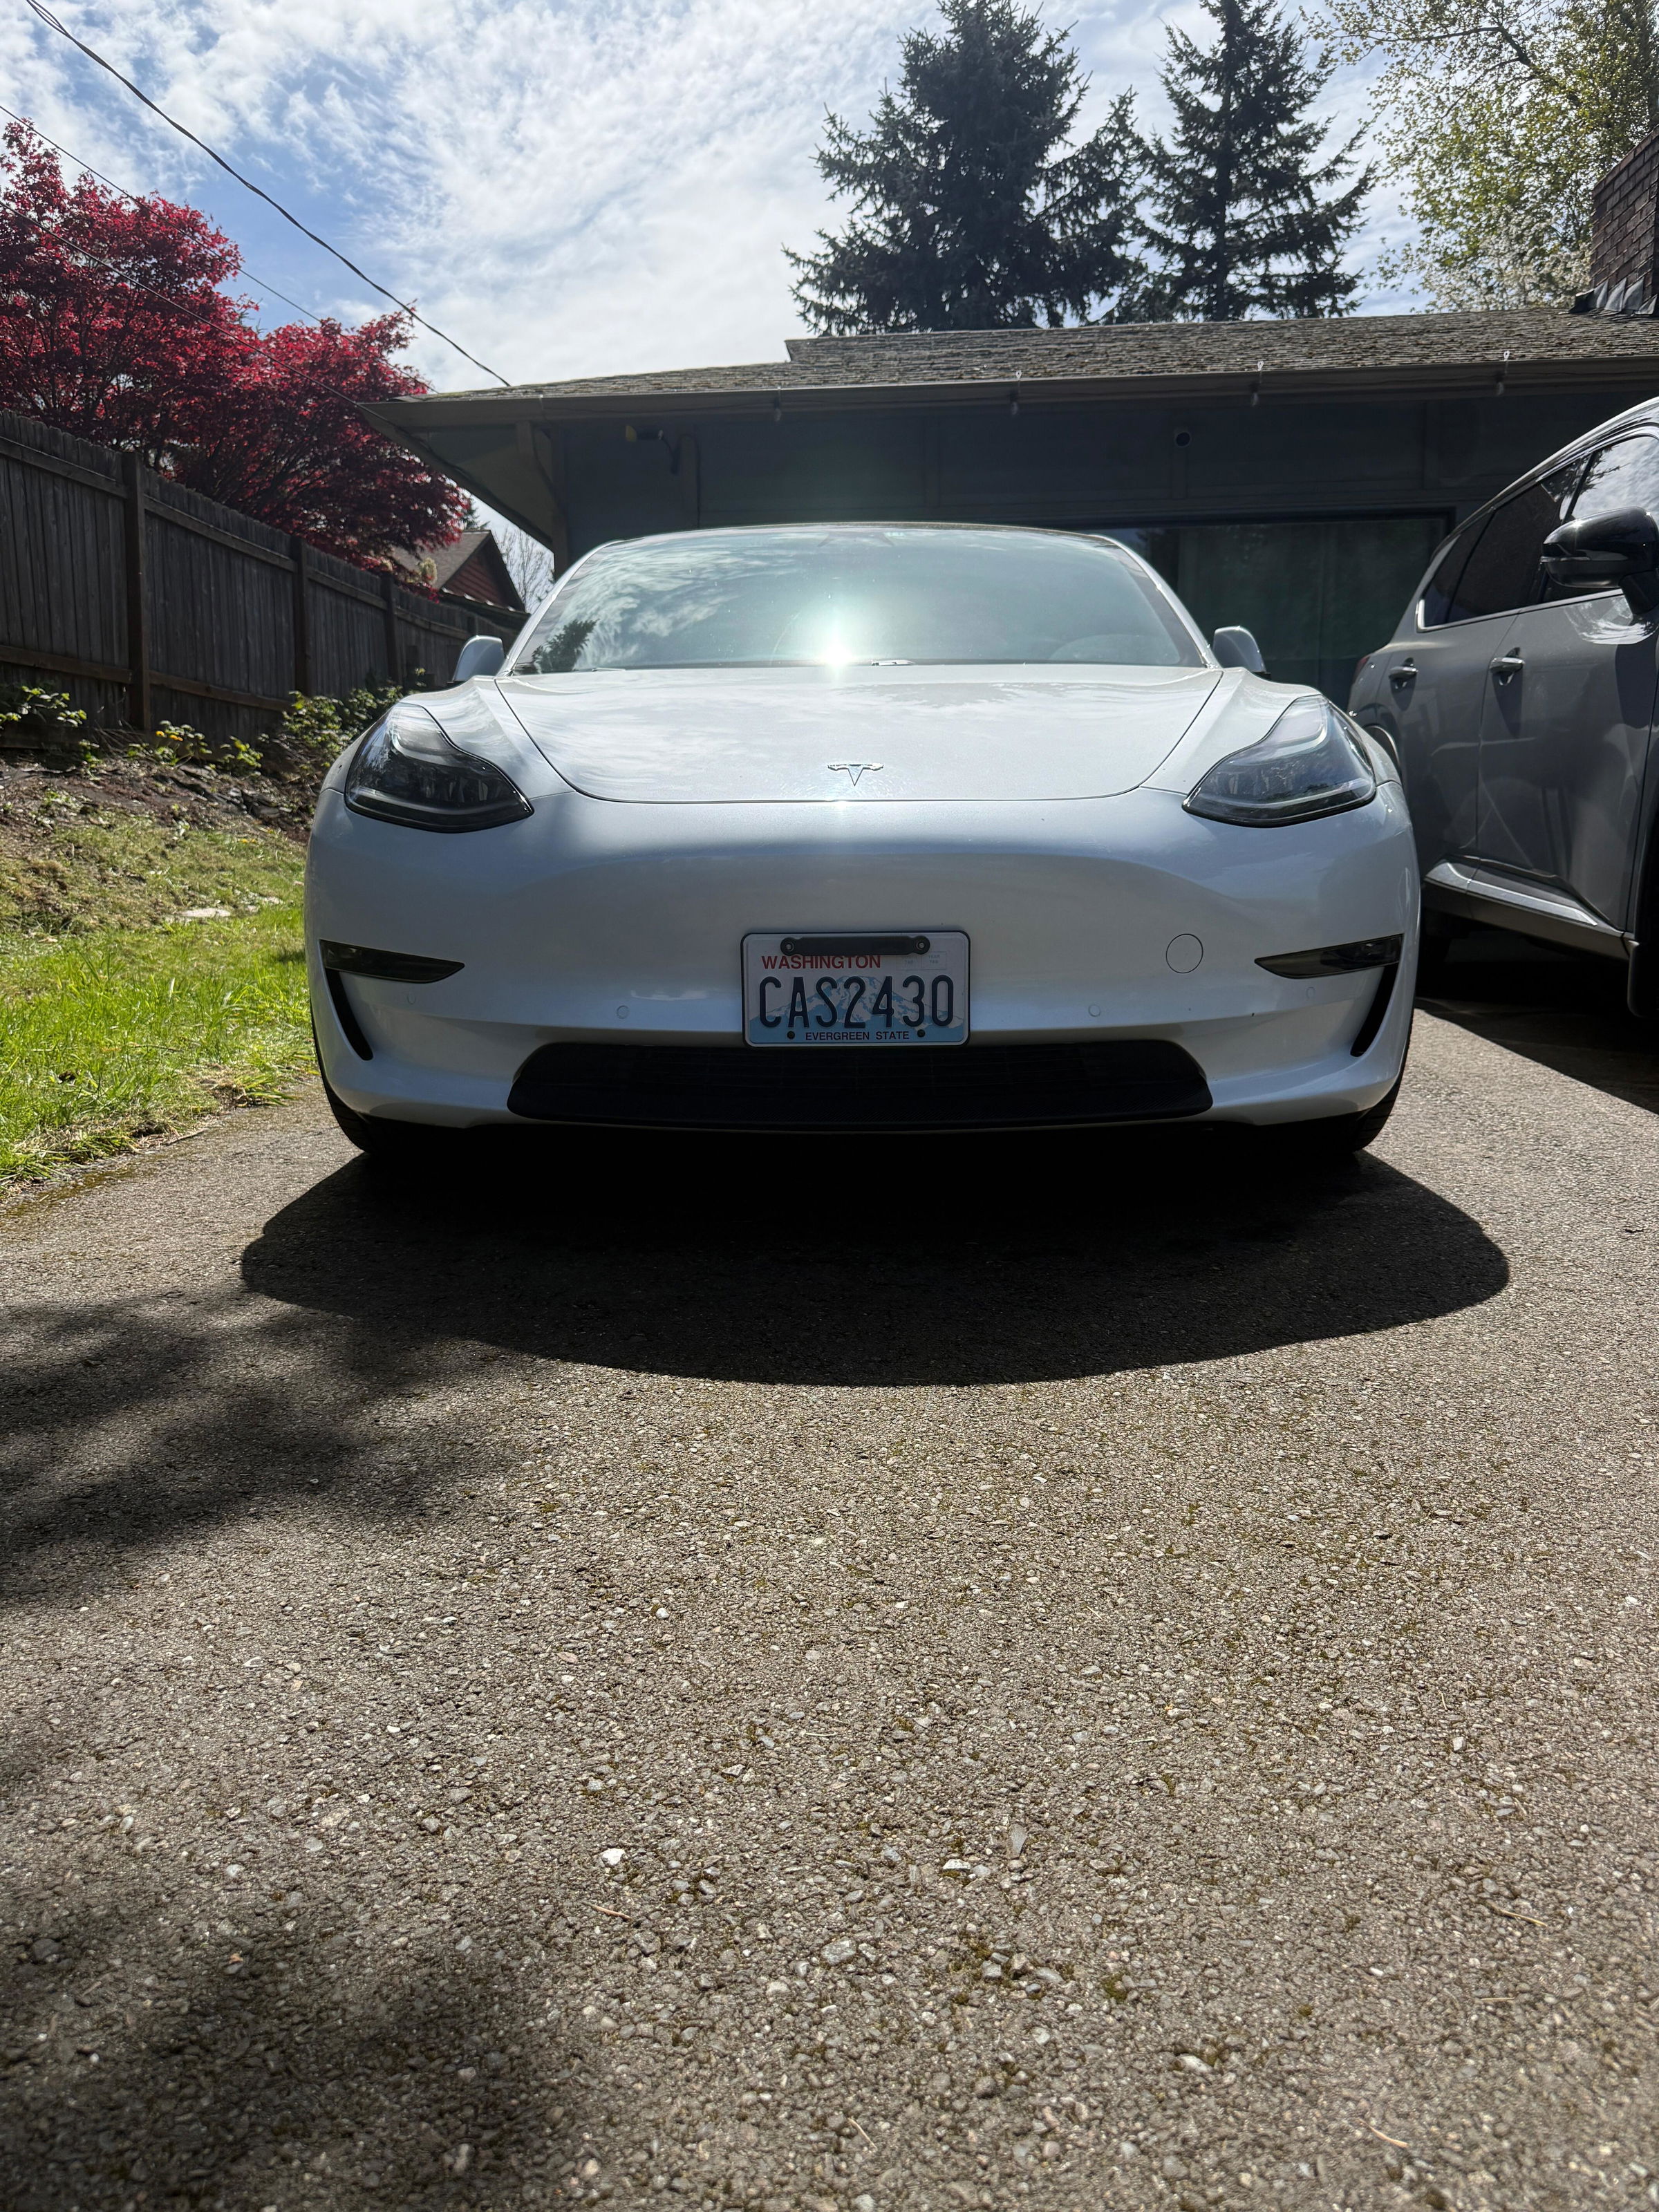
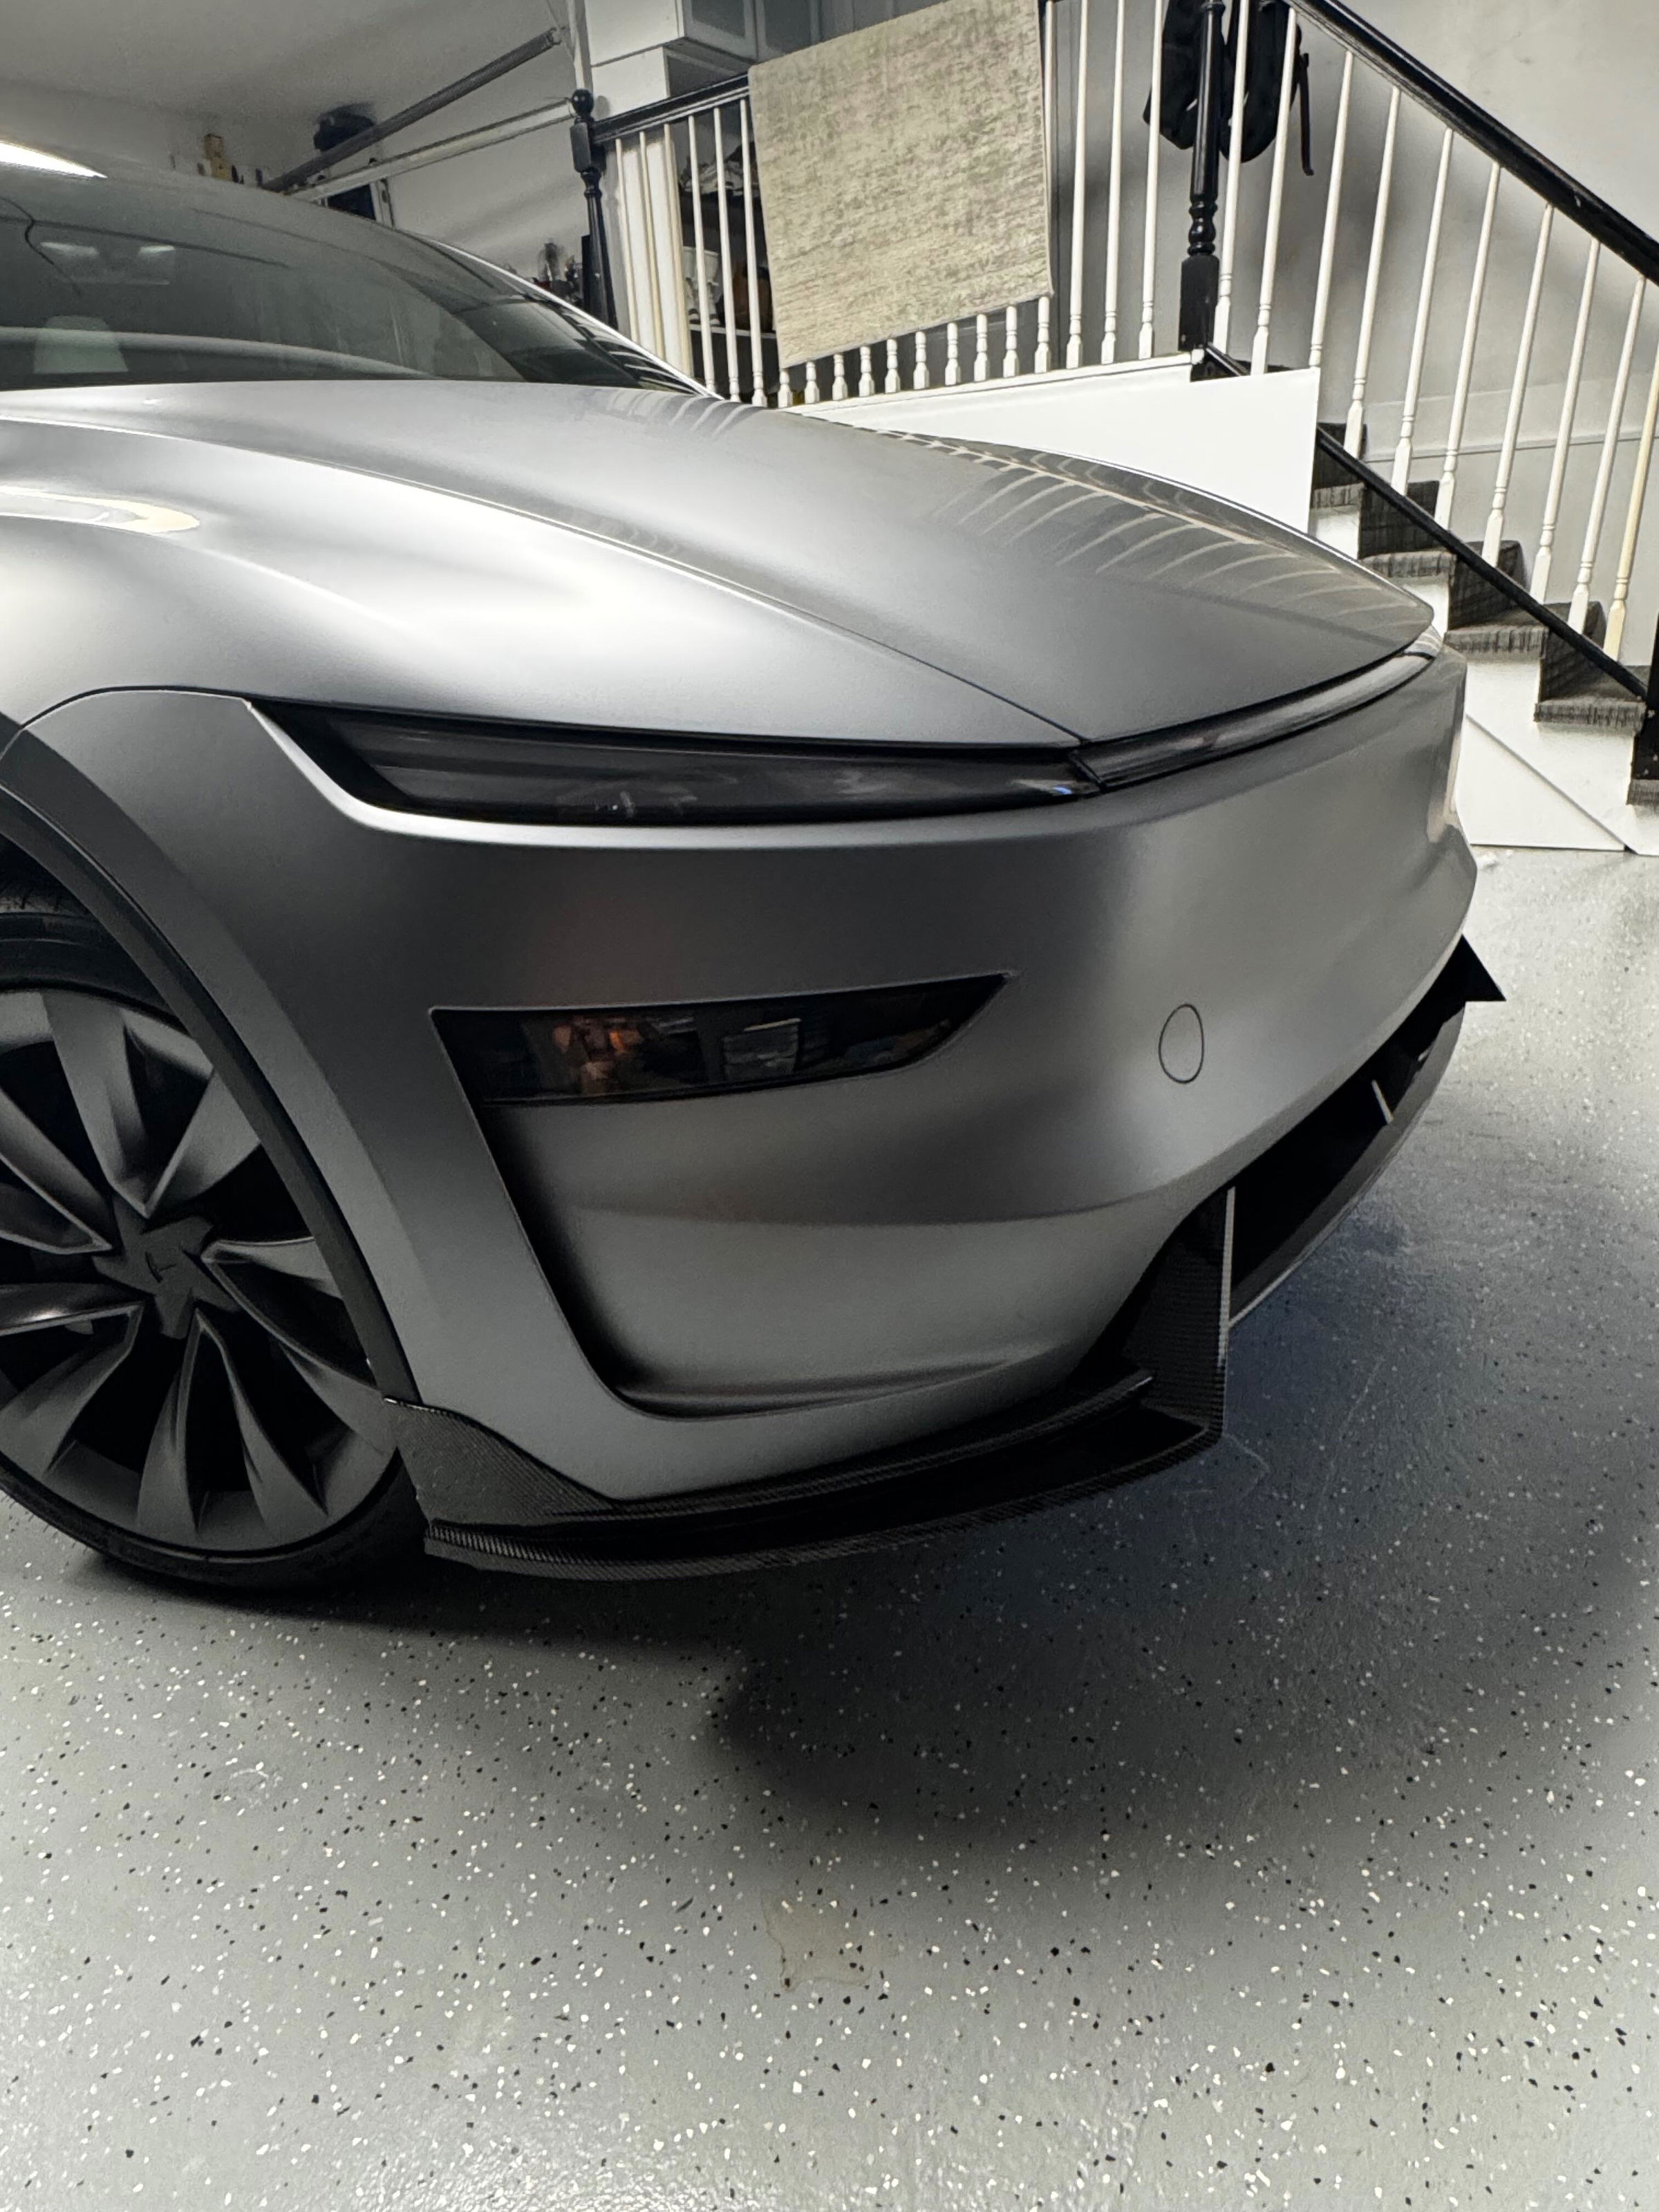
Hands down, didn’t want anything aggressive for my front lip of my Tesla has I have downgraded from a full front lip spoiler and wanted something more simple and subtle. What great wrap for the upper front chin lip keeping that carbon theme. Thank you twraps team!
What customers think about the store
Exceptional customer service with fast, personalized support from owner Iliya. High-quality DIY automotive accessories including PPF wraps, wireless chargers, organizers, and screen protectors. Products feature precise fitment, easy installation with detailed ...