Fast & free US mainland shipping $50+ / 30 days returns

TWRAPS

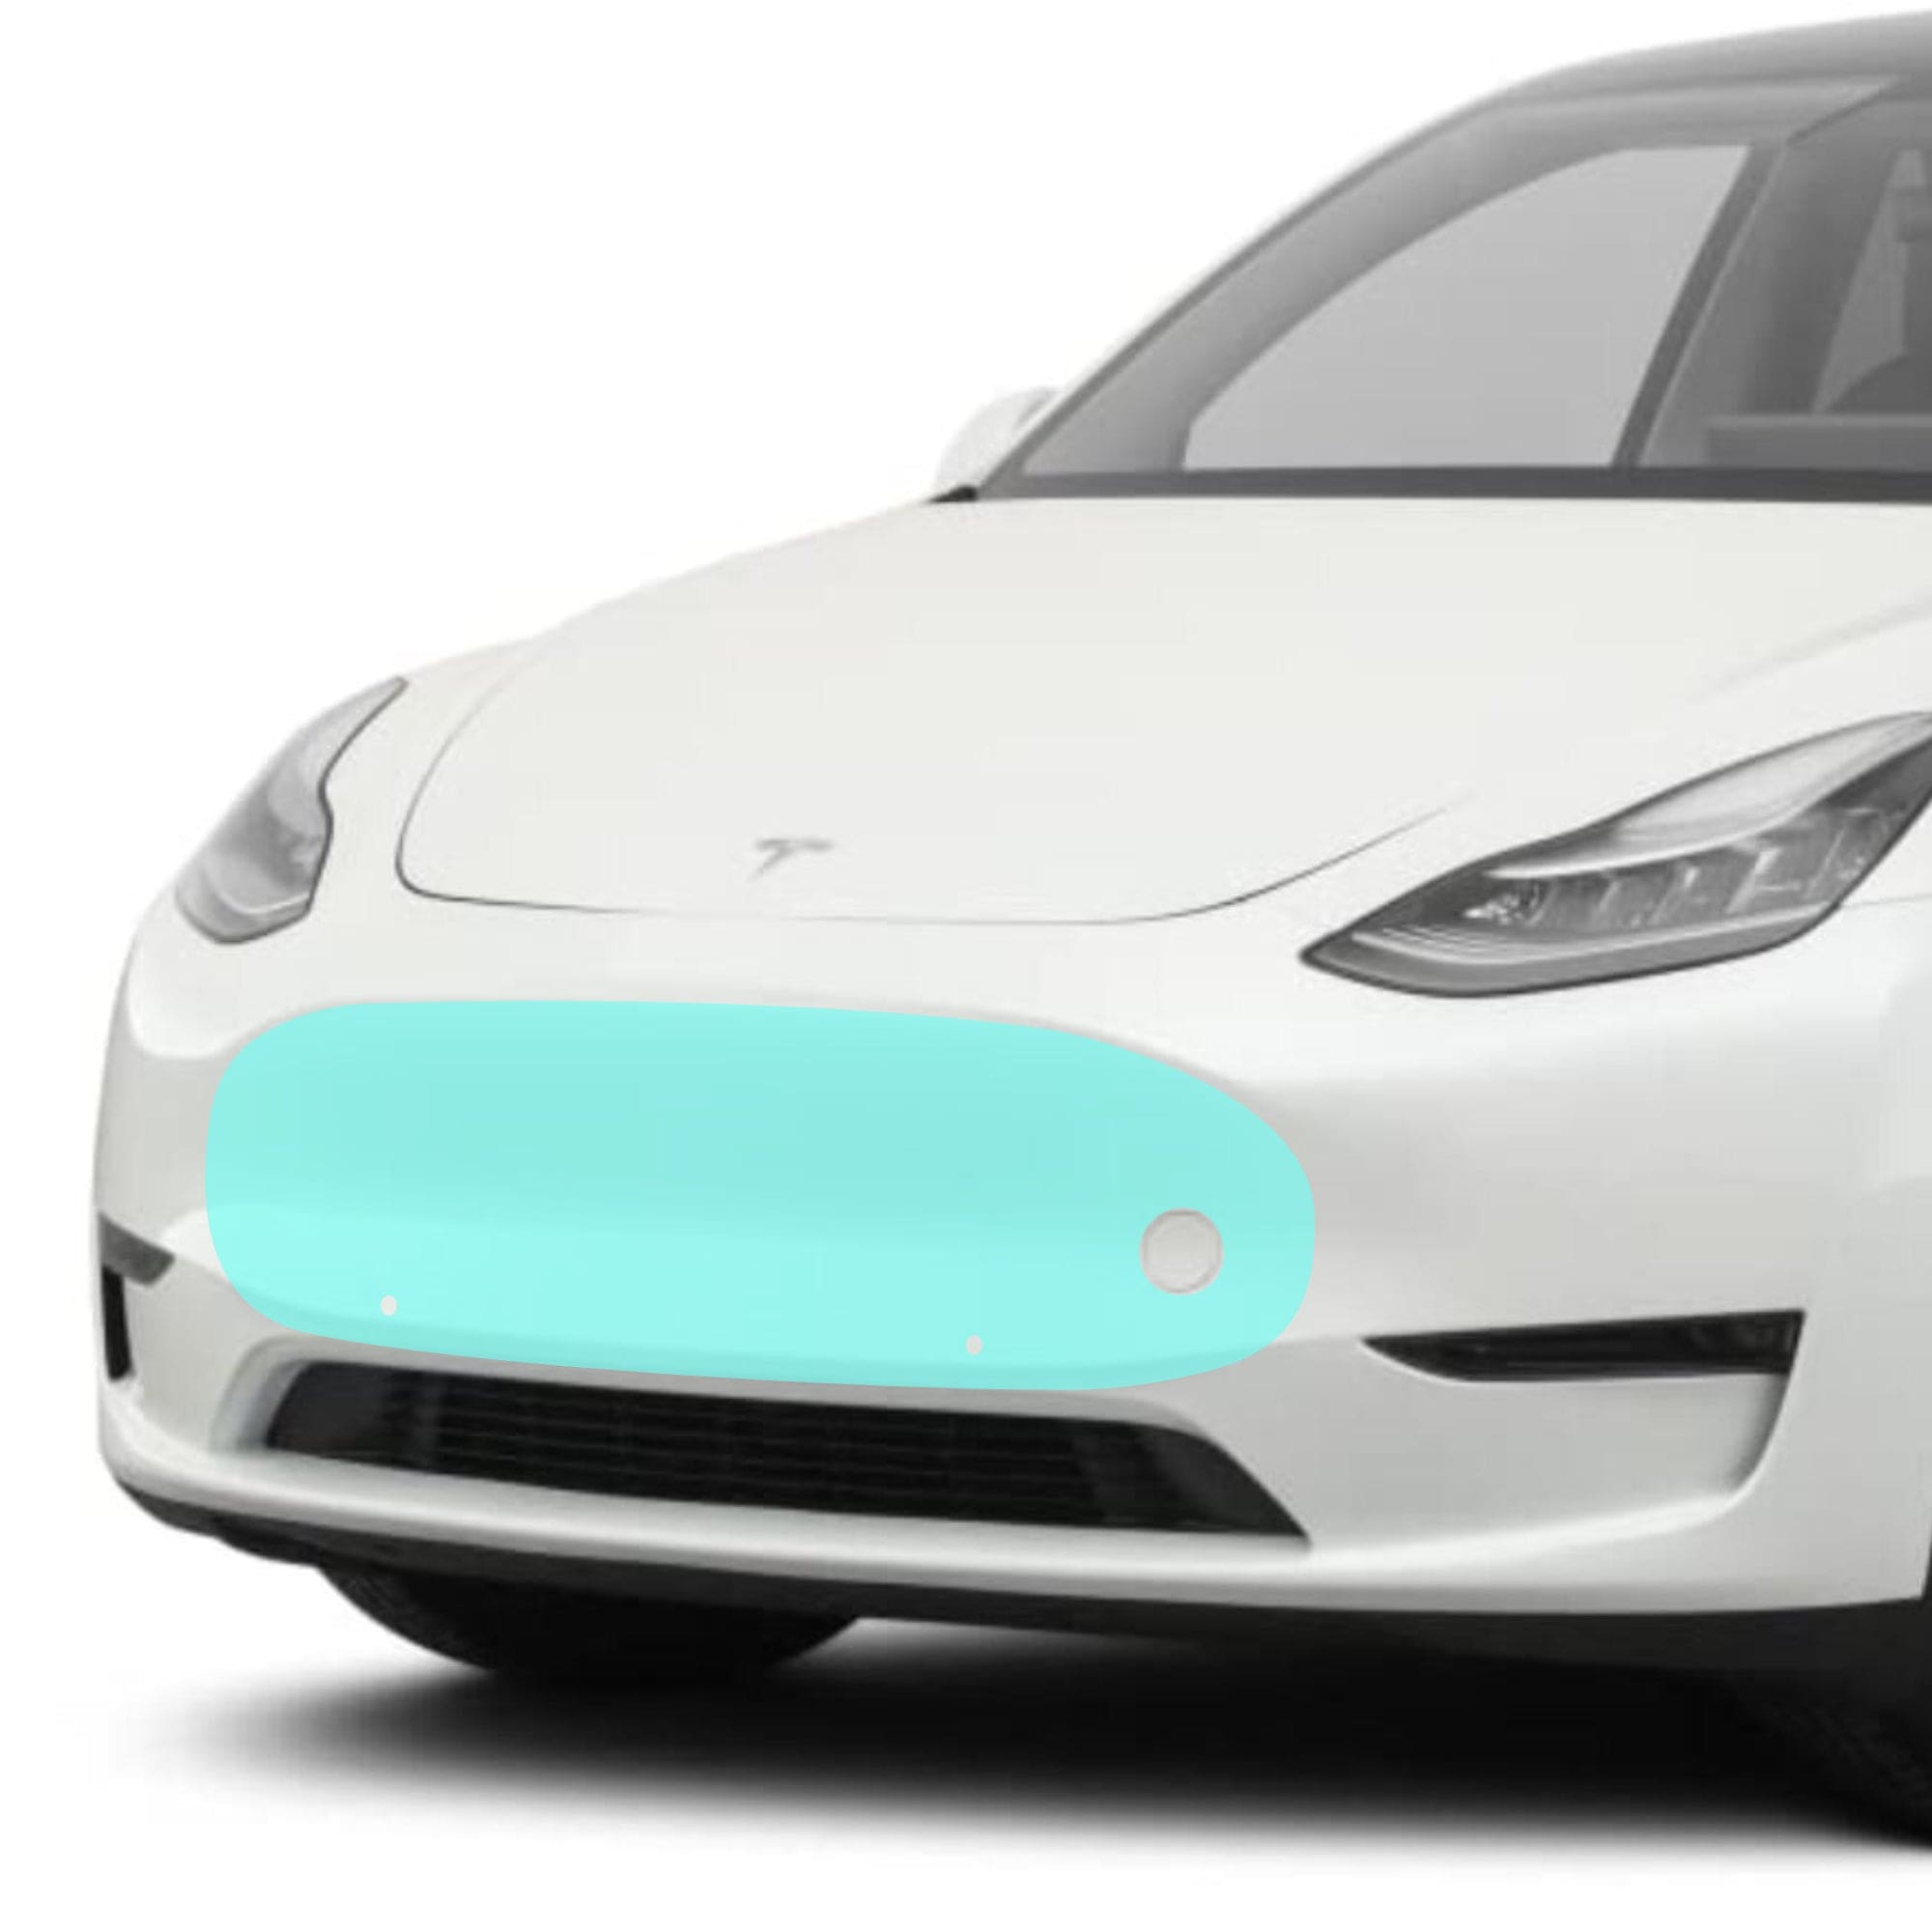
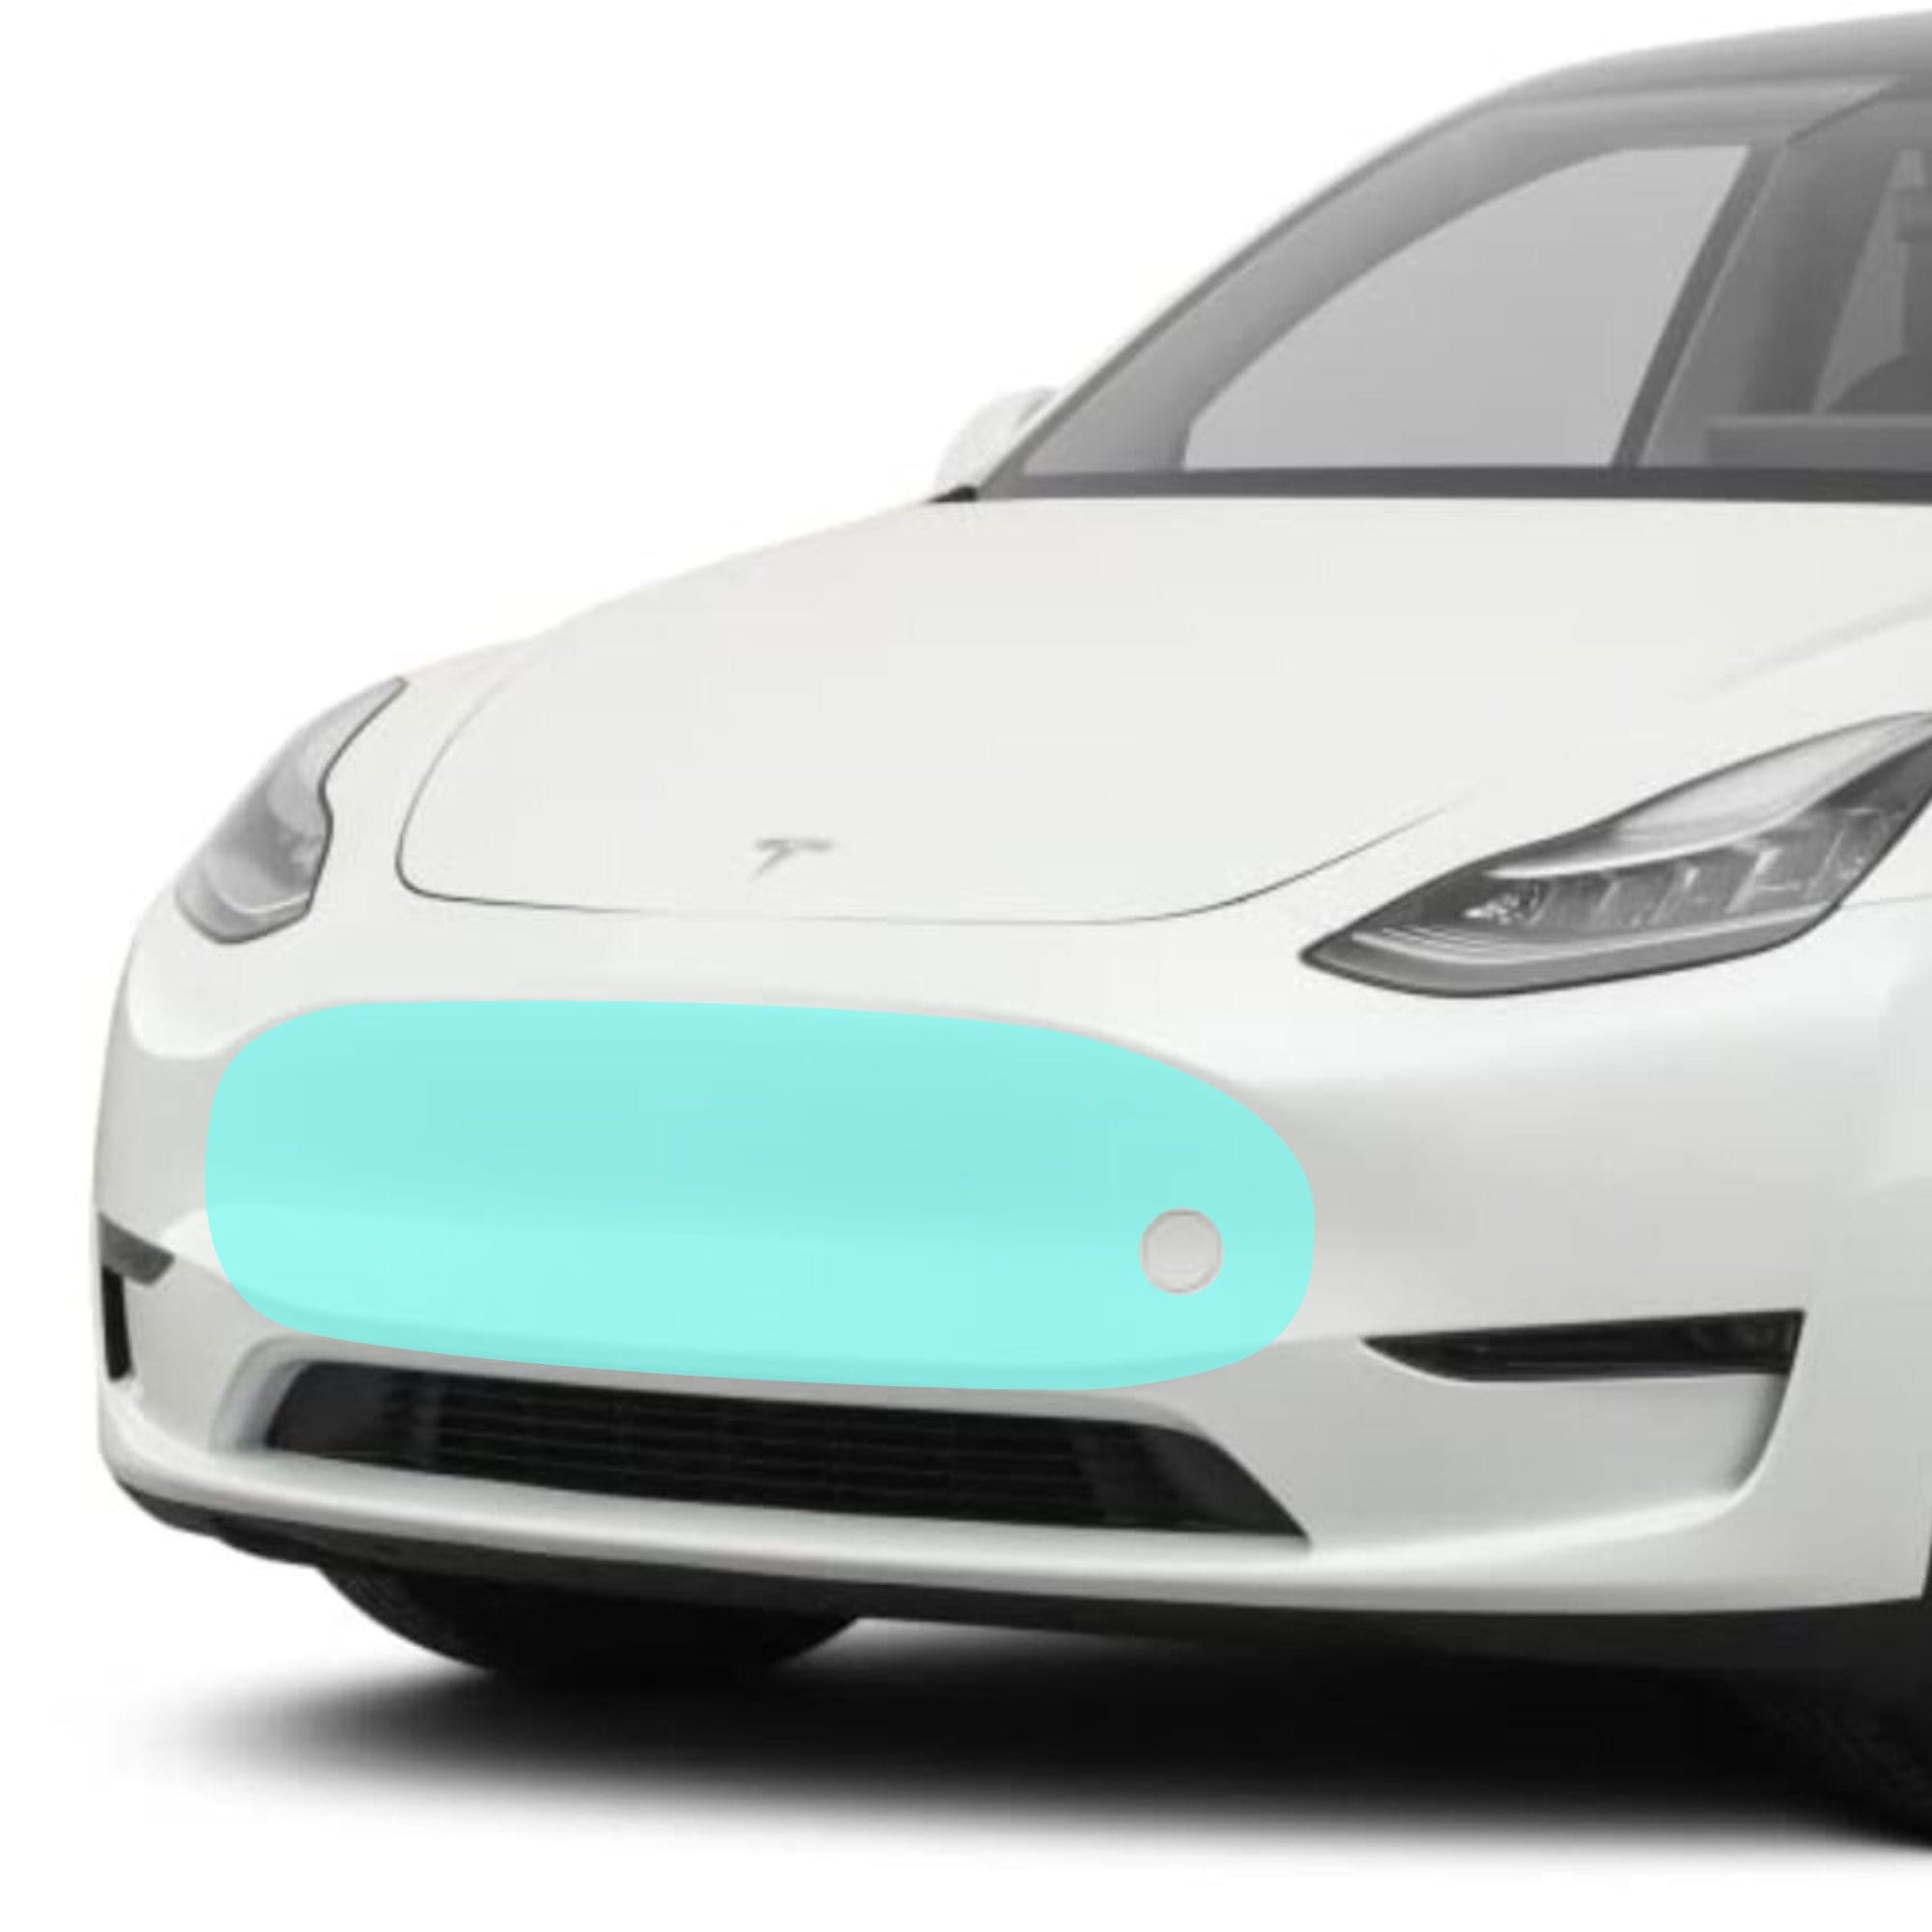
Bumper PPF | Paint Protection Film for Tesla Model Y 2019-2024

Product Features

  • 🛡 Protects your front bumper paint from rock chips, as well as from front trunk loading/unloading accidents
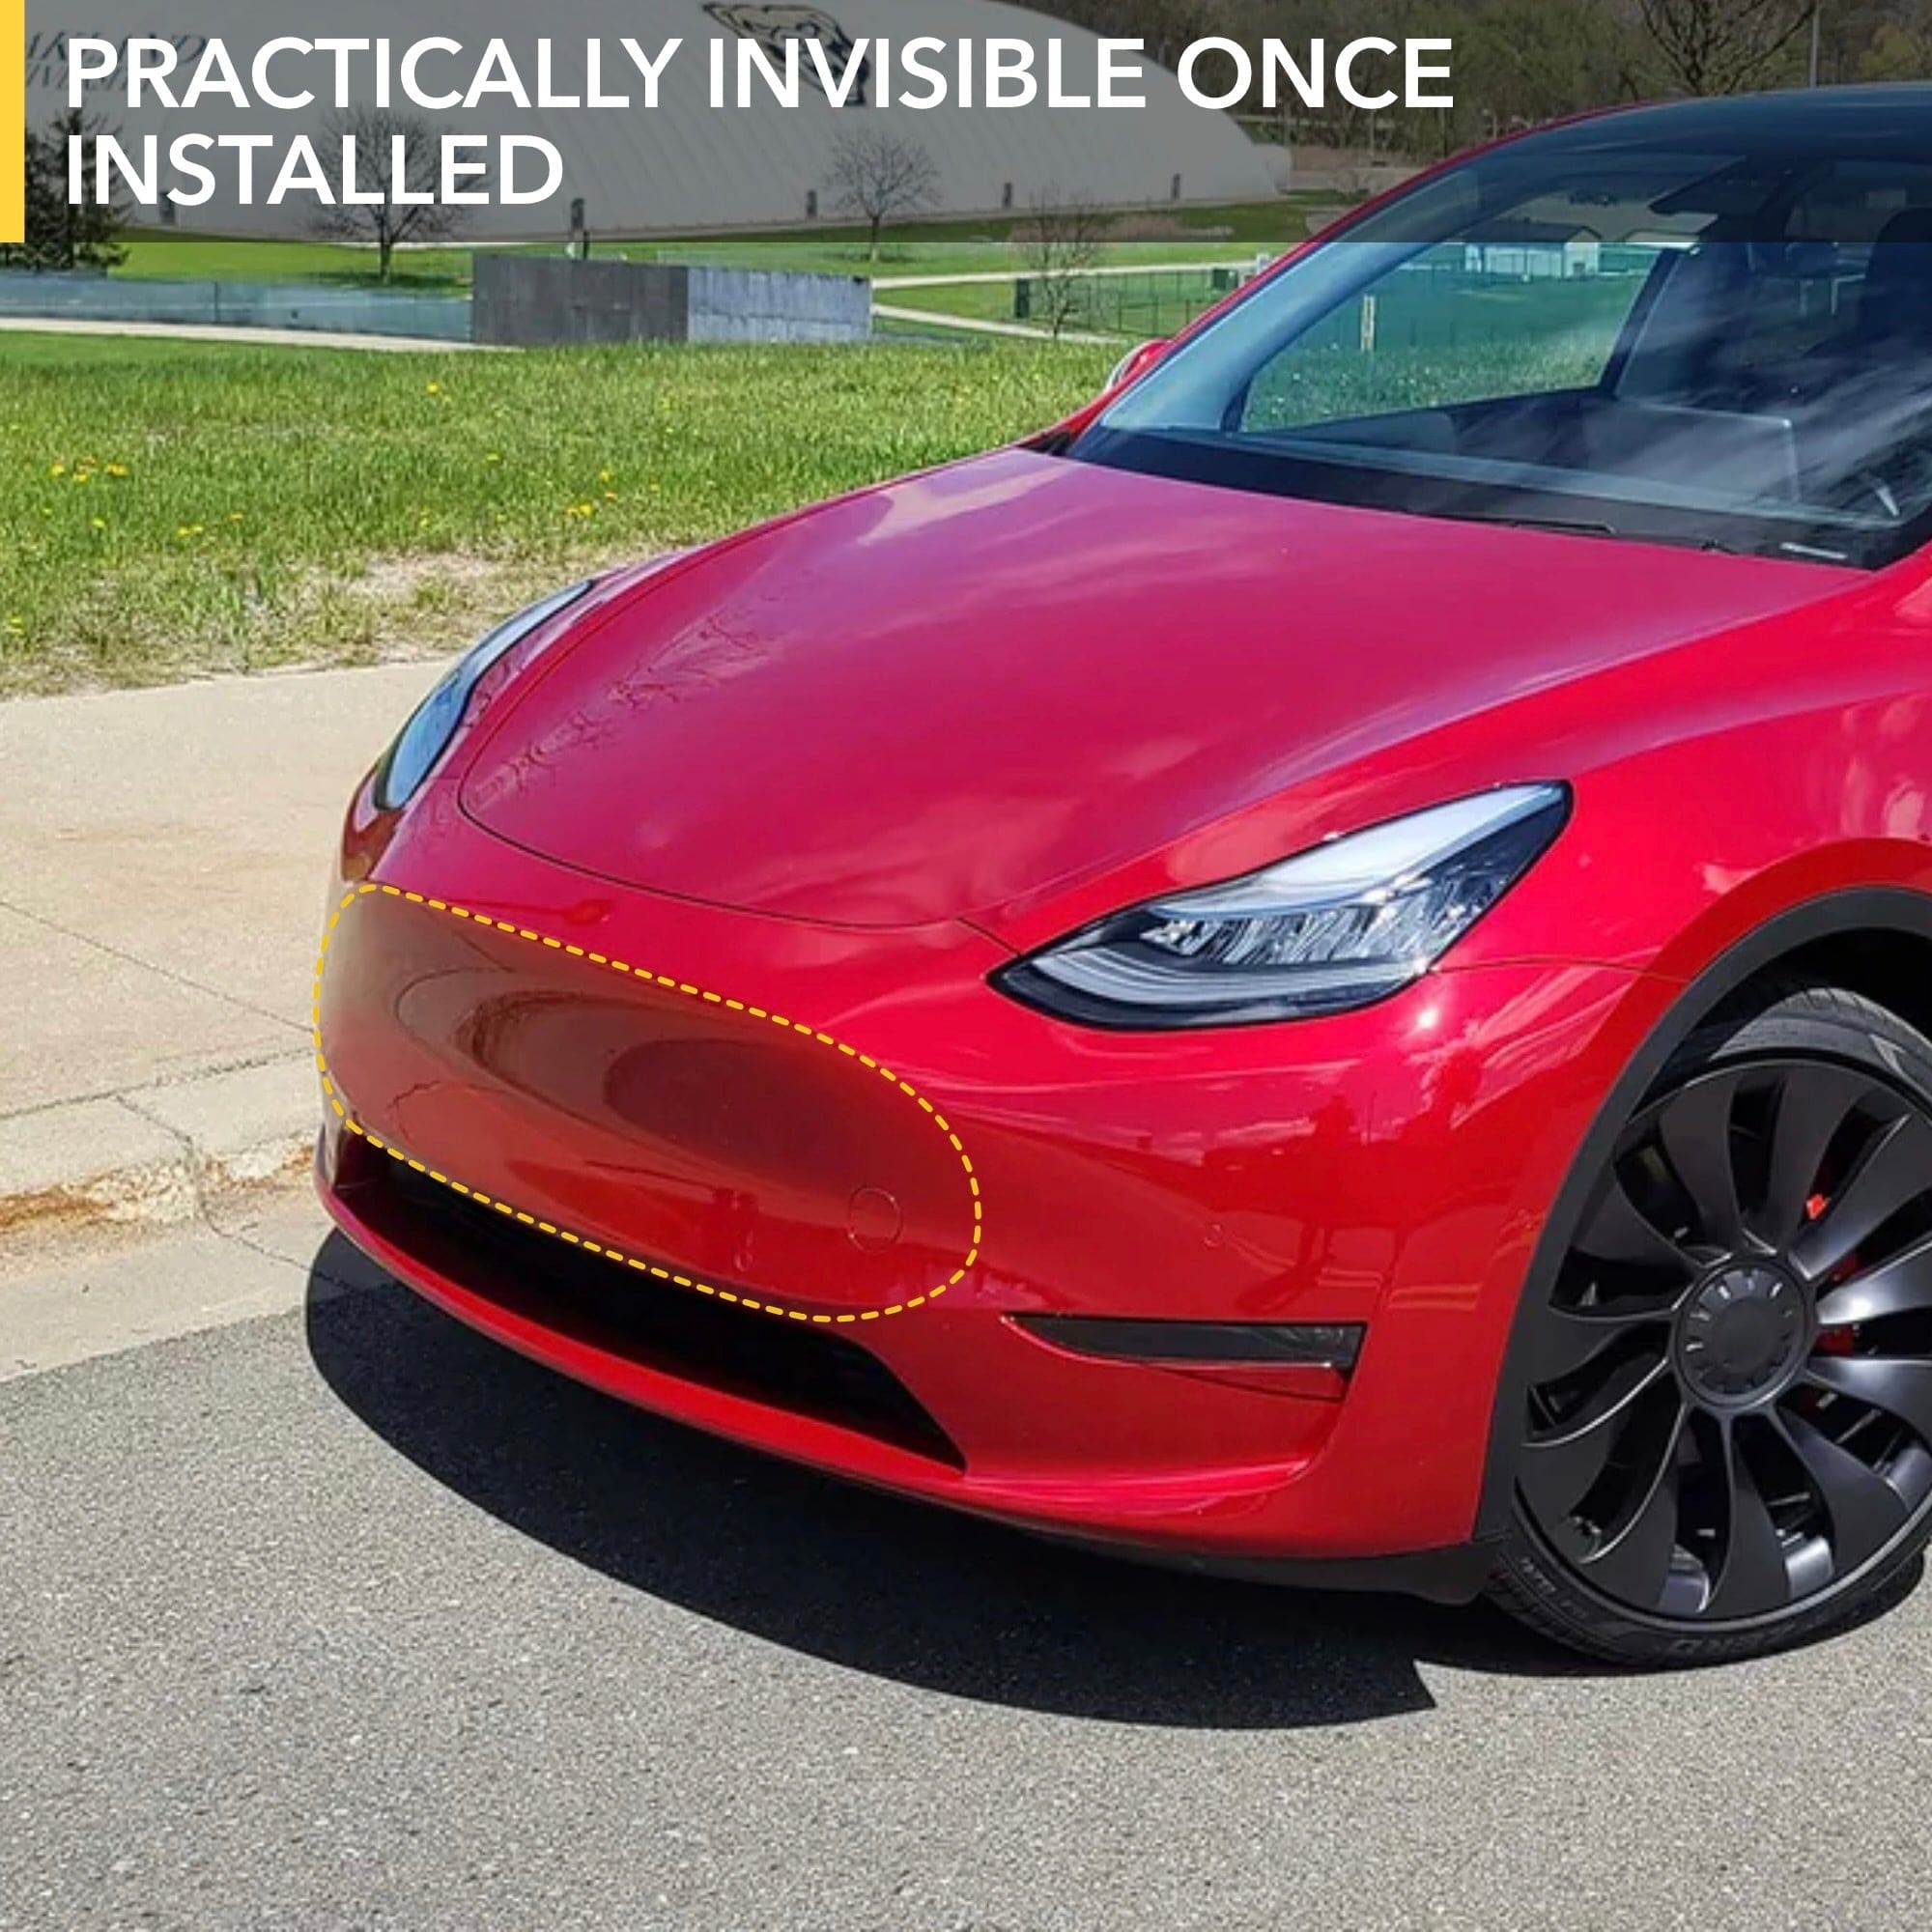
  • 💠 100% clear and almost invisible once installed
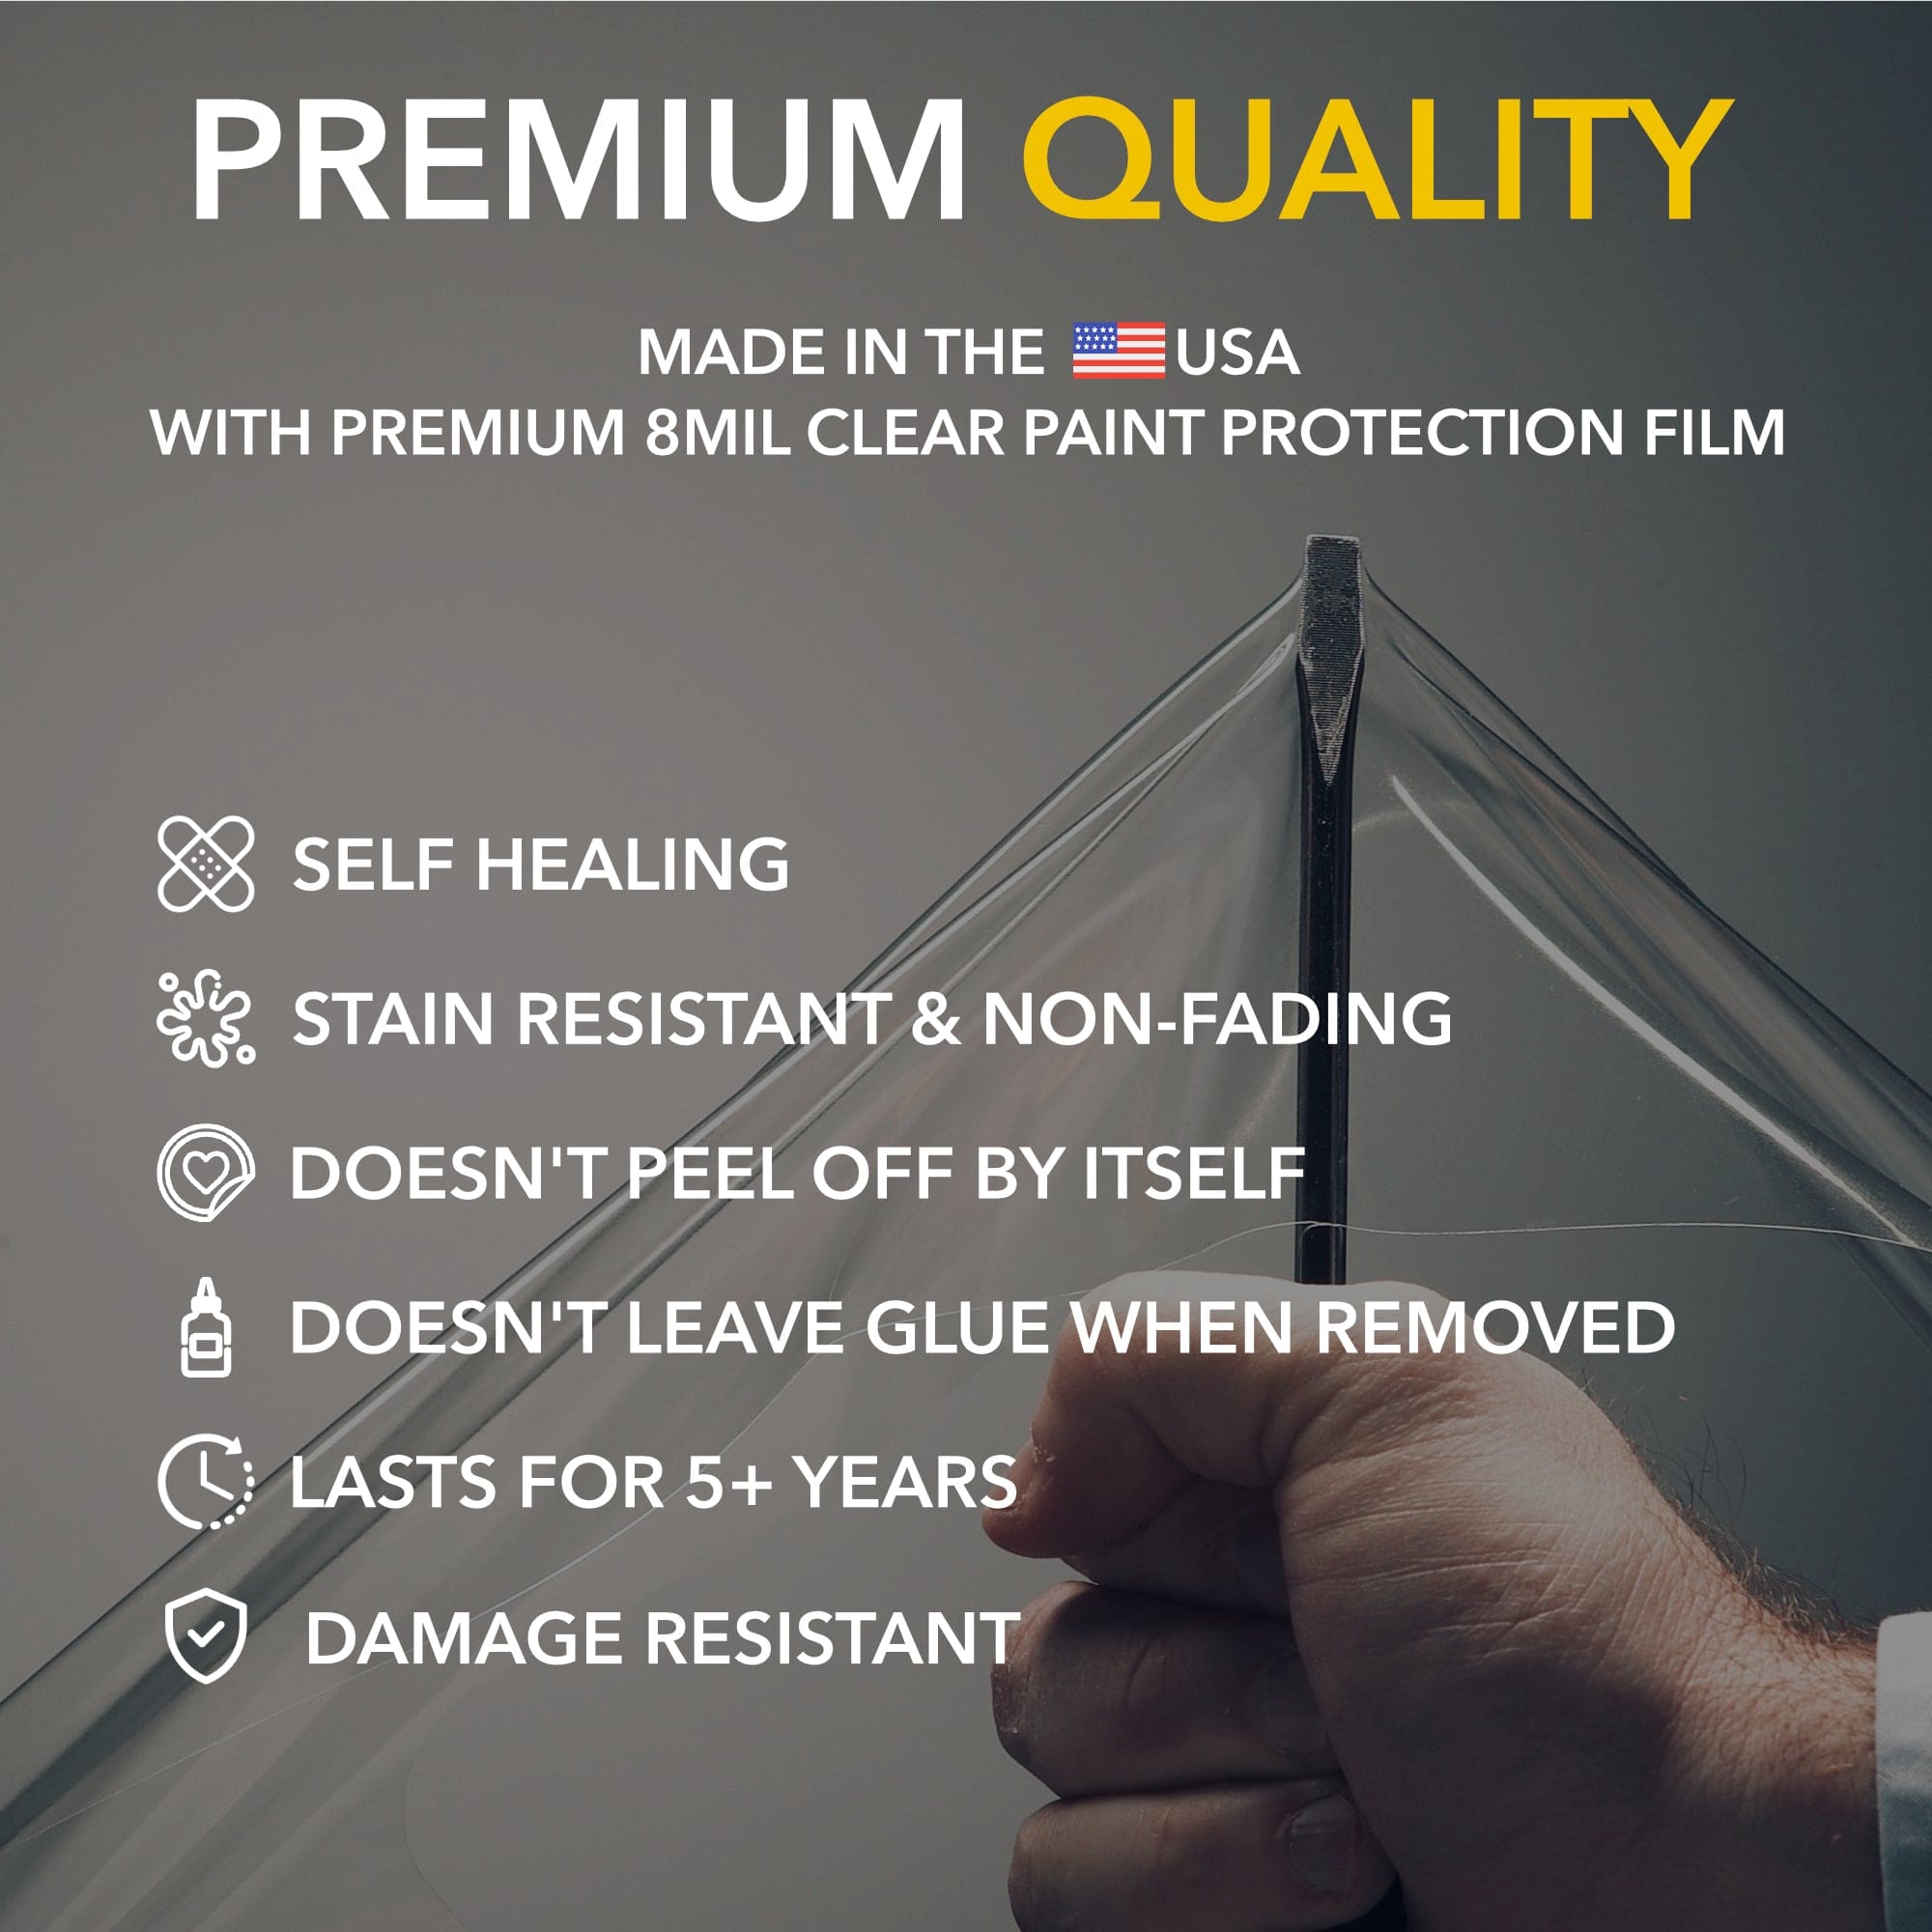
  • 🏁 Made with ultra premium self-healing, stain resistant paint protection film - 8mil
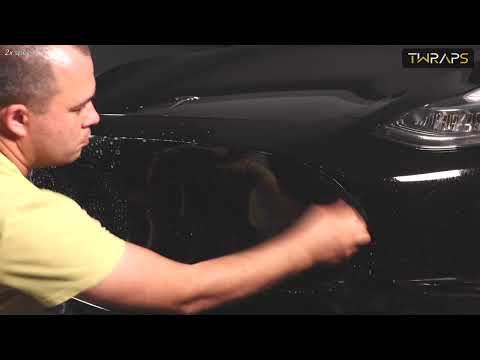
  • 💪 Install in 30 minutes. Easy to remove/replace. 
  • 💎 Precision cutout that doesn't require a heat gun or special skills
  • 🇺🇸 Made in the USA

What's Included

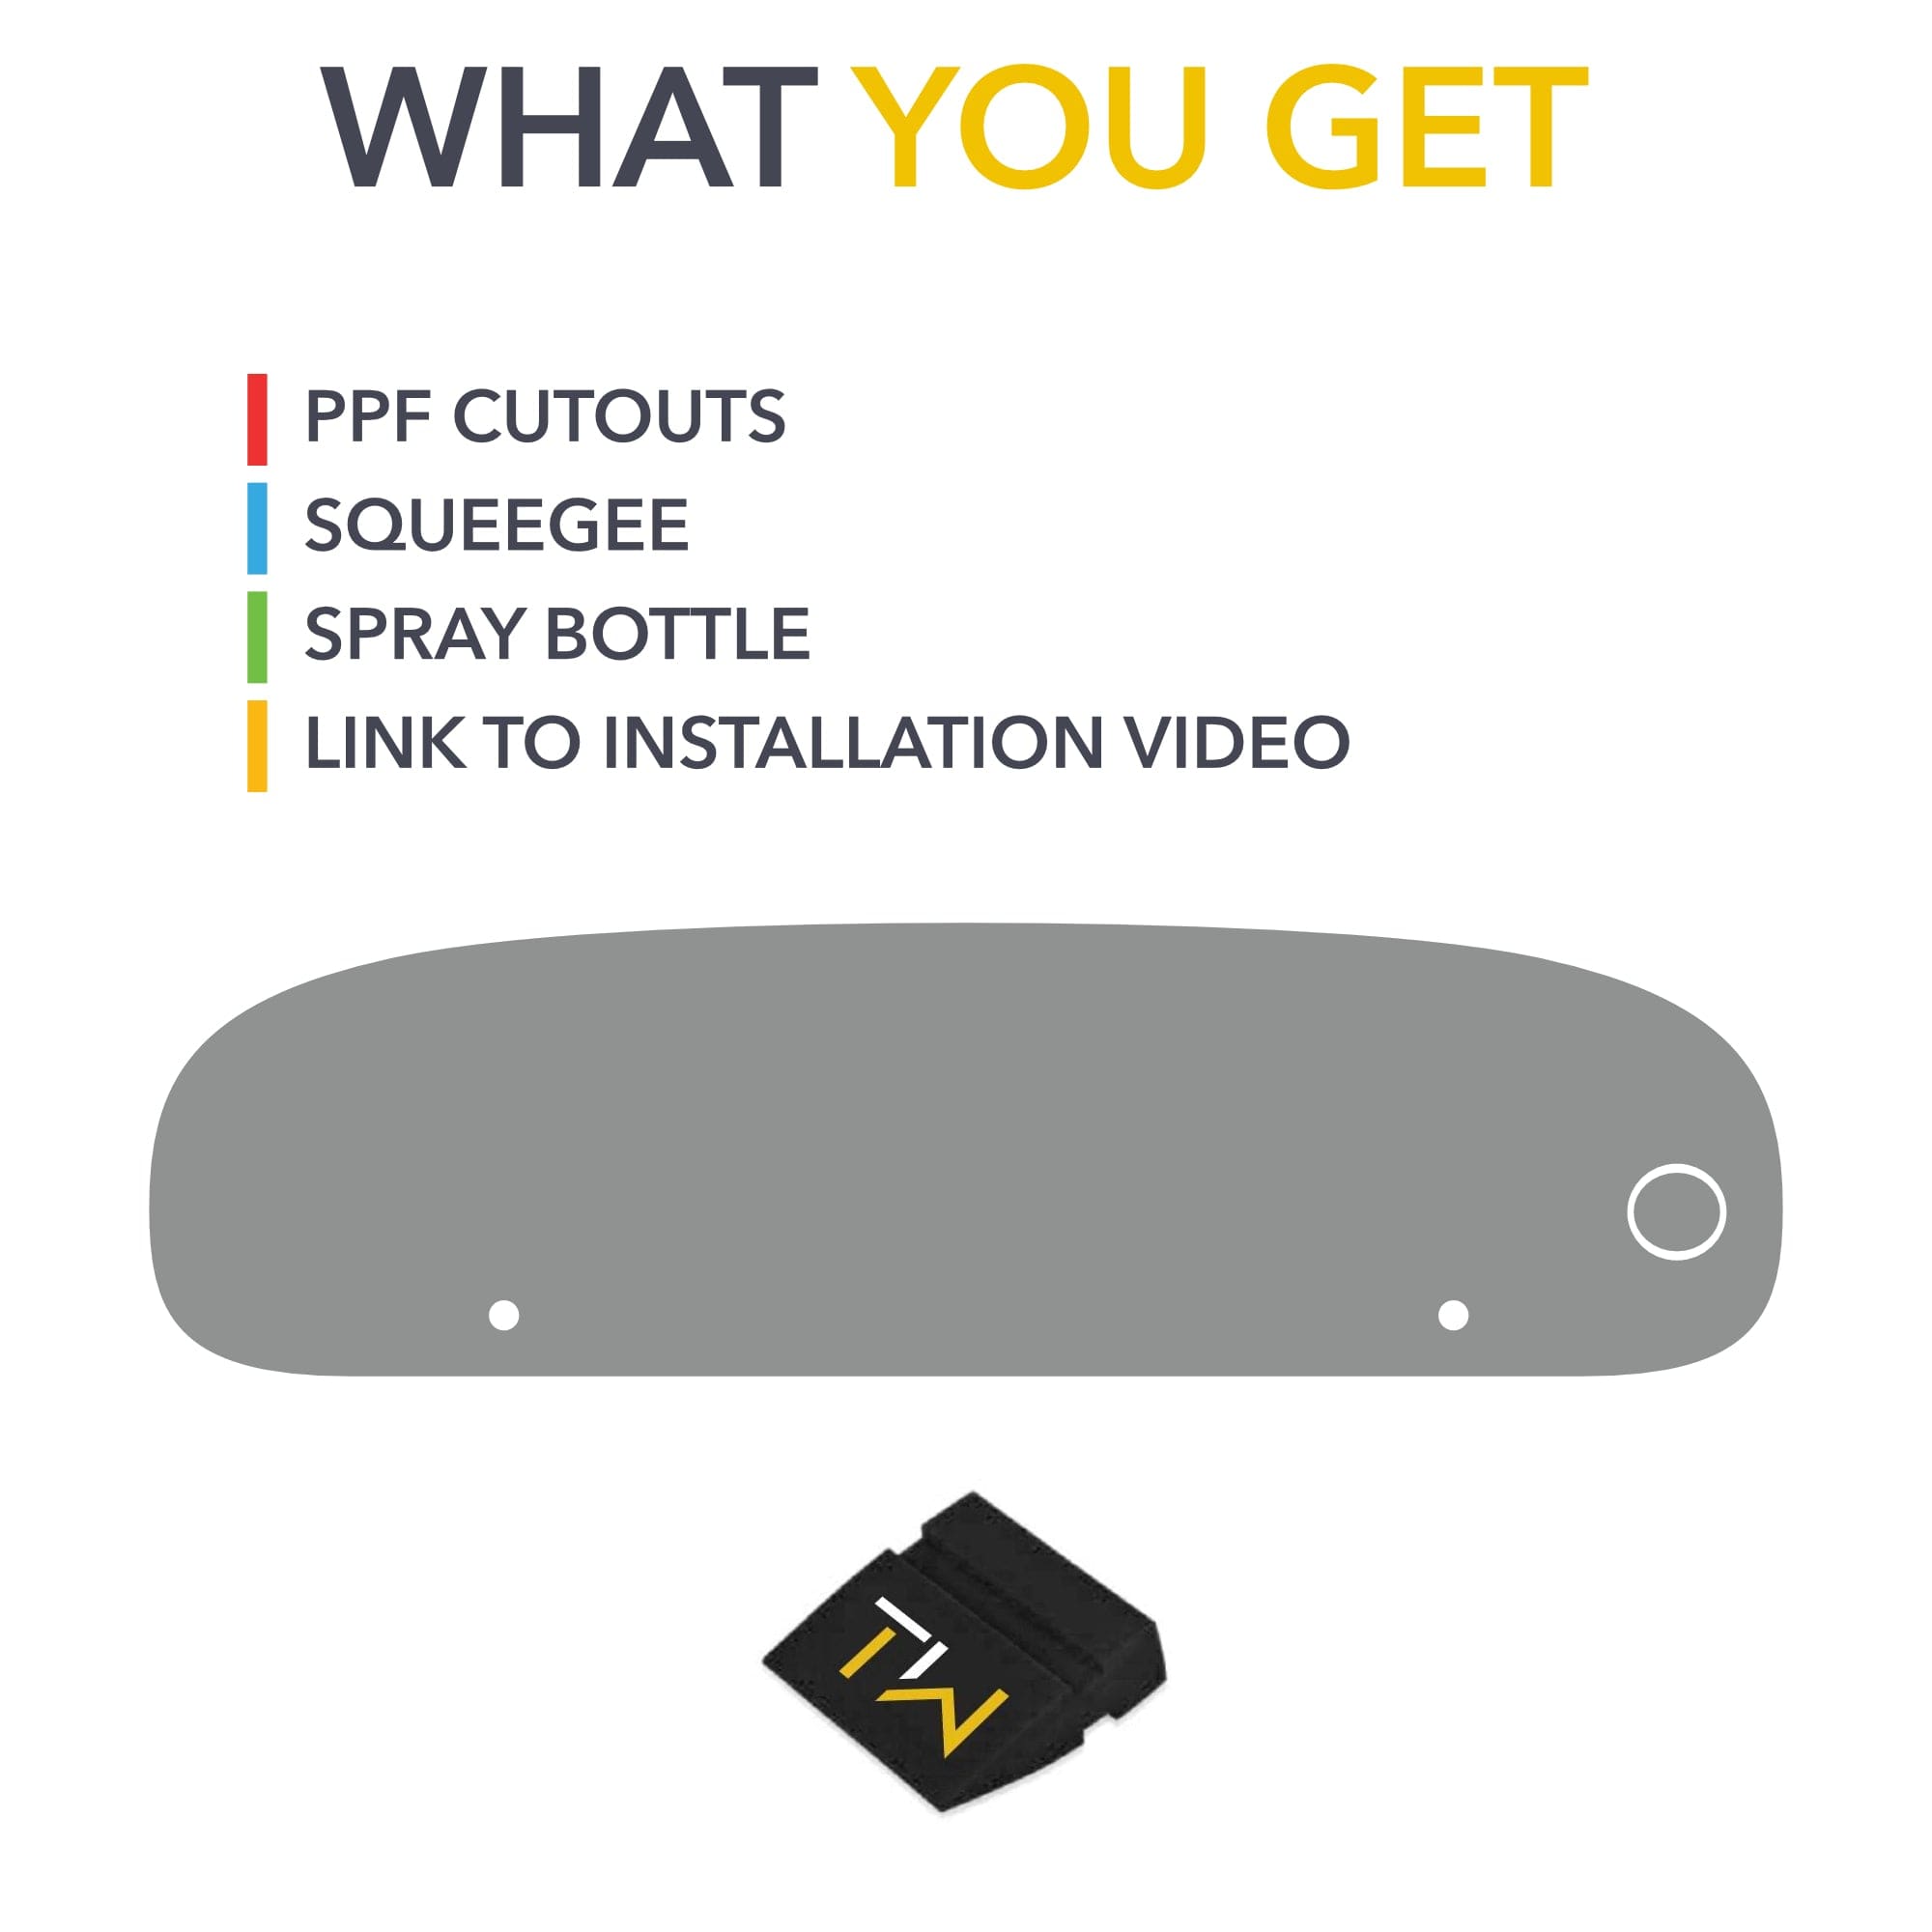
  • PPF cutout made for DIY install (without seaming or special skills/tools needed)
  • Spray bottle with soap (you need to fill it up with water)
  • Squeegee
  • Installation instructions & video

Installation

Install difficulty: Medium
Install time: ~ 30 min.
Fits:
 Tesla Model Y

Customer Reviews

Based on 24 reviews
96%
(23)
4%
(1)
0%
(0)
0%
(0)
0%
(0)
C
Customer (Birdsboro, PA, US)
Nice material to work with

For my first time using a. PPF, I think I’ve been successful. The material and squeegee were nice to work with. The bottle was difficult and did not have enough fluid to work with me. Admittedly I took it on and off a bunch of time lining it up. It hurt my hand to use something that small. Liz lily I had several spray bottles in my detailing area to use.

A
Amazon C.

I started by watching the video instructions first, and then prepped the car. Wash your hands good, and use a high quality micro fiber (test it doesn’t leave lint, may need to wash new ones first) and clean the bumper. Now wet the bumper with the included spray bottle (just add water, has a little soap which you’ll see). When you peel the film, be sure you don’t pull too hard and stretch any part. Go slow, and wet the entire film as you slowly peel it off the backing. Be sure it doesn’t touch the ground. Now you just affix it to the position, aligning the tow circle first. Spray the film after its roughly in position (yes, the outside of the film that is facing away from the bumper). This helps smoothing with the squeegee so that it doesn’t catch the film and create creases. I started on the tow hook circle, and squeegeed that side first, and worked my way to the left side. If you pull the film up to reposition, just add more soapy solution on both sides of the film.This PPF was spot on with the dimensions and only took me 30 minutes. I kind of wish I went with the larger fuller bumper PPF. I was hesitant if it’s truly DIY, and found that it is.

A
Amanda X.

It came with a nice premium black box came with evrything needed for installation, there’s a little spray bottle came with some soap in it. I also watched the video so spray both ppf so it’s a bit slippery, installation was easy. mine is a MY2023LR, so far so good. I had a little issue with installation so messaged the seller, they were quick and responsive solved my issue. If you don’t wanna spent over hundreds on full ppf this in my honest opinion is good enough for the front, at least sufficiently protect against bug and small chip rocks

K
Ken

My 14 yo daughter and I knocked this out tonight. After watching the install video it was pretty easy. We took our time with getting bubbles out and we’re really happy with the result. And I am picky. Total front PPF kits seemed intimidating so this partial front kit was a nice DIY compromise.

R
Rex

Decent protecting for the most venerable part of the front bumper. Just make sure surface is spotless before installing. Would recommend.

C
Customer w.d.n.w.t.p.t.n.

The product is awesome and the seller really cares about customer satisfaction. They are very prompt in responding to questions, concerns and providing support. I highly recommend this PPF.

H
Hoover1990

Installed on my model Y and very happy with it. Being precut, makes it convenient. Yes, you can install by yourself but having a 2nd person to help is better. DONT accidentally drop it on the ground. Twraps recommends installing when the temperature is 65-75 degrees F. My first time putting on ppf and the size makes it not too hard to apply. A full bumper/hood sized piece would definitely be a challenge for me. Give yourself ample time so your not rushing, with good lighting. Fill up the included bottle with water which has the correct amount of soap already in it. Everything looked great but the next day, I saw a small bubble that I missed while squeegeeing. The film adhesive set already so can’t squeegee it out anymore. So I just used a very tiny sewing needle and carefully poked a hole and flattened the bubble out. I made sure to hold the needle vertically and parallel with the bumper to avoid scratching the bumper. Do this at your own risk. The whole install looks perfect now. It’s fairly easy to install but takes patience, good eyes and lighting, and some ocd/attention to detail. Highly recommend.

b
bach

This is a really great product - if you follow the directions and take your time, it will turn out really well. Another note is that the customer service is top notch as well.

J
Joshua G.

I tried to install the entire front ppf and failed. This was super quick and easy to install by myself. It also covers the most hit area of the bumper. All the bugs seem to stick to this part of the bumper anyway.

A
Alvin G.

Fits and protects.