🎄 Get 15% off with code HAPPYHOLIDAYS . Ends Jan 1.

TWRAPS

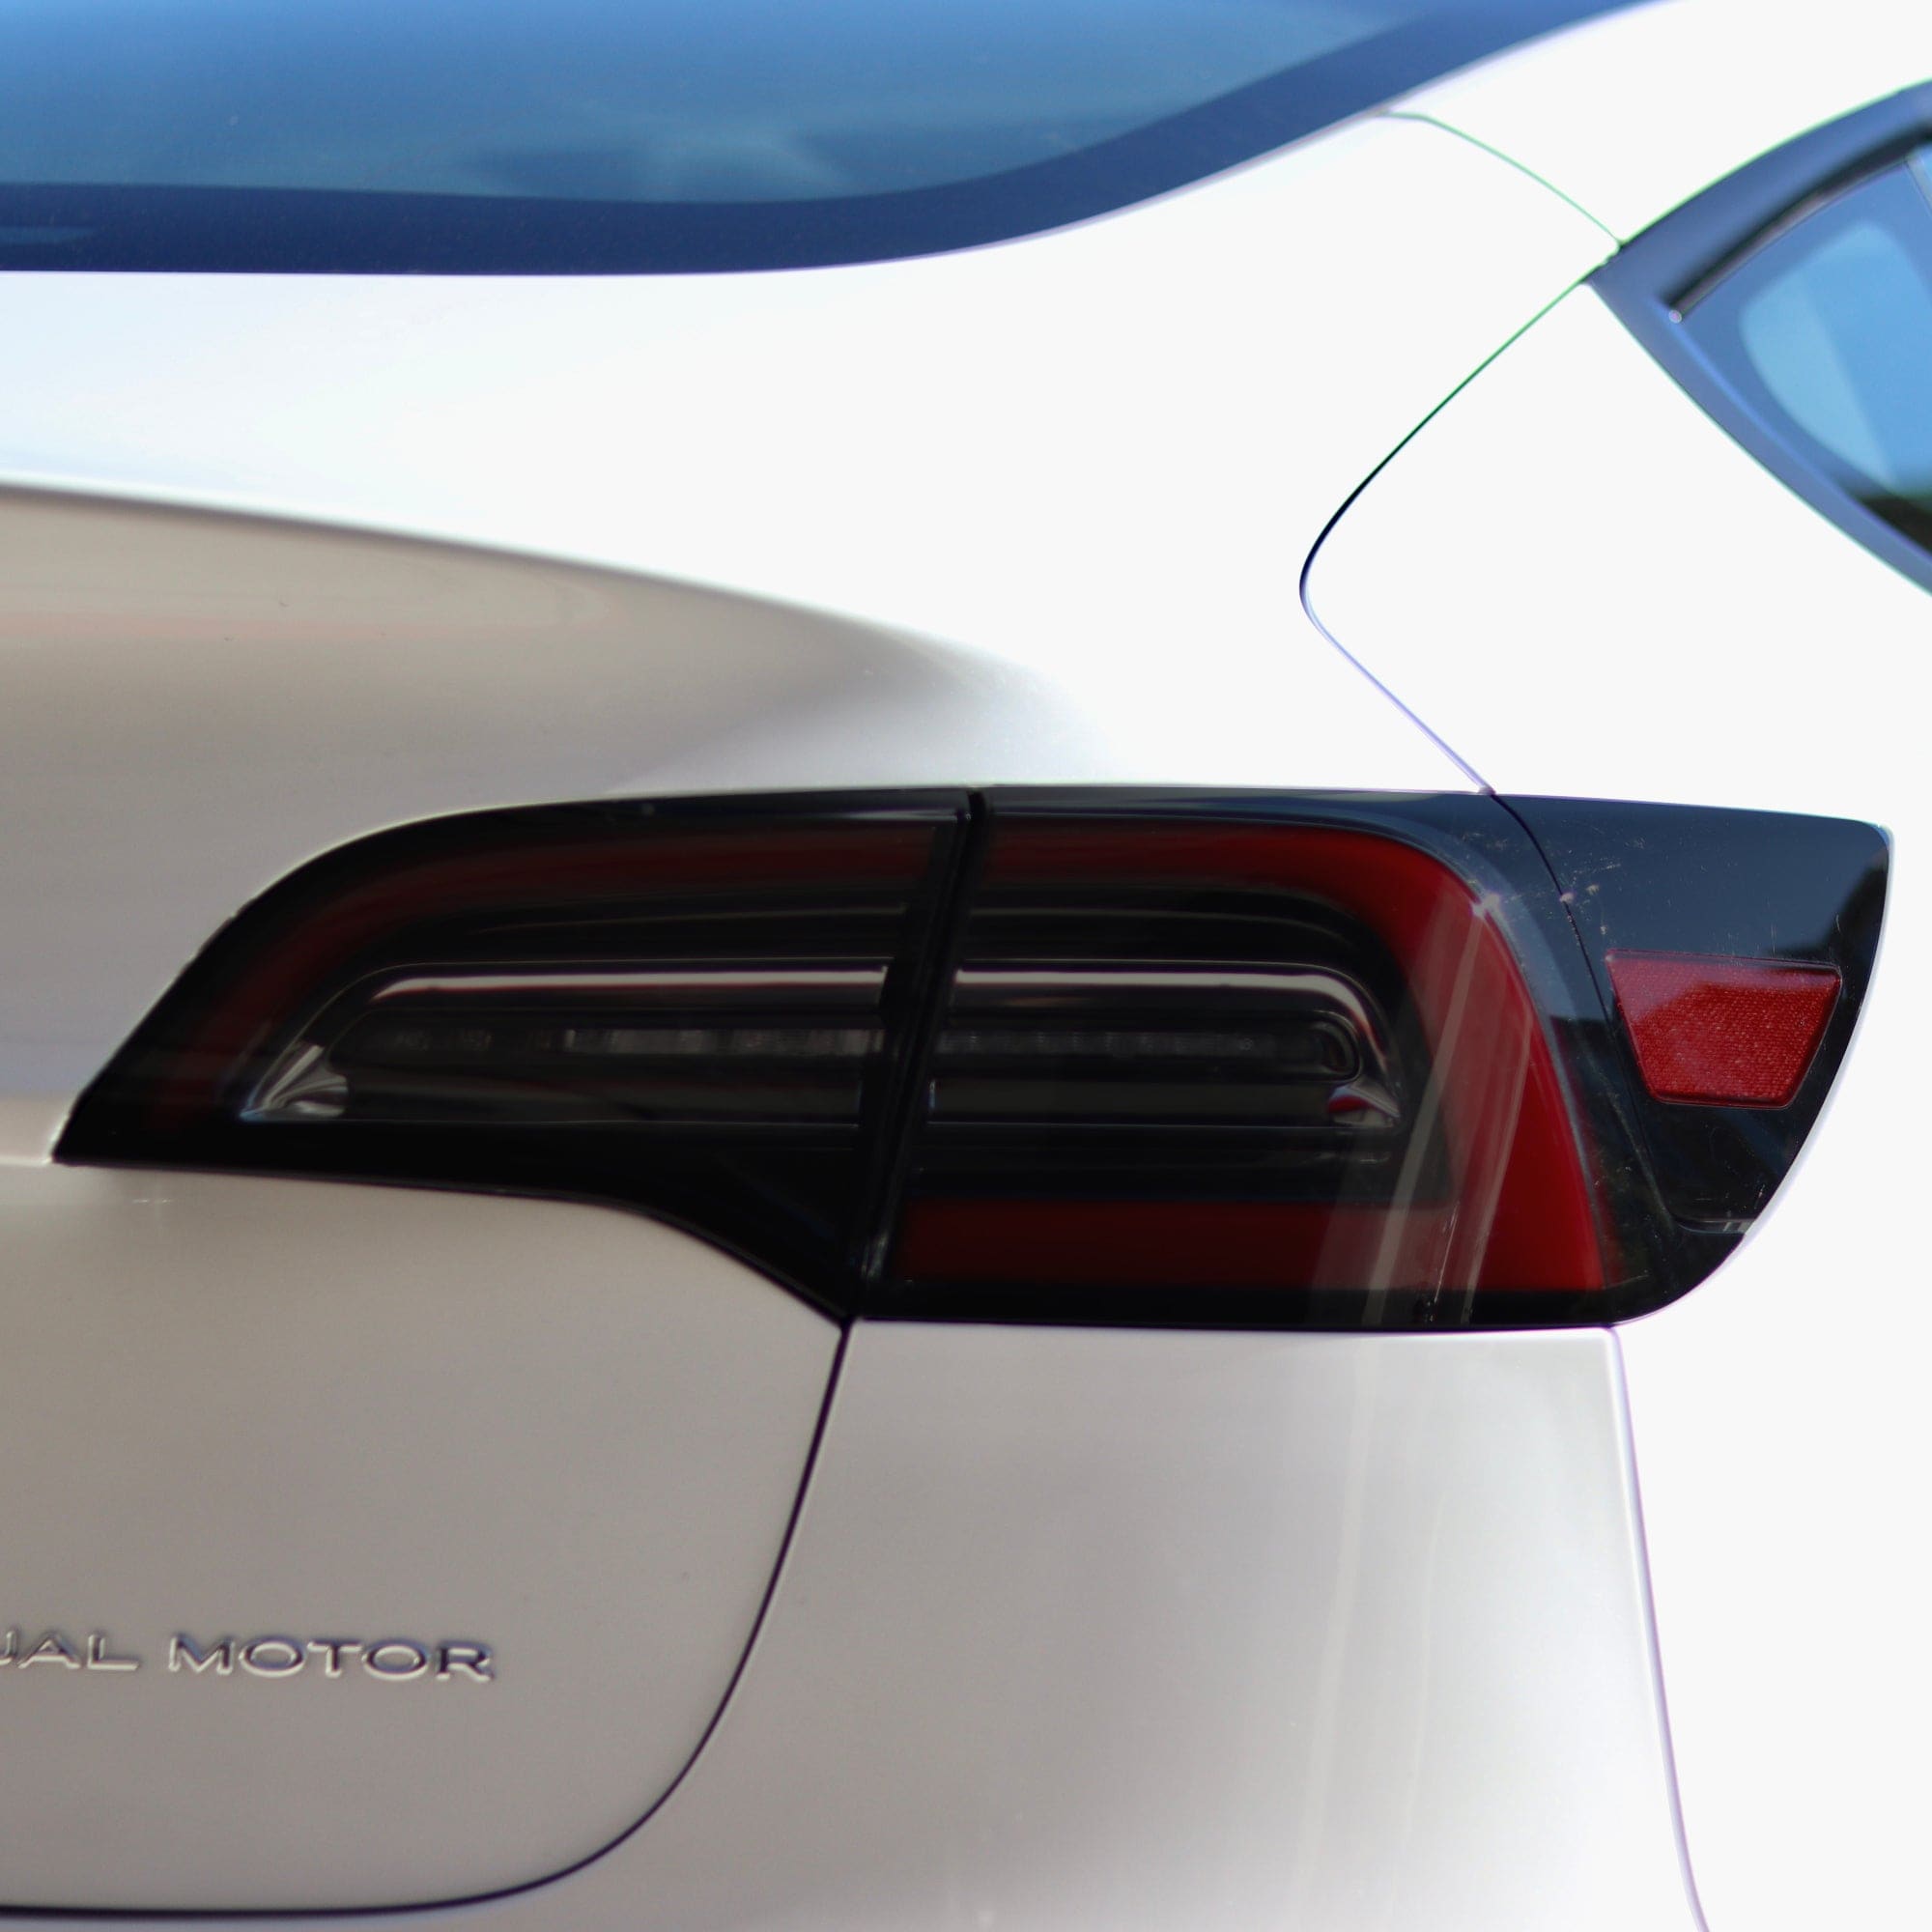
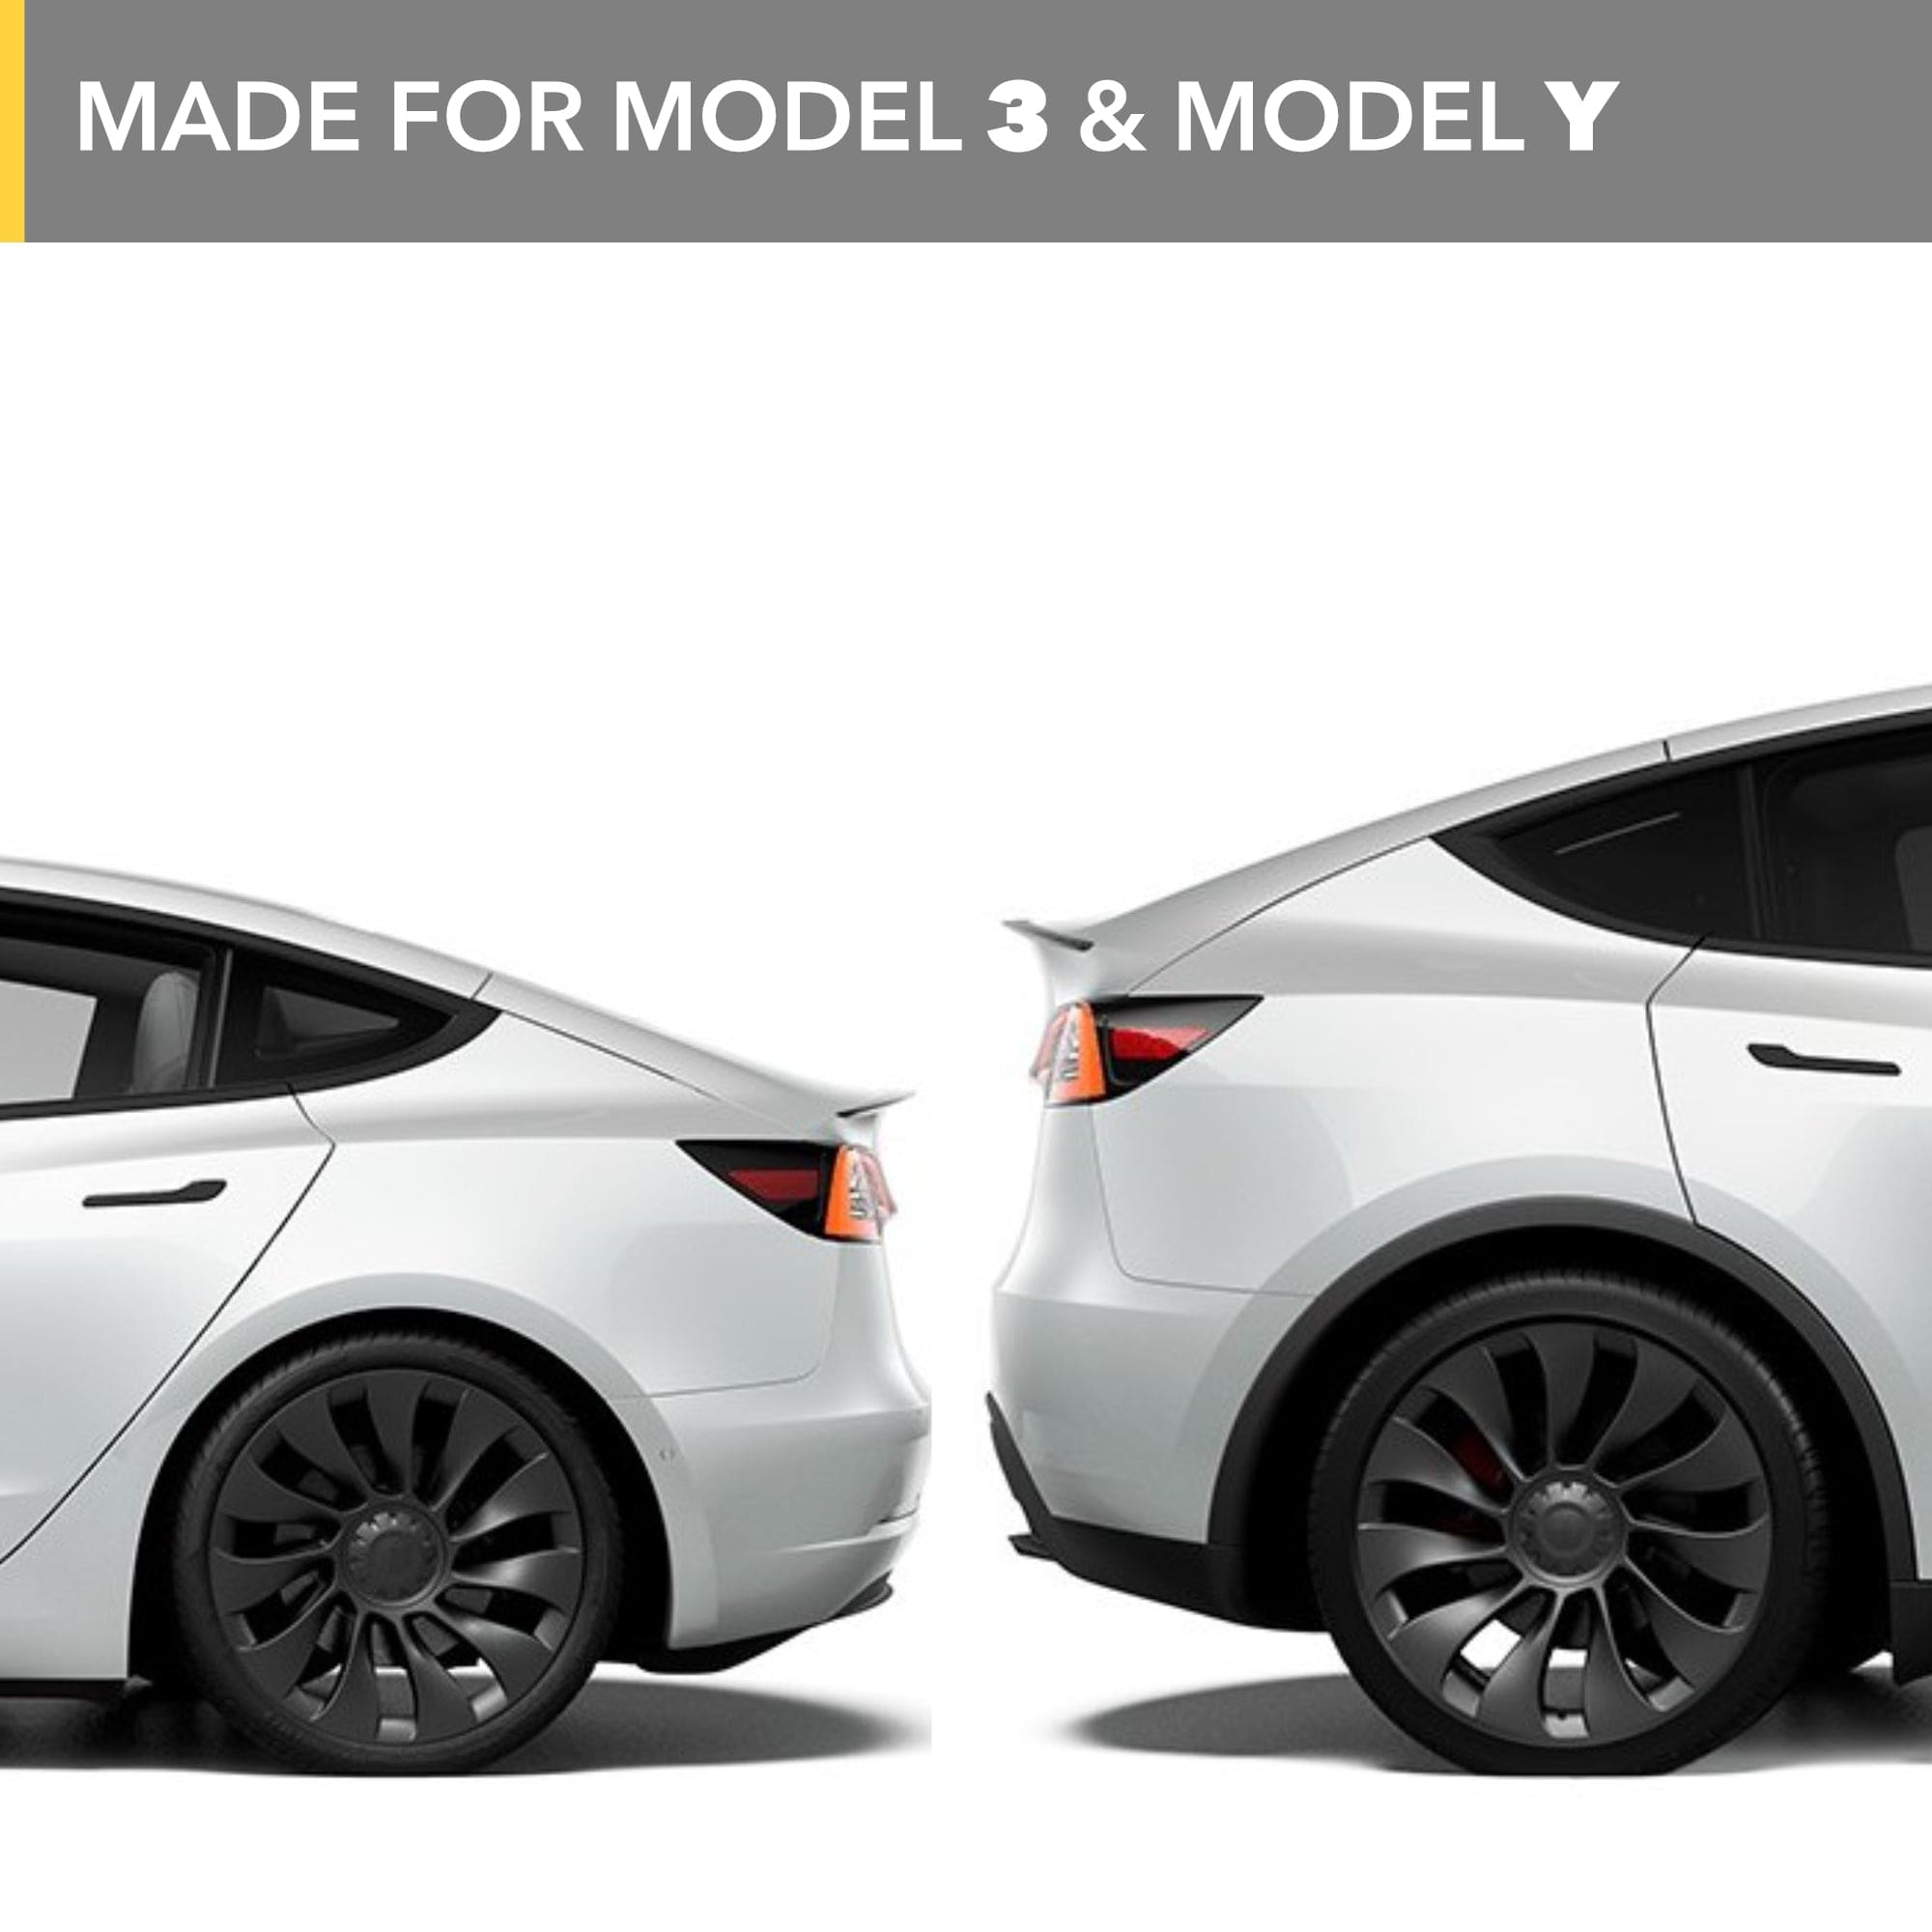
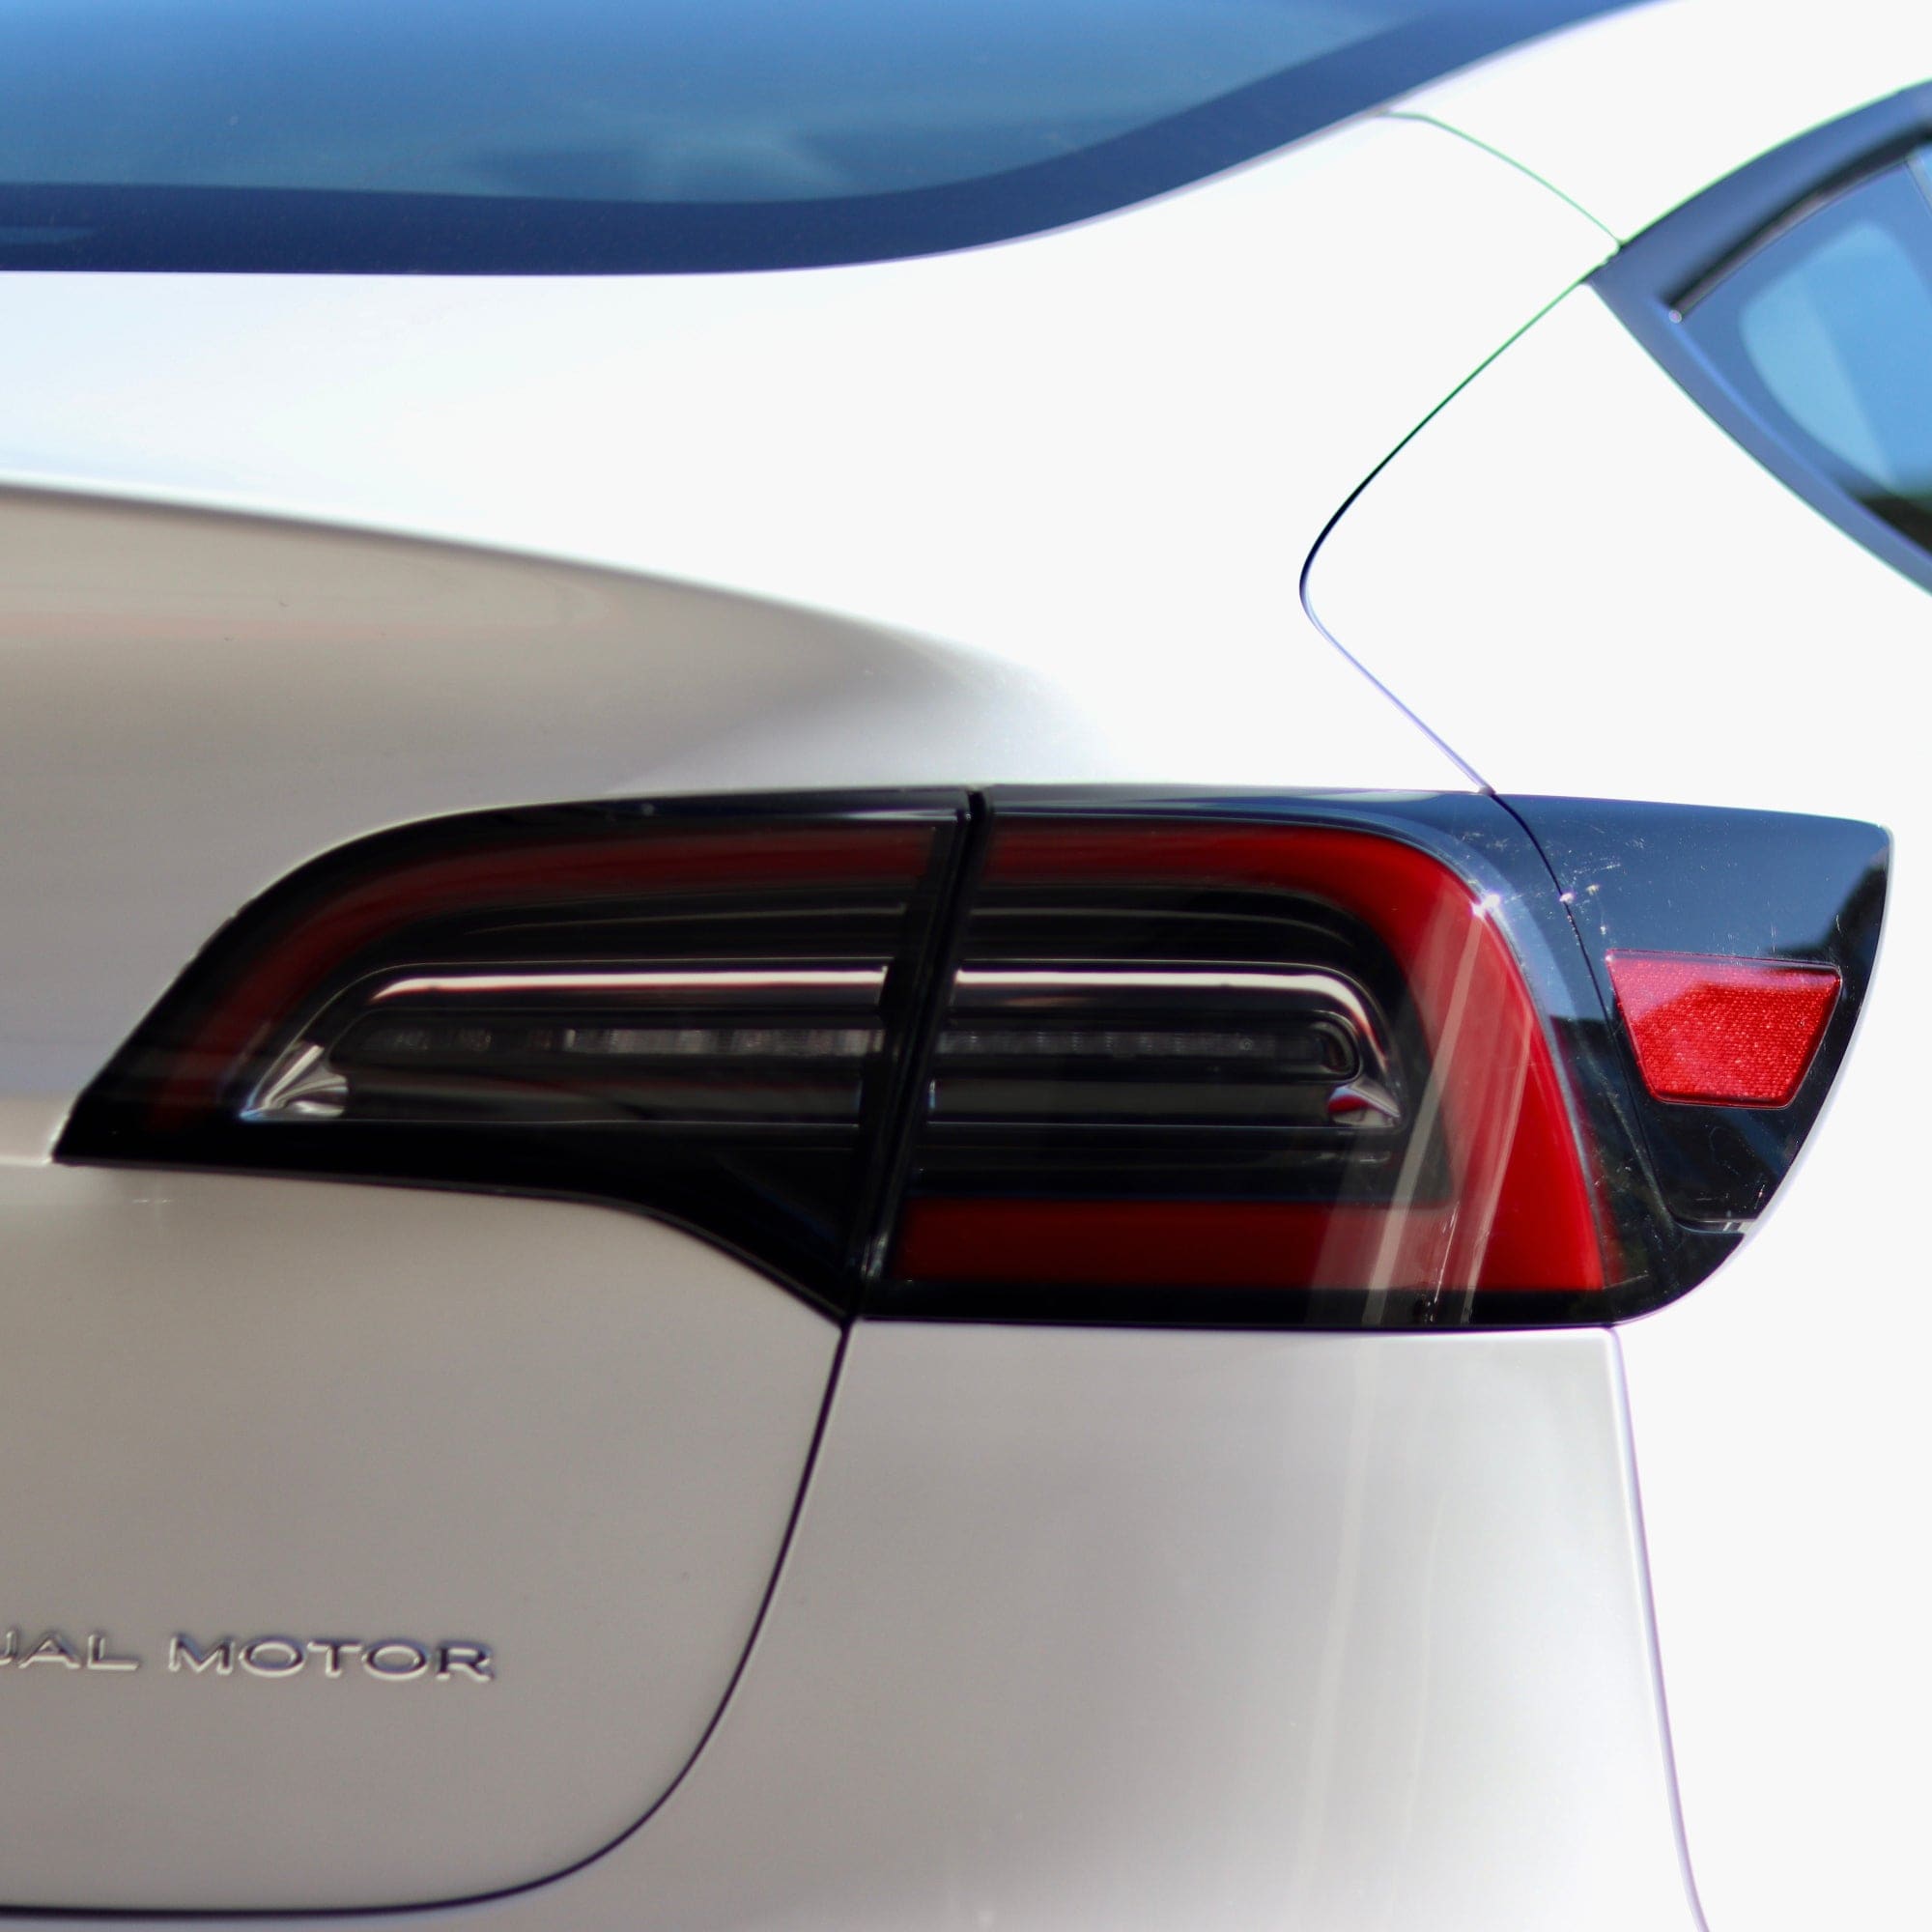
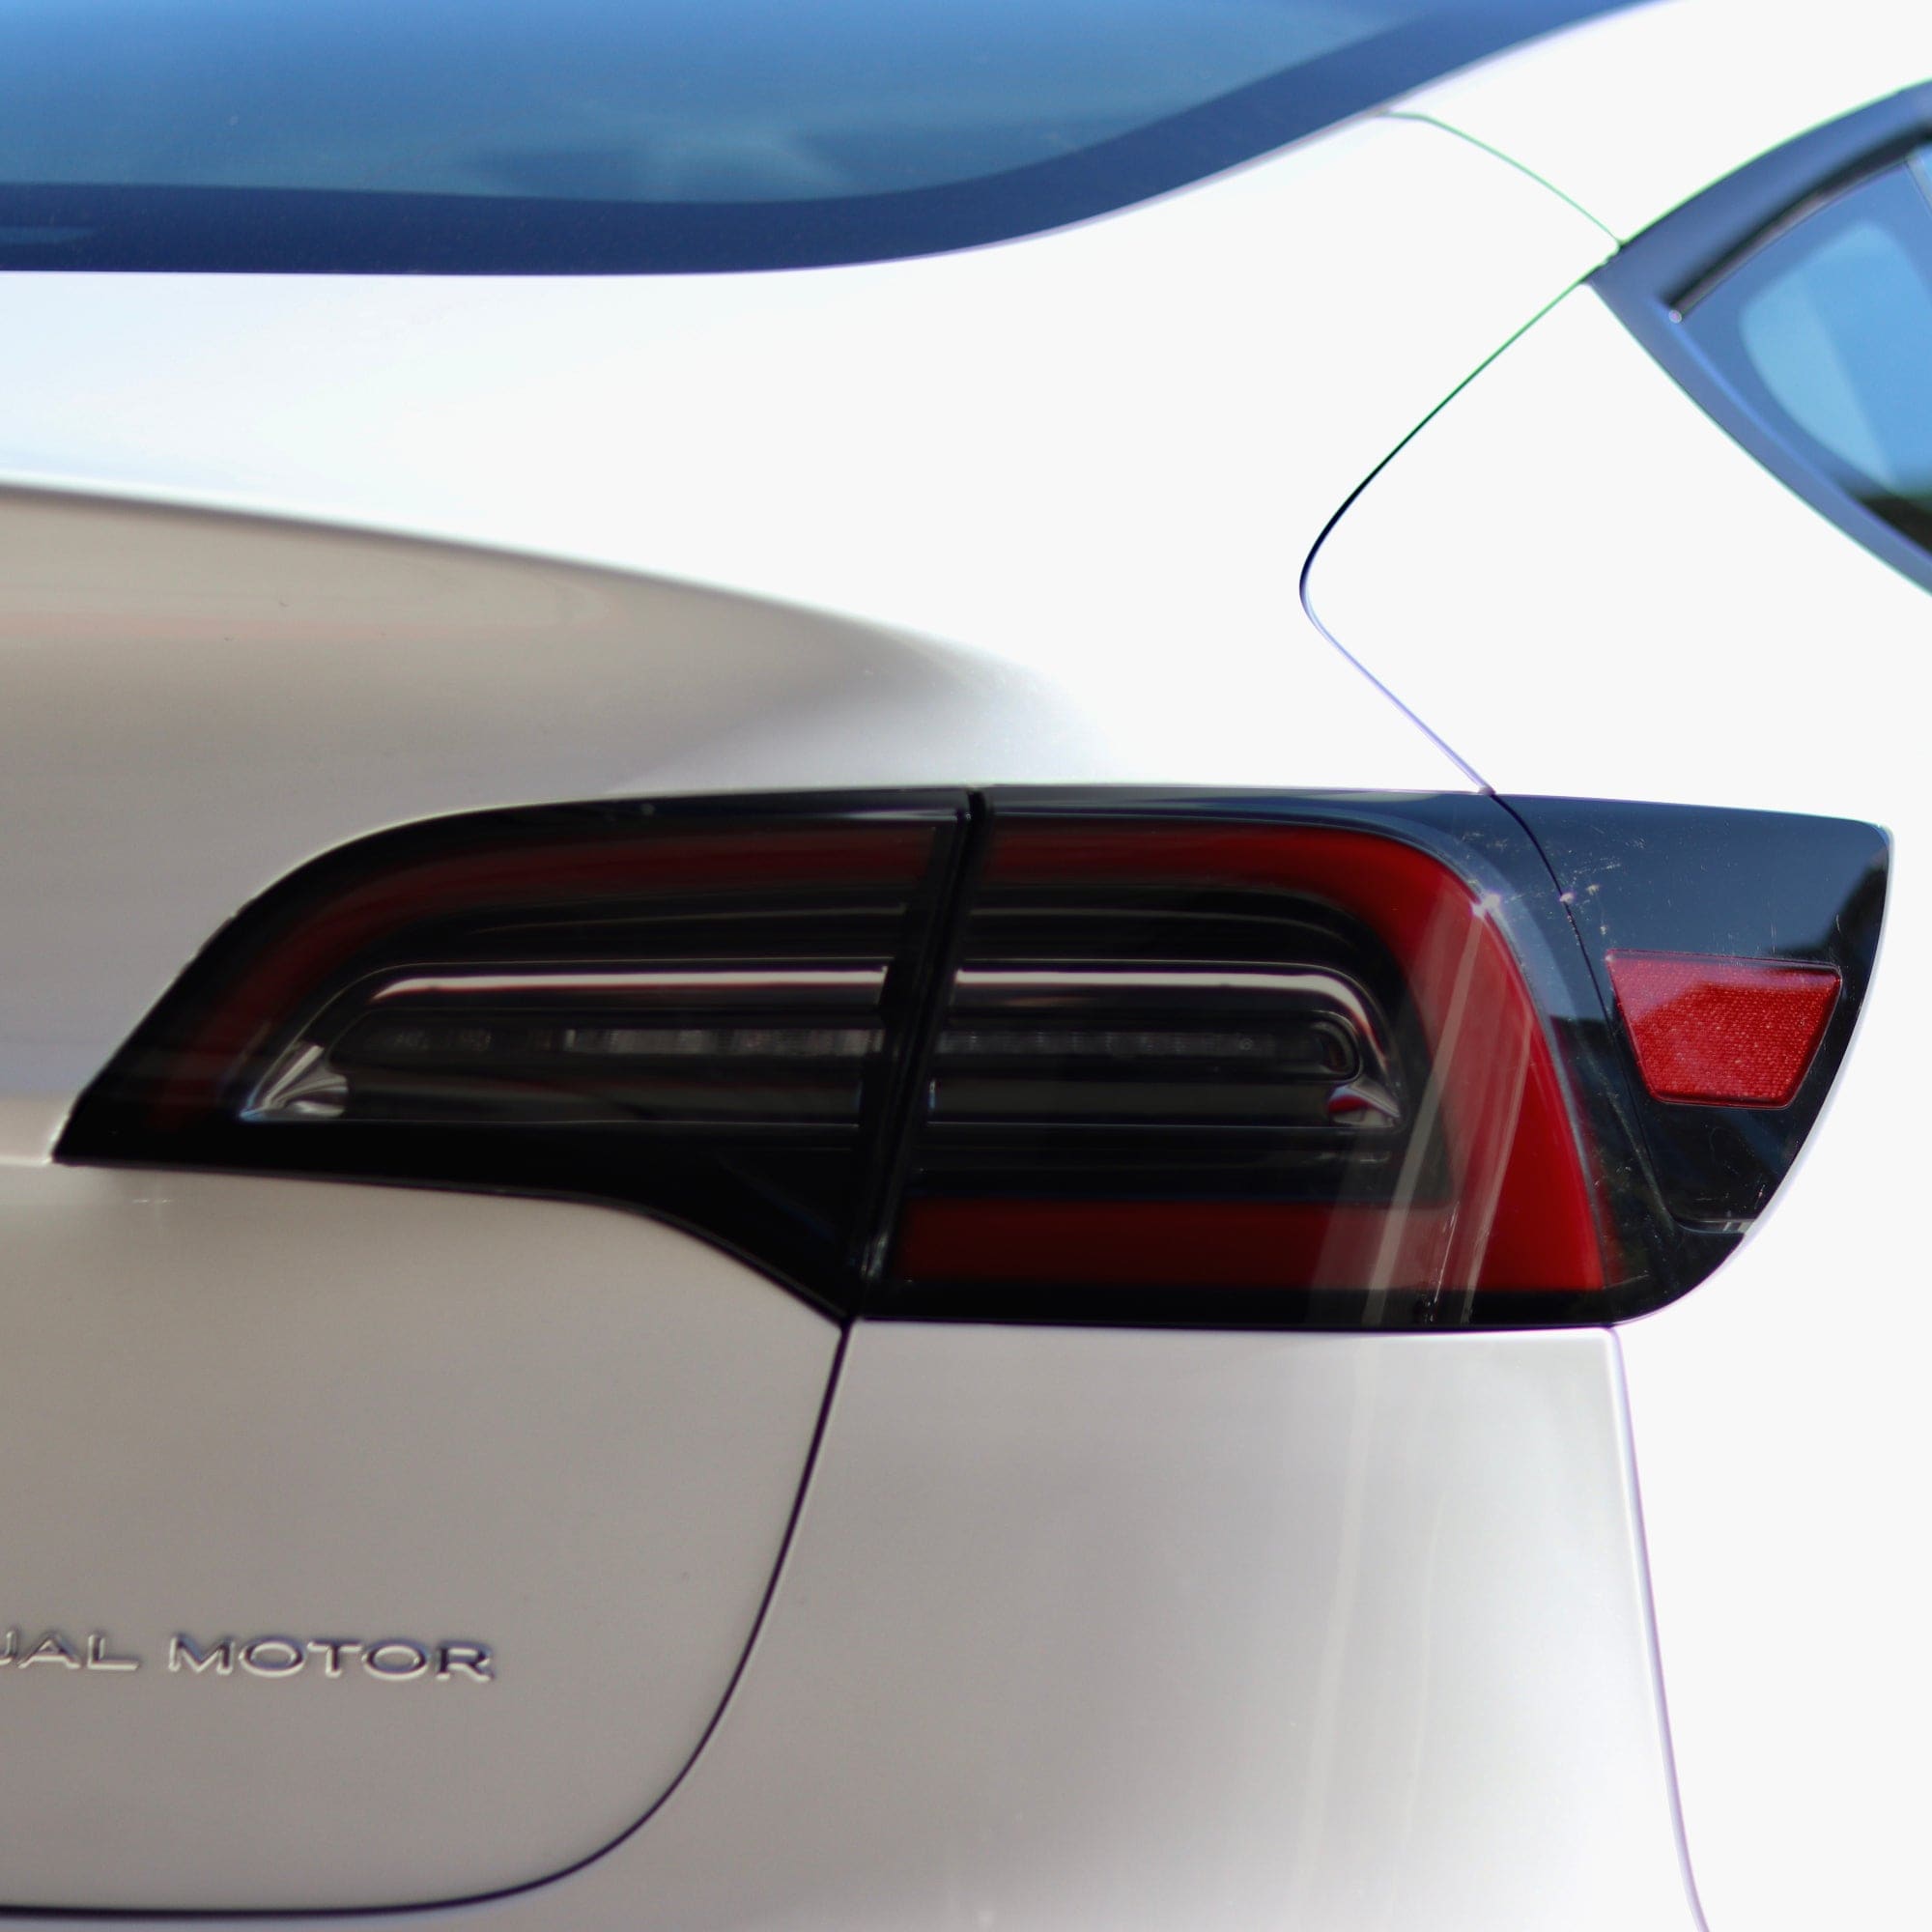
Tail Lights Smoke Tint | 2017-2023 Tesla Model 3 & 2021-2024 Tesla Model Y

Product Features

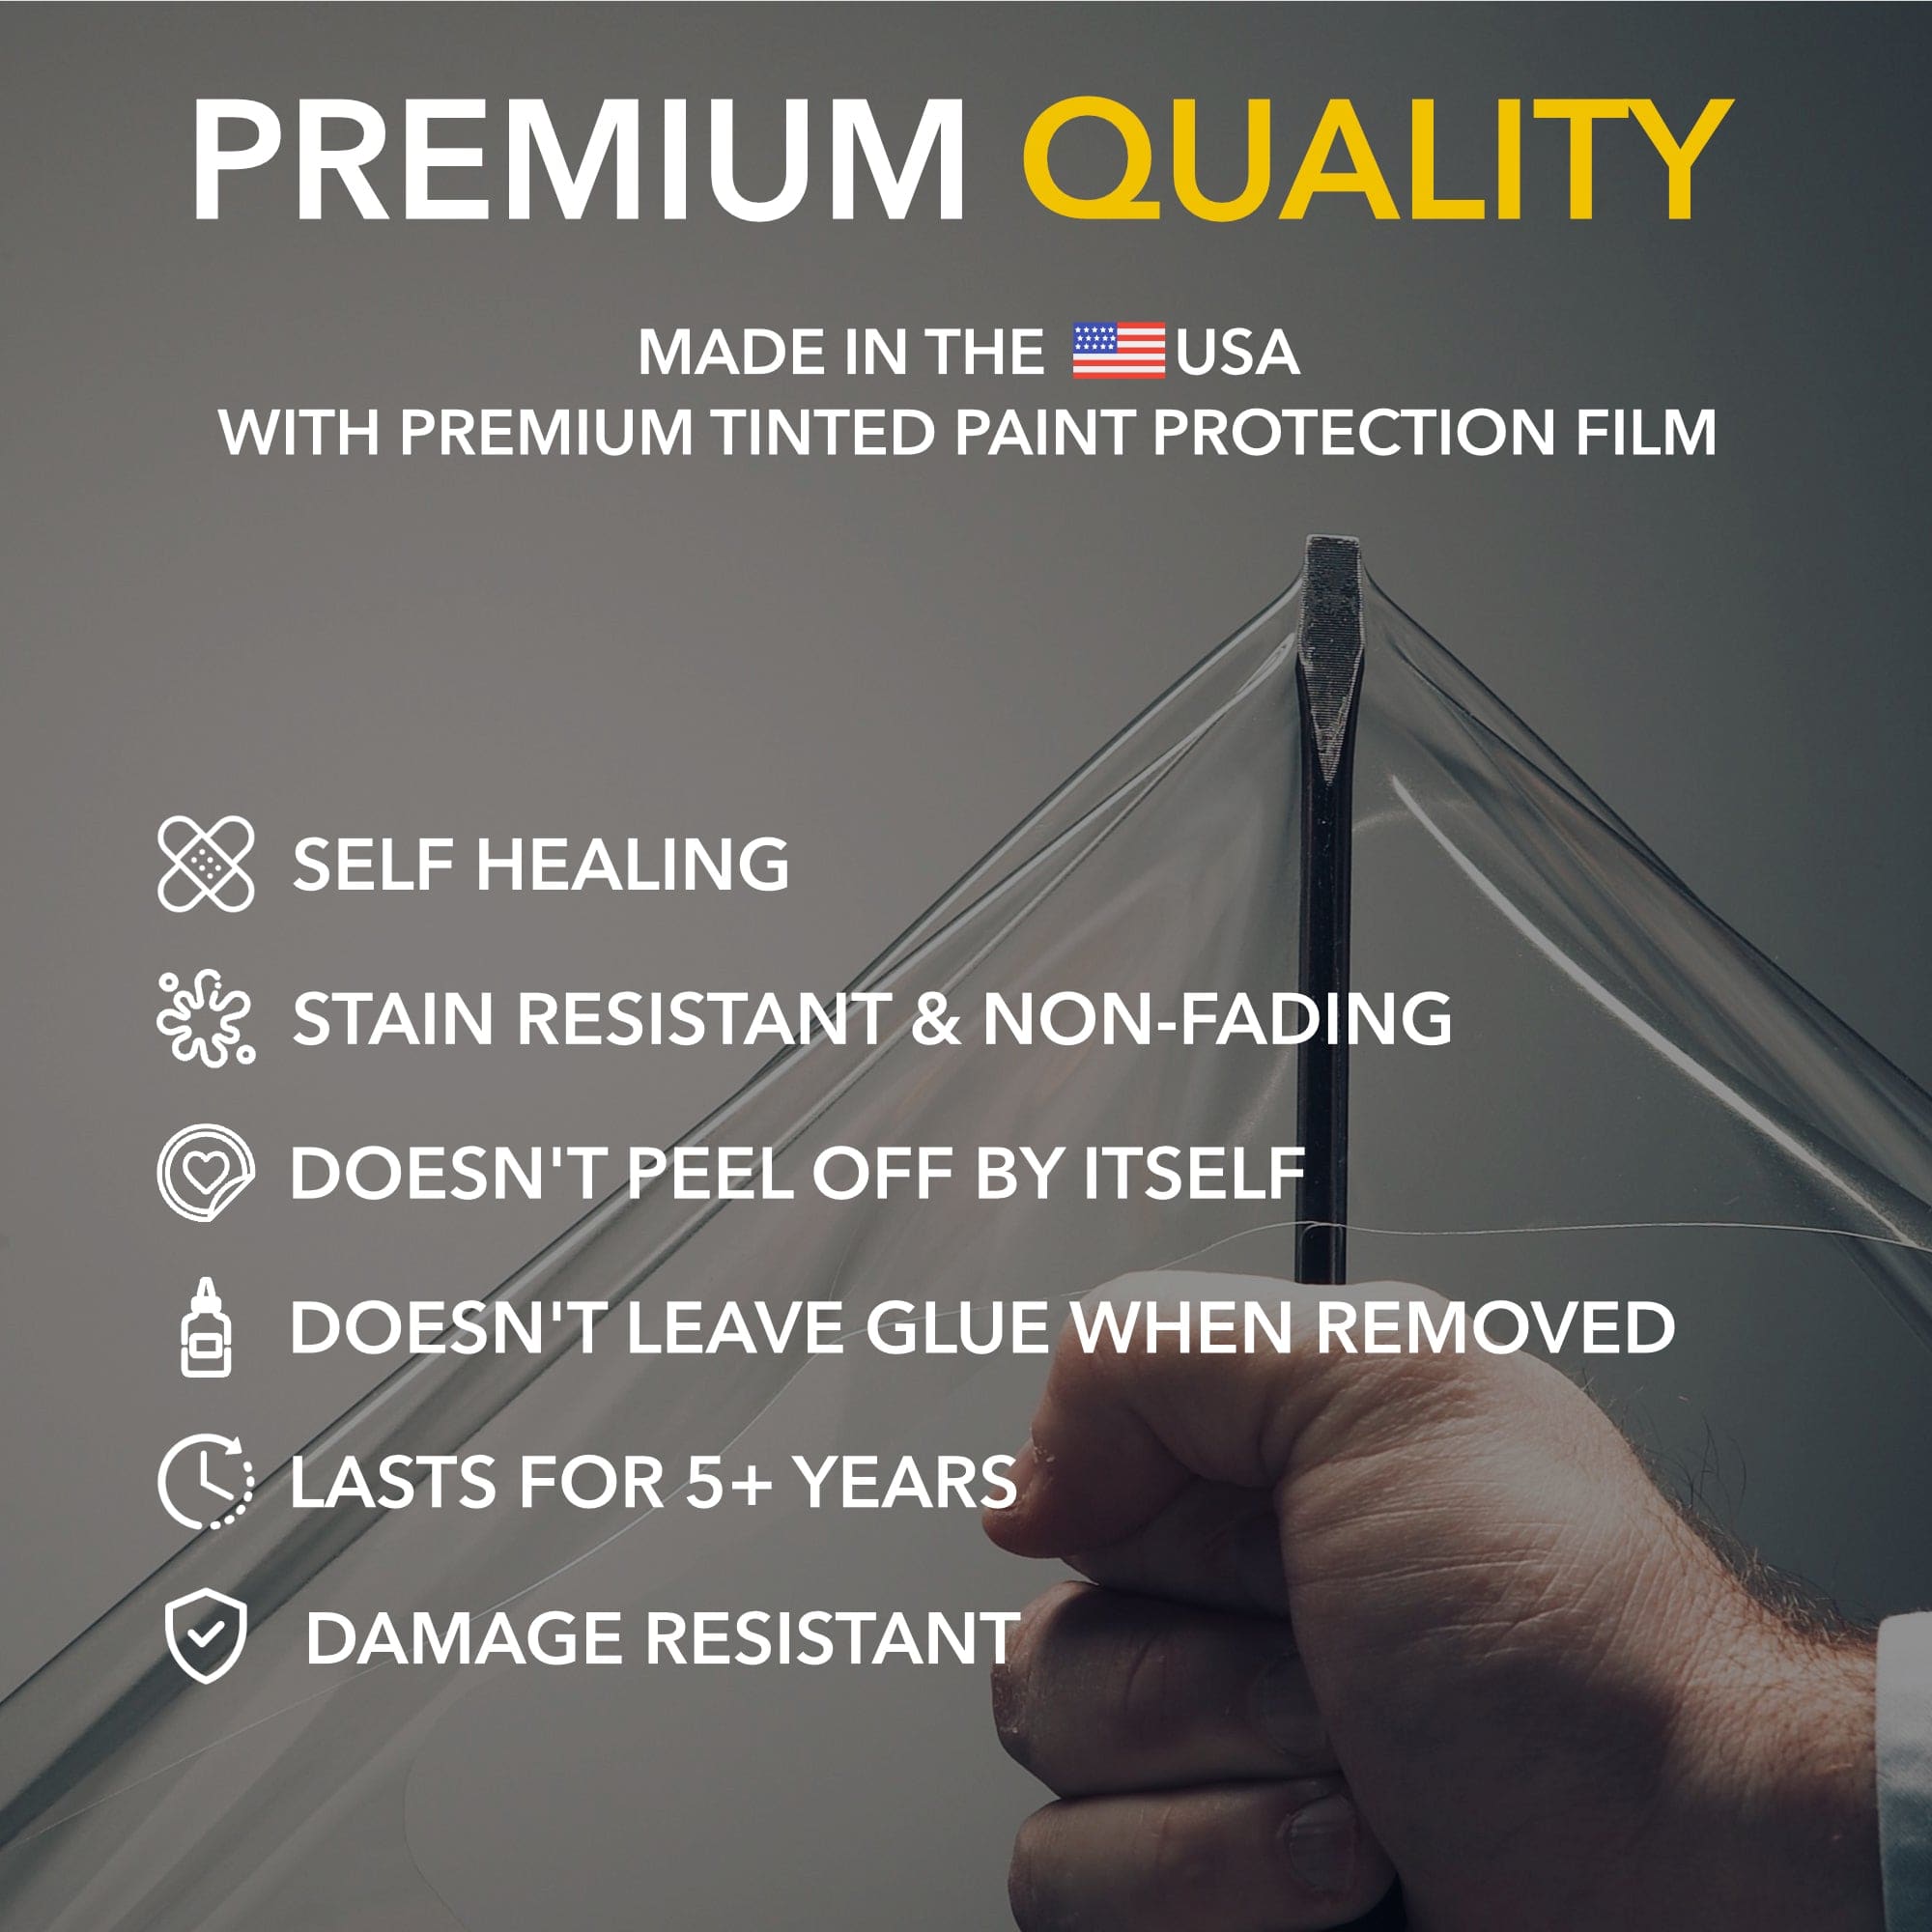
  • 🏁 Made with ultra premium tinted PPF (8mil, self-healing, stain resistant)
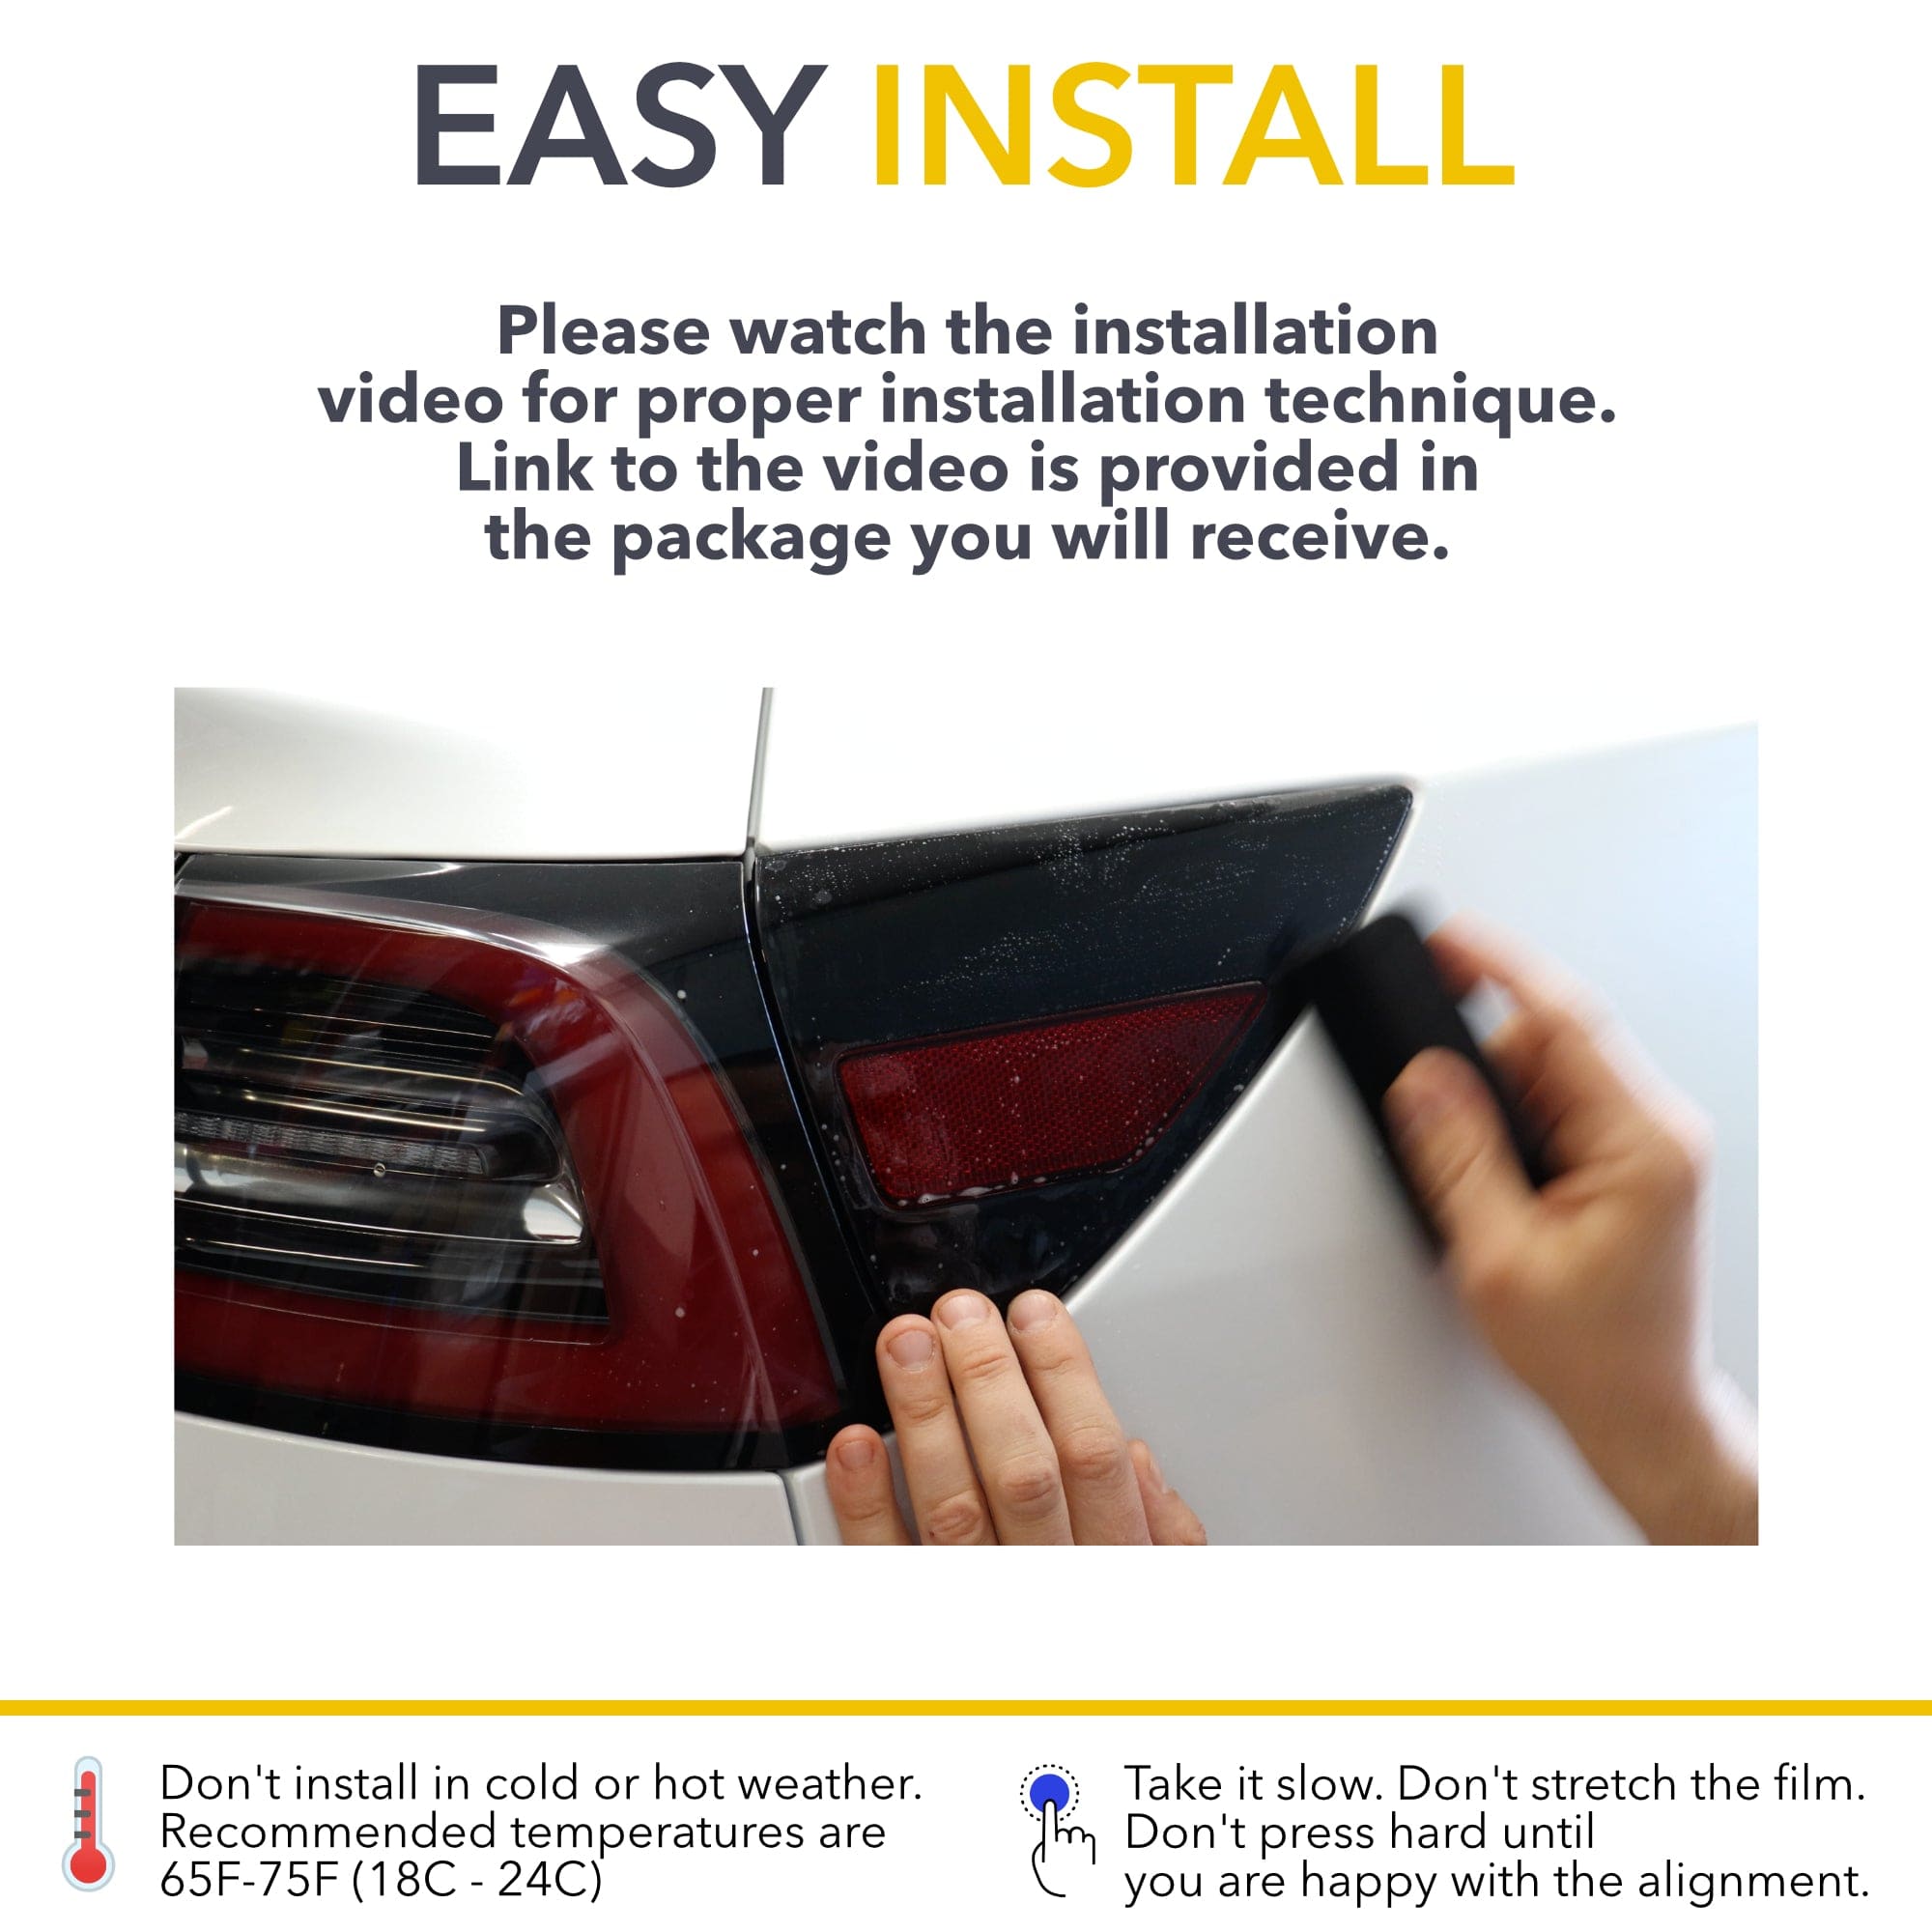
  • 🧰 Our kit is designed and manufactured in-house and allows for easy DYI installation without a heat gun.
  • 🛡 Protects the tail lights against minor scratches
  • 💪 Install in 30 minutes. Easy to remove/replace.
  • 💎 Precision cutout that doesn't require a heat gun or special skills
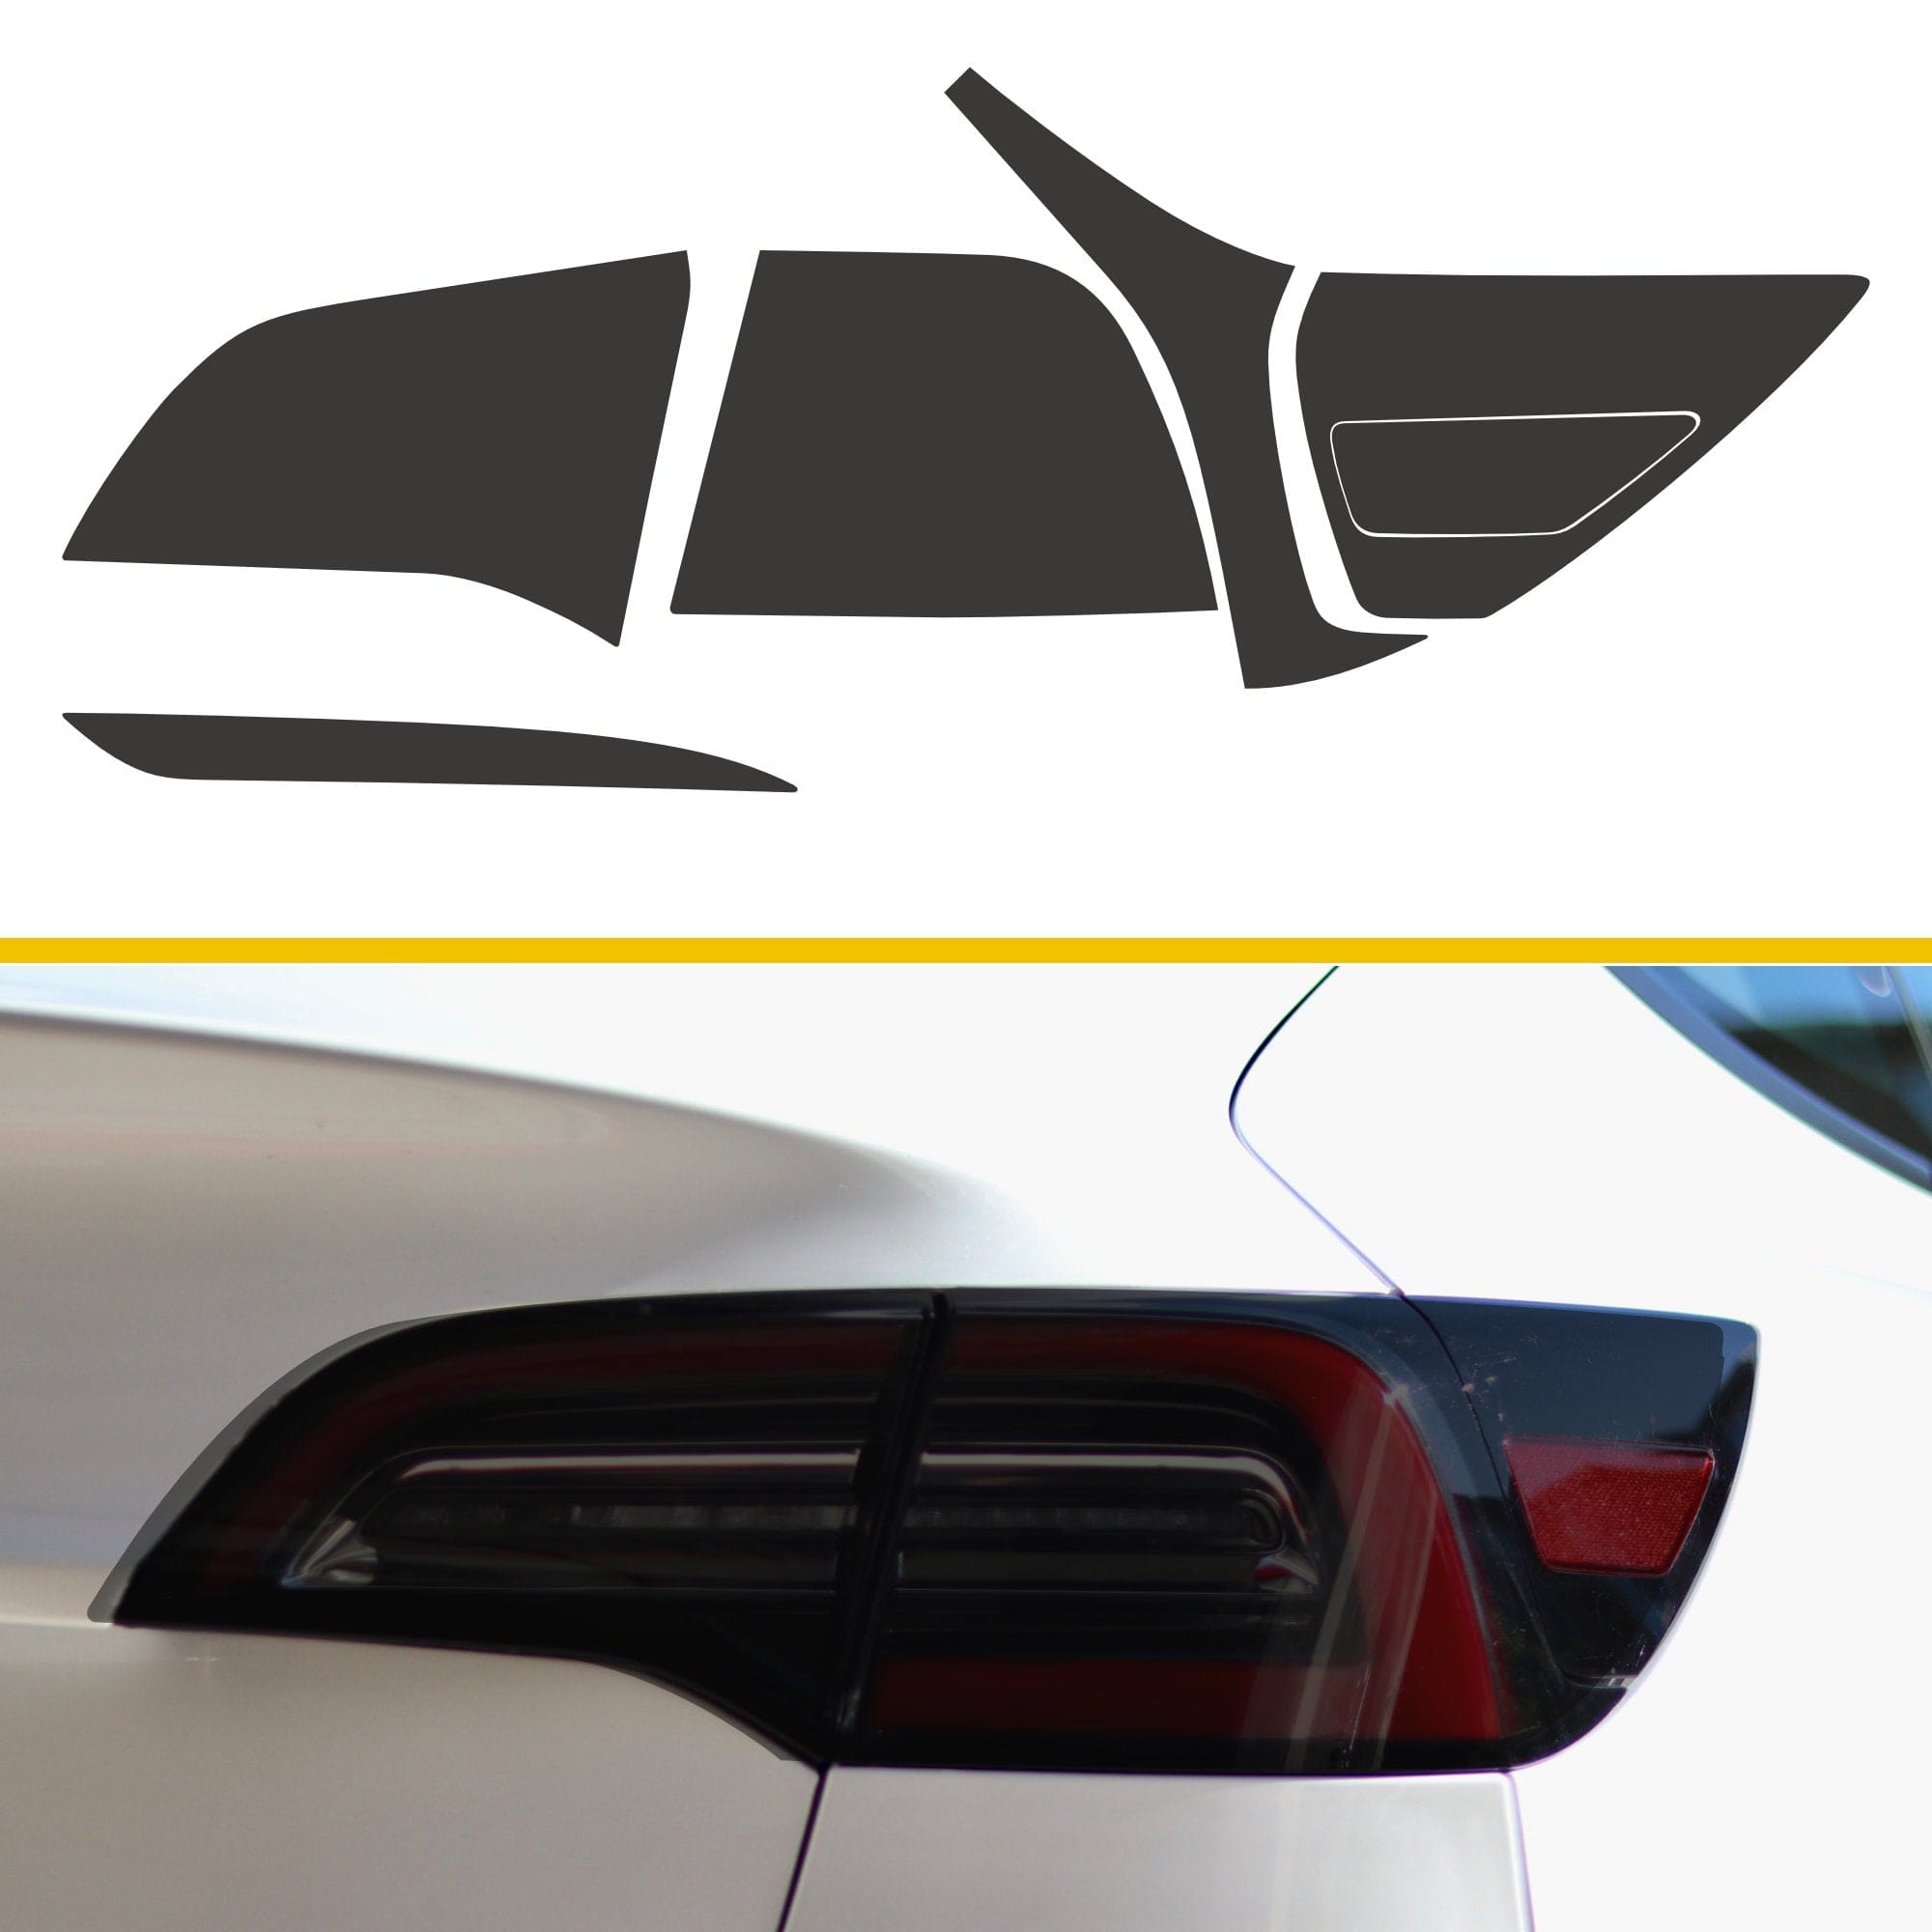
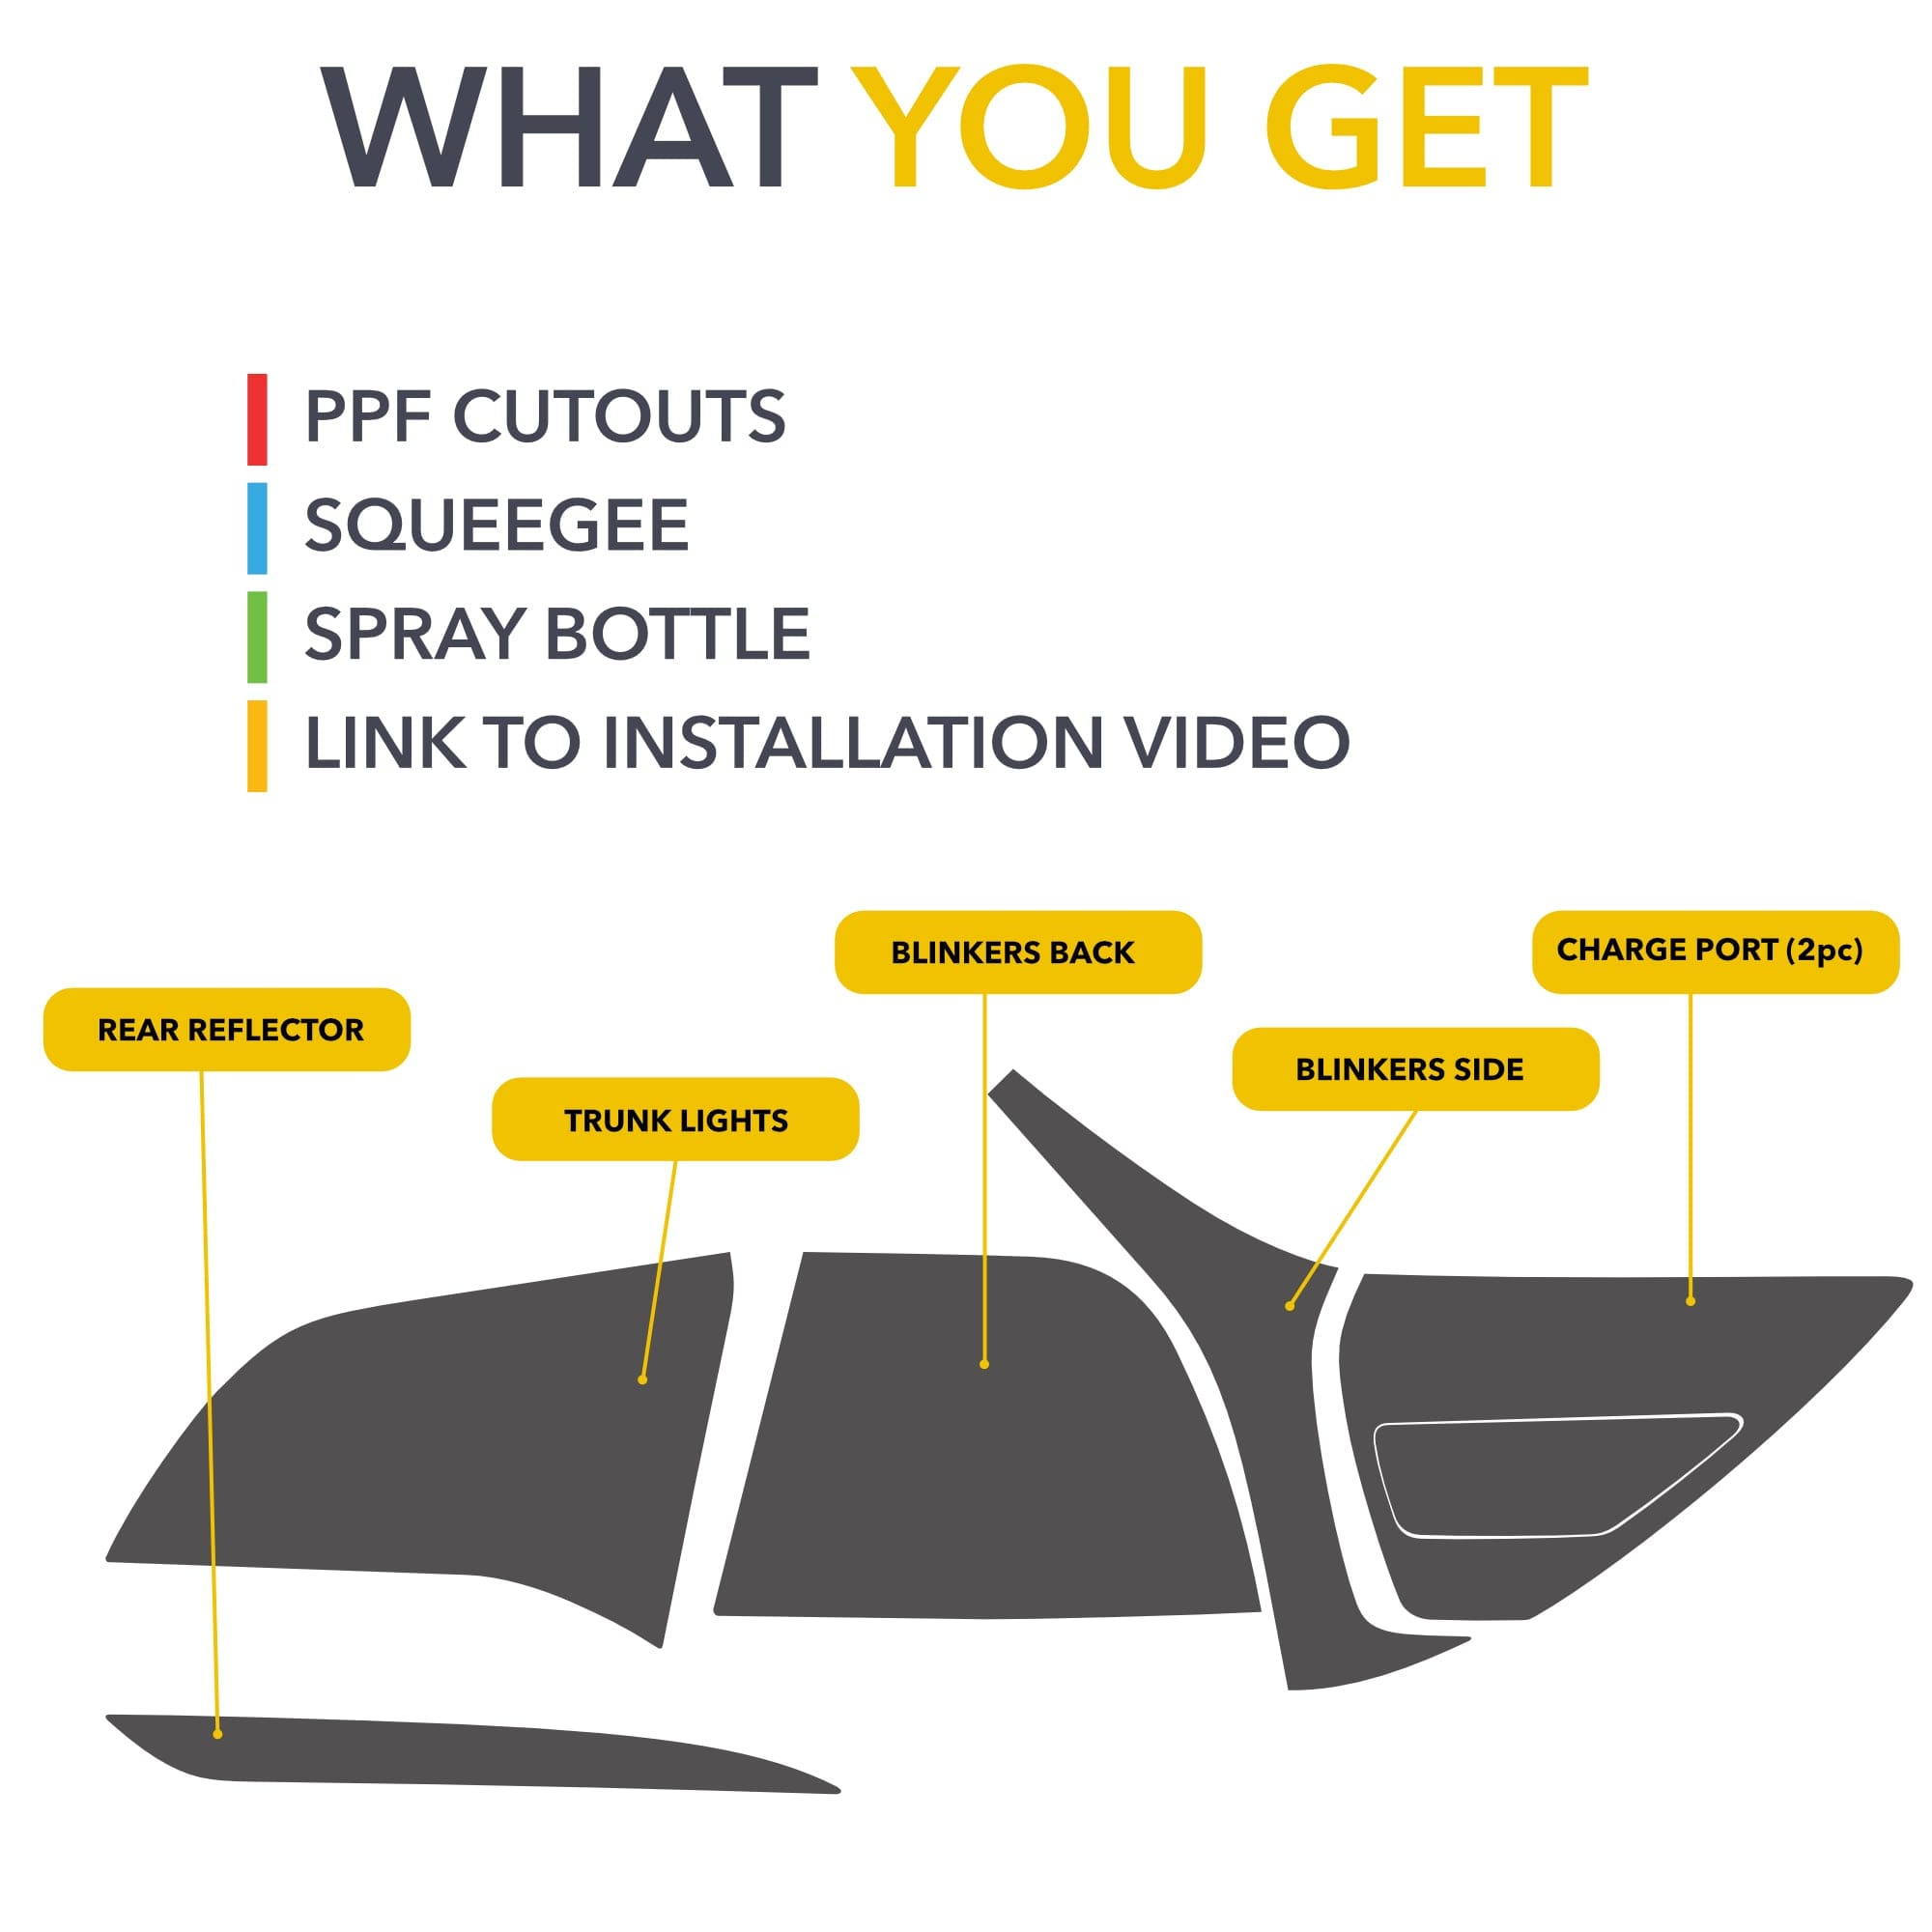
  • 📐 This tint is made out of 6 pieces on each side, so it covers the entire tail lights + the bottom reflector
  • 🇺🇸 Made in the USA

    What's Included

    • 2 tint cutouts, one for the driver's side and one for the passengers side (each made of 6 pieces)
    • Spray bottle with soap (you need to fill it up with water)
    • Squeegee
    • Installation instructions

     ⚠️ Please check your local laws and make sure it's legal to have tinted tail lights!  ⚠️

    Installation

    Install difficulty: Medium.
    Install time: ~ 30 min.
    Fits:
     Any Tesla Model 3 and Model Y


    Customer Reviews

    Based on 3 reviews
    67%
    (2)
    33%
    (1)
    0%
    (0)
    0%
    (0)
    0%
    (0)
    S
    Steven L. (Coachella, CA, US)

    Super easy to install, perfect fit, changed the look of my car for sure 👍🏽

    C
    Caroline

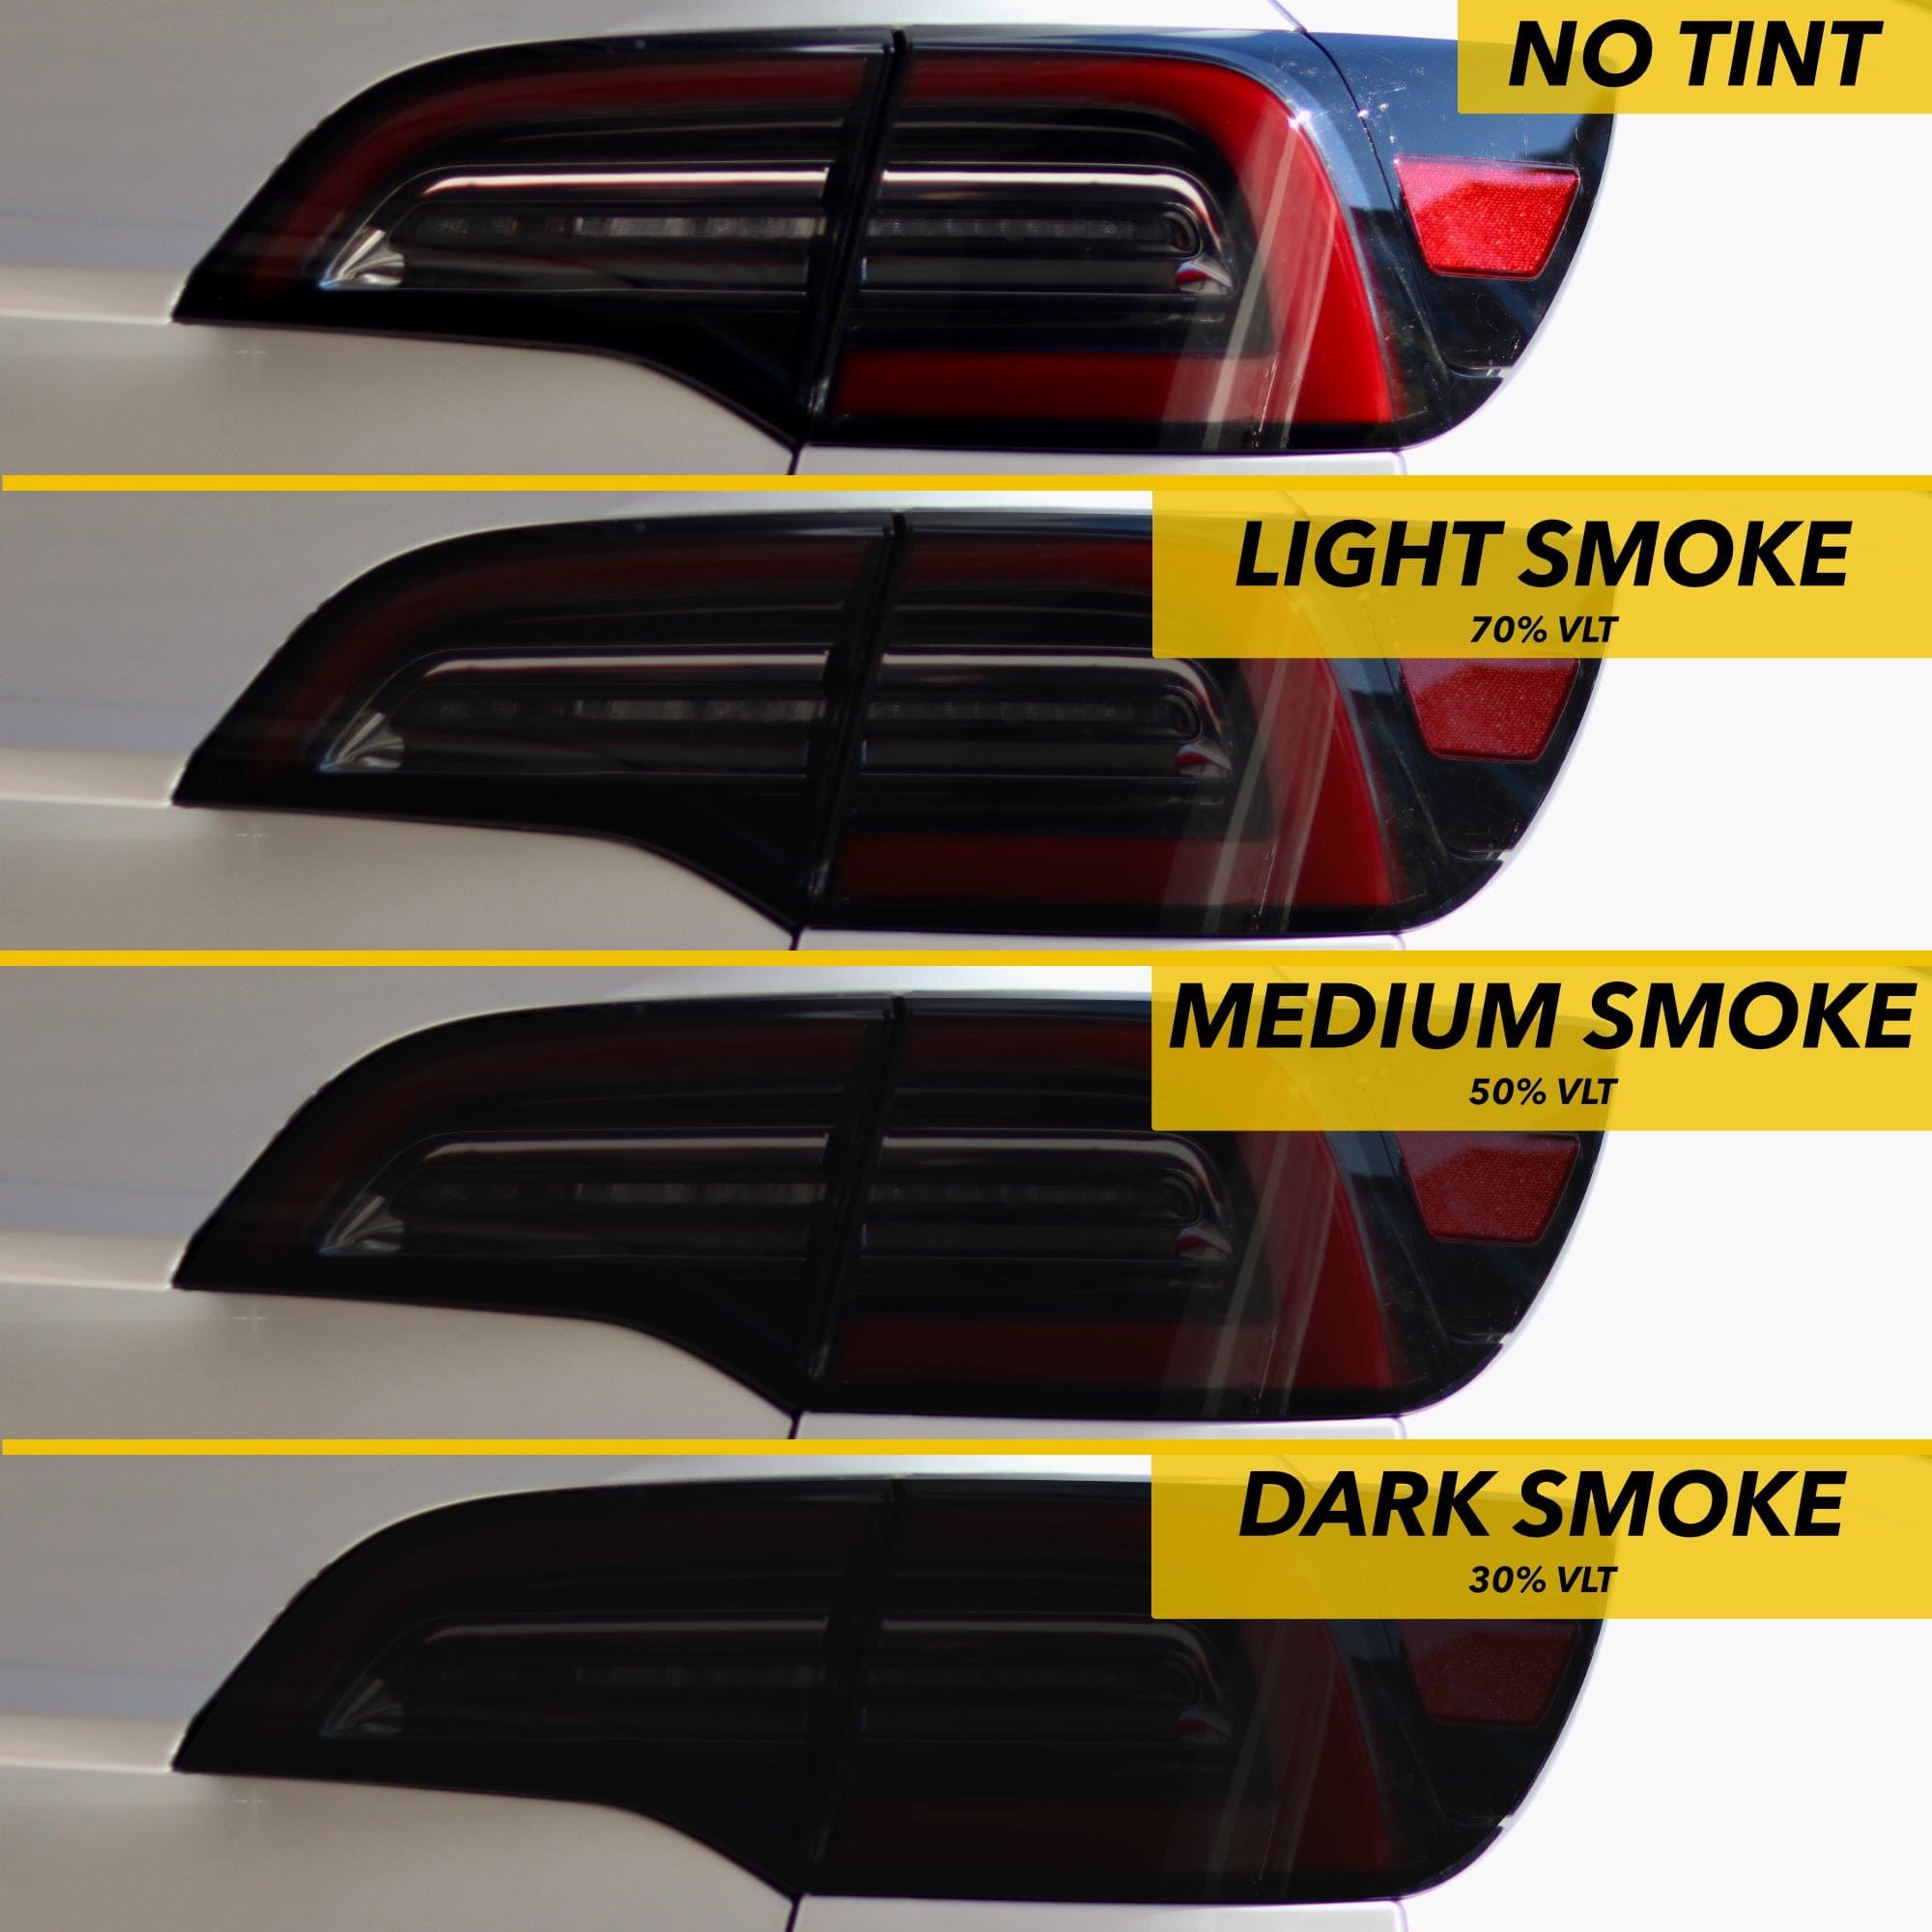
    Really easy to install :) I bought the 50%

    r
    rayng5

    I've only installed a tint/wrap on a taillight once before (on a BMW E90) and it did not go well, mostly due to my skills and not the wrap or the car itself. So I am definitely an amateur when it comes to these kind of mods.

    That being said, I did some research and watched some YT videos and TWraps' installation process seemed to be the most straightforward. Why? Because they did not require the additional step of using a tack (alcohol) solution for the wrap to adhere to the taillight. All that was needed was a soapy spray and the provided materials.

    A few tips for better results that worked for me:

    - Make sure all air bubbles are out before letting it dry or going on to the next piece. Once dry, it is extremely difficult (almost impossible) to get them out.
    - Use a heat gun (not a blow dryer) for those hard to smooth edges or curved areas. I found that a blow dryer was not hot enough and would even blow the piece off of the car.
    - Allow at least 15-20 minutes drying time between installation of each individual piece. That way, you won't accidentally move the previous piece out of alignment when squegeeing the current adjacent piece.

    TWraps provided a squeegee wrapped in a felt-like material. It was soft yet firm enough to do the job. I thought this was better than the typical rubber squeegees because those might leave fine scratches on the tint if you're not careful or if your soapy solution drys out during the squeegeeing.

    TWraps seems a bit pricier than other options out there, but I am pretty satisfied with the product and how my installation went. There are still air bubbles in the tint, especially the first few pieces, but not very noticeable from a distance. I would definitely recommend.